Fabricating a Low-Cost, DIY Ultrasonic Water Level Sensor
In this blog post, Grace Lower shares instructions for fabricating a low-cost, DIY ultrasonic sensor that can be used by scientists, educators and communities interested in water level monitoring and coastal protections.
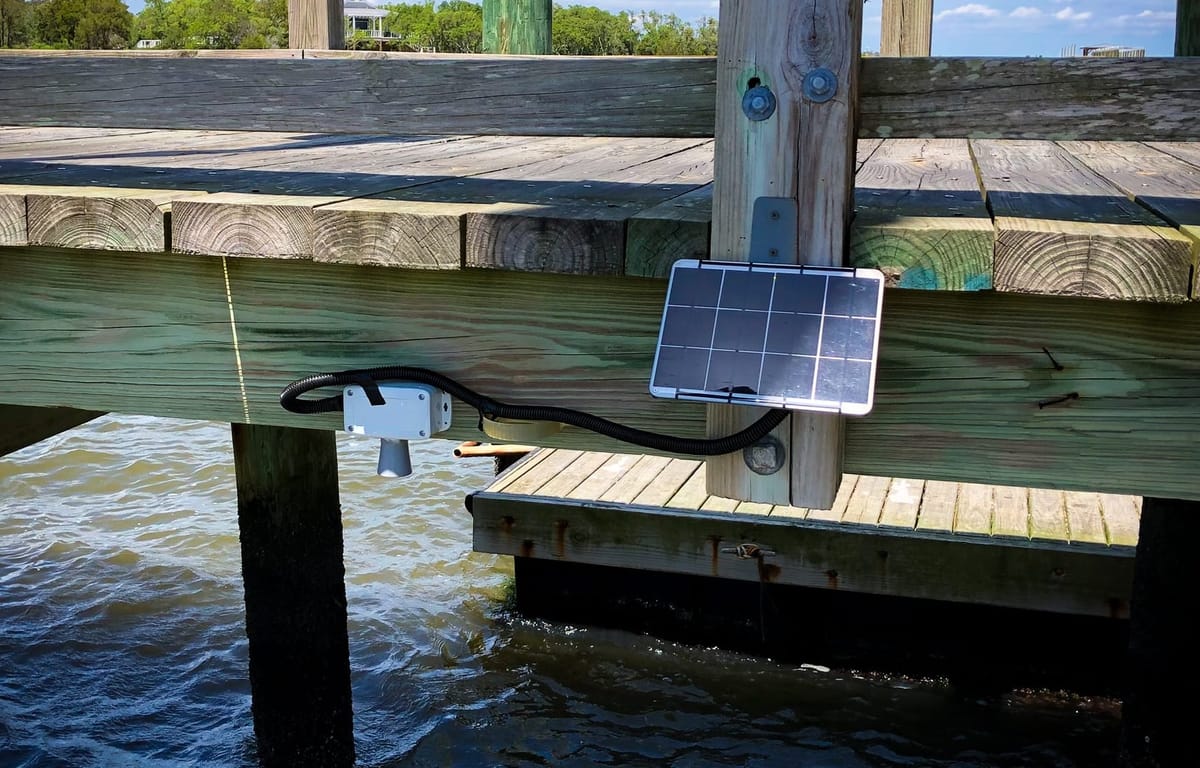
A recent article published on this blog details a low-cost, DIY ultrasonic water level sensor developed by the COAST Lab under the direction of Dr. Phil Bresnahan. Additionally, the article discusses the ever-growing importance of coastal science in the wake of more frequent and extreme flood events due to rising sea levels and coastal urbanization. Adoption of low-cost, open-source, do-it-yourself (DIY) techniques for water level sensing can be beneficial in educational settings and participatory science in the effort to protect coastal communities. Check out this article – Coastal Science and a Low-Cost, DIY Ultrasonic Water Level Sensor – to gain insight on coastal flooding and applied sciences, as well as the development of the COAST Lab’s open-source sensor.
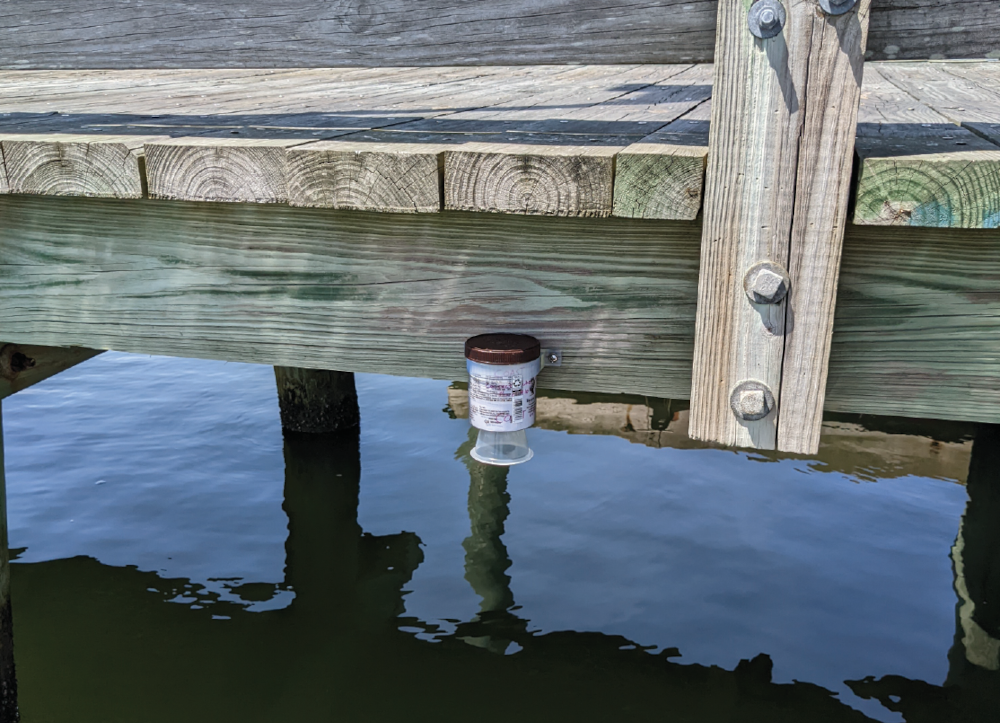
As a successor to the initial article, which provided context on the need for a low-cost DIY water level sensor in coastal communities, this article will serve as an introduction to fabricating and using the sensor. Visit the working GitHub repository for this project for step-by-step assembly instructions, bills of materials / parts lists, datasheets, and more.
Electronics Parts List
The eight electronics components and their specific roles are listed below, along with a purchasing link and pricing (in USD). Features that make this water level sensor exciting beyond its low-cost, open-source, do-it-yourself design include data storage capabilities on both a microSD card and in real-time through cellular connection. Additionally, the firmware and electronic components produce precise water level measurements, making this sensor – with its unobtrusive size and ease-of-use – ideal for a variety of environments.
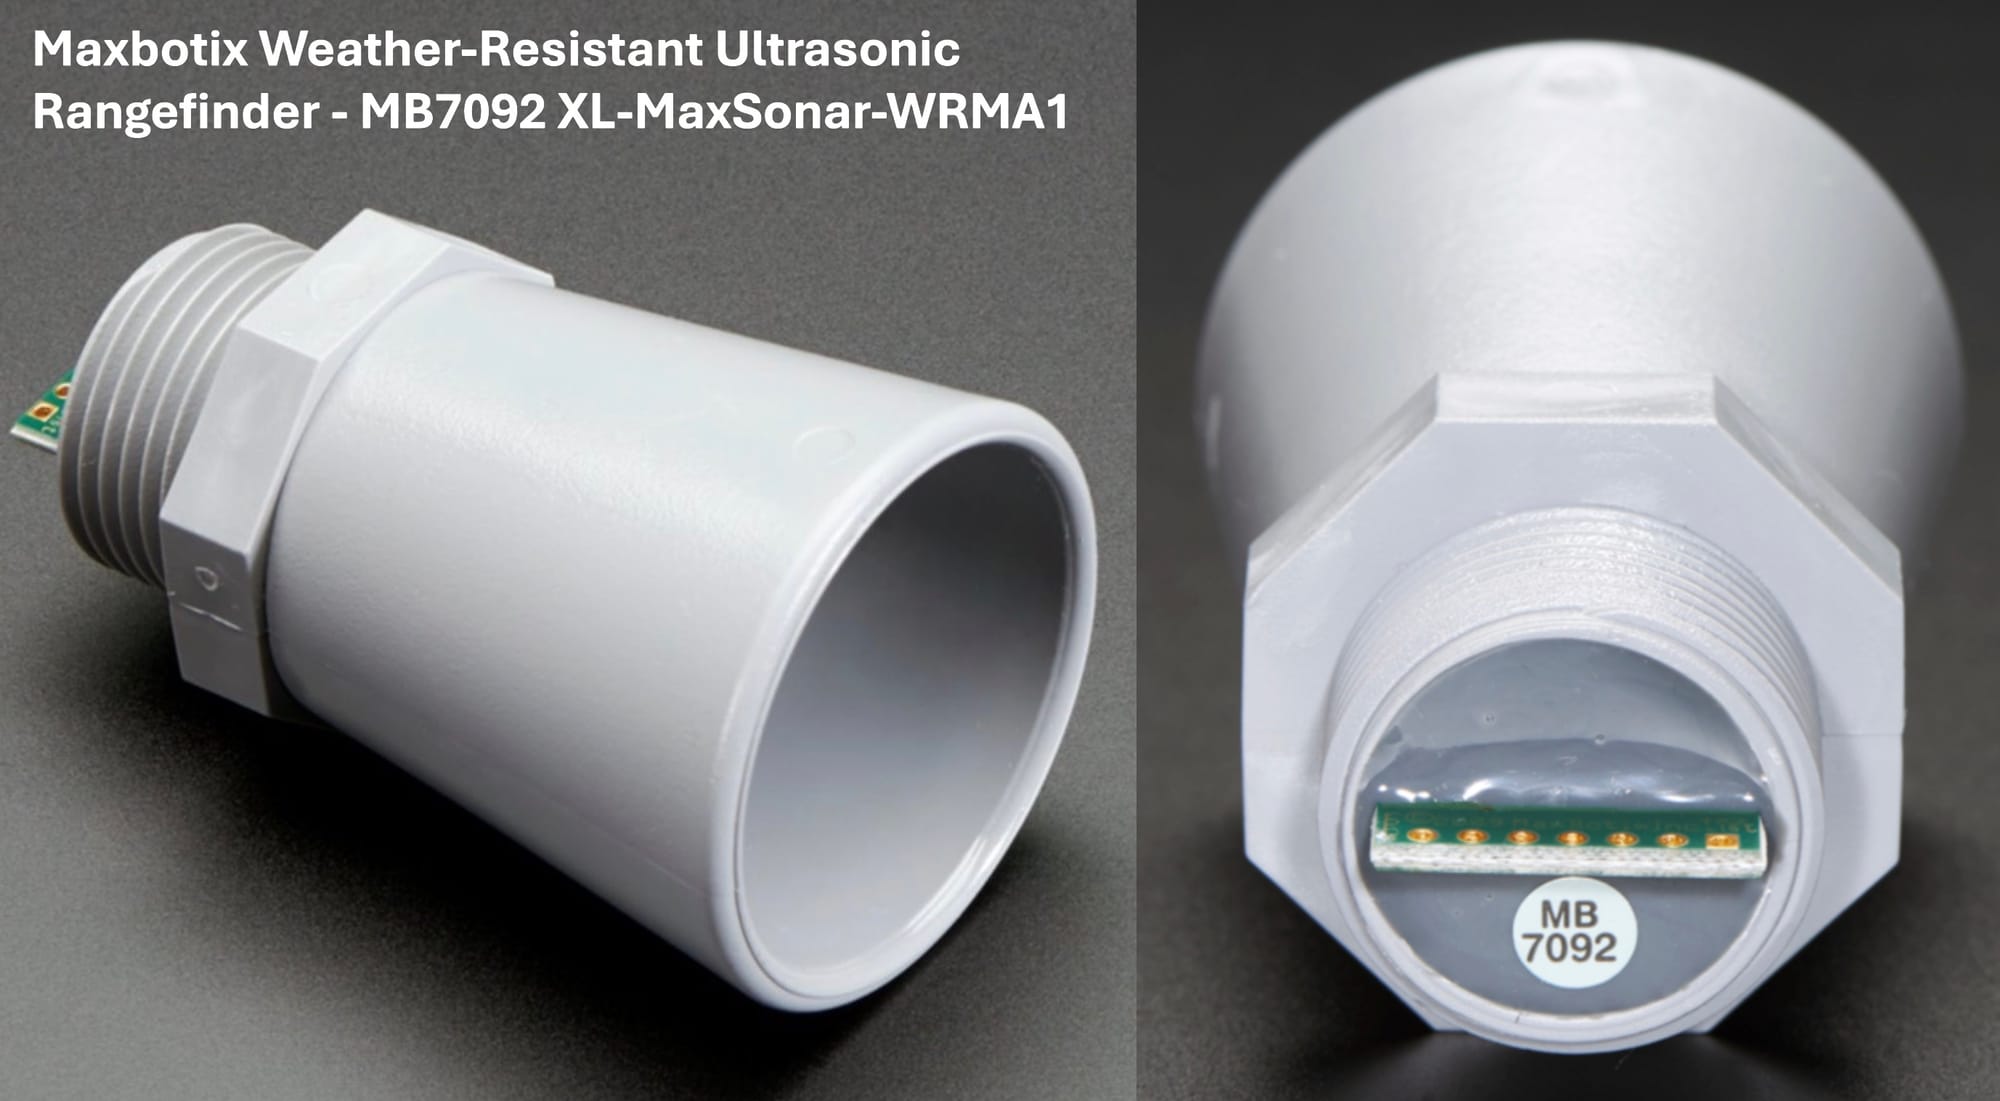
- Maxbotix Ultrasonic Rangefinder - distance sensor; to measure water level, Adafruit $99.95
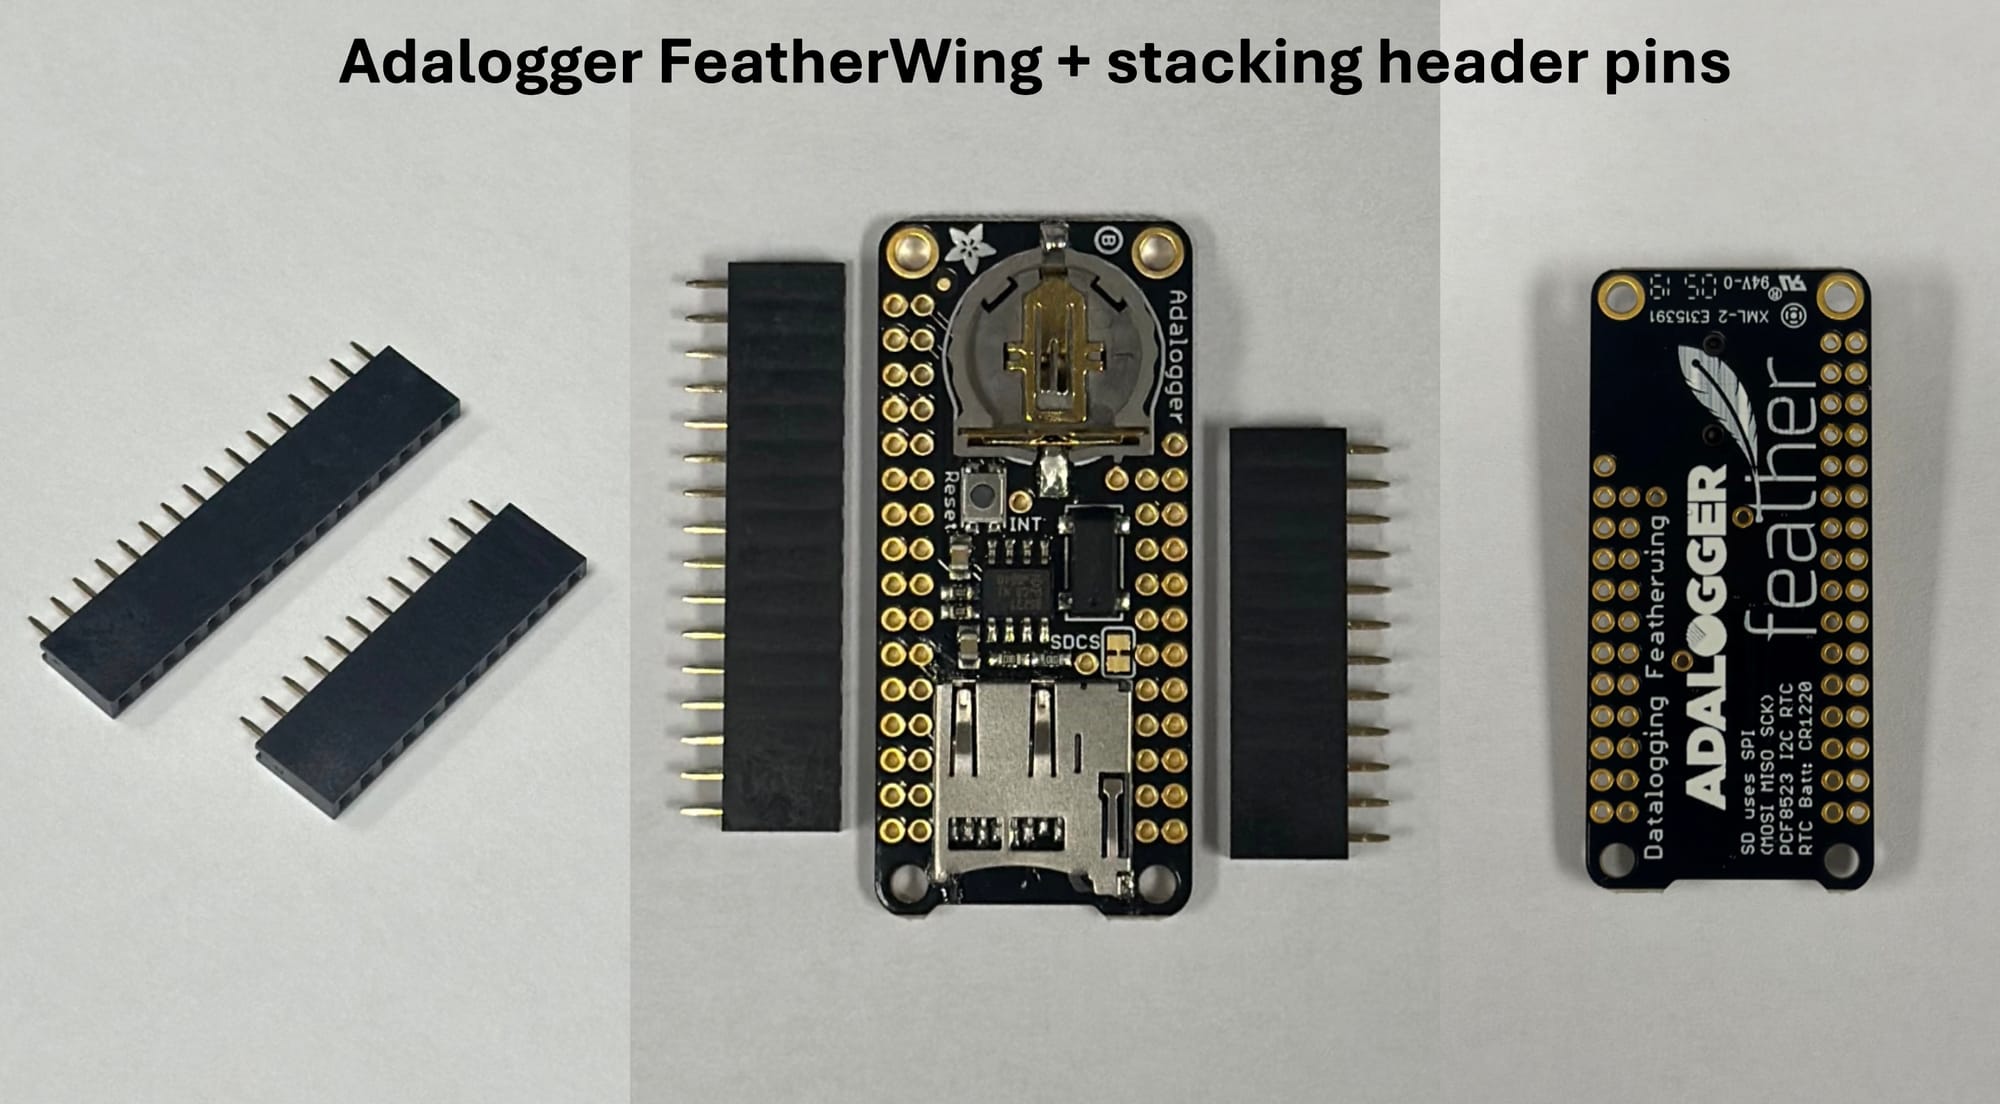
- Adalogger FeatherWing, - data storage board, Adafruit $8.95
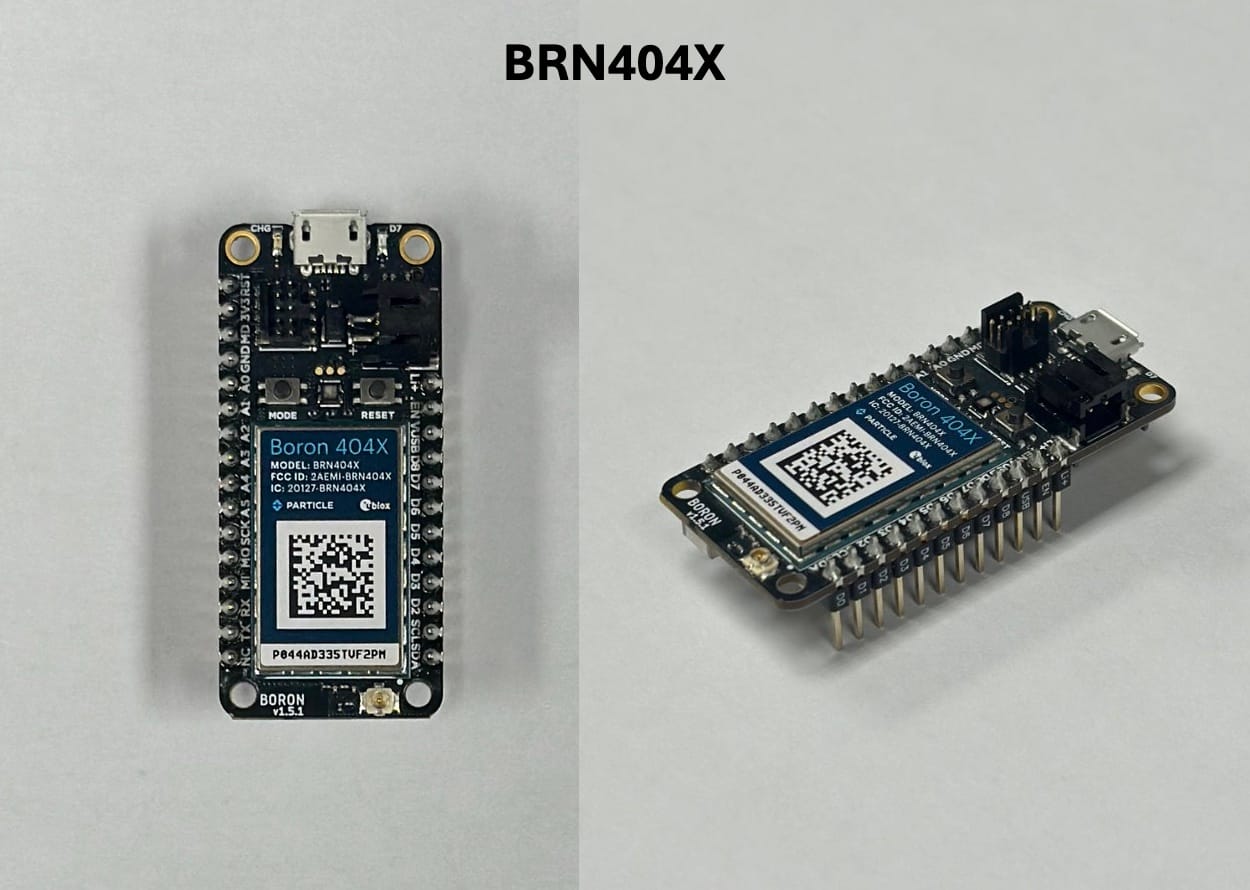
- Particle Boron 404X - and cellular antenna – microcontroller, cellular modem, power
management, Digikey $65.31 - Stacking header pins - to stack Boron on FeatherWing, Adafruit $1.50
- 8GB Micro SD card - to store data internally, Adafruit $9.95
- 5W 5V 35Wh Solar System - for solar charging, Voltaic System $99
- 3-pin connectors - for power, ground, and analog signal to / from ultrasonic sensor, Adafruit $0.95
- USB A to Micro-B cable - splice to solar panel power for Boron USB connection, Adafruit $0.95
Electronics Assembly
Please note: The exact order in which the following steps are completed, along with steps for enclosing the electronics, are design-dependent and can be found here.
1. Setting up the Boron and FeatherWing
- Place the stacking header pins through the pin holes of the Adalogger FeatherWing; solder
- Stack the Boron 404X onto the Adalogger FeatherWing
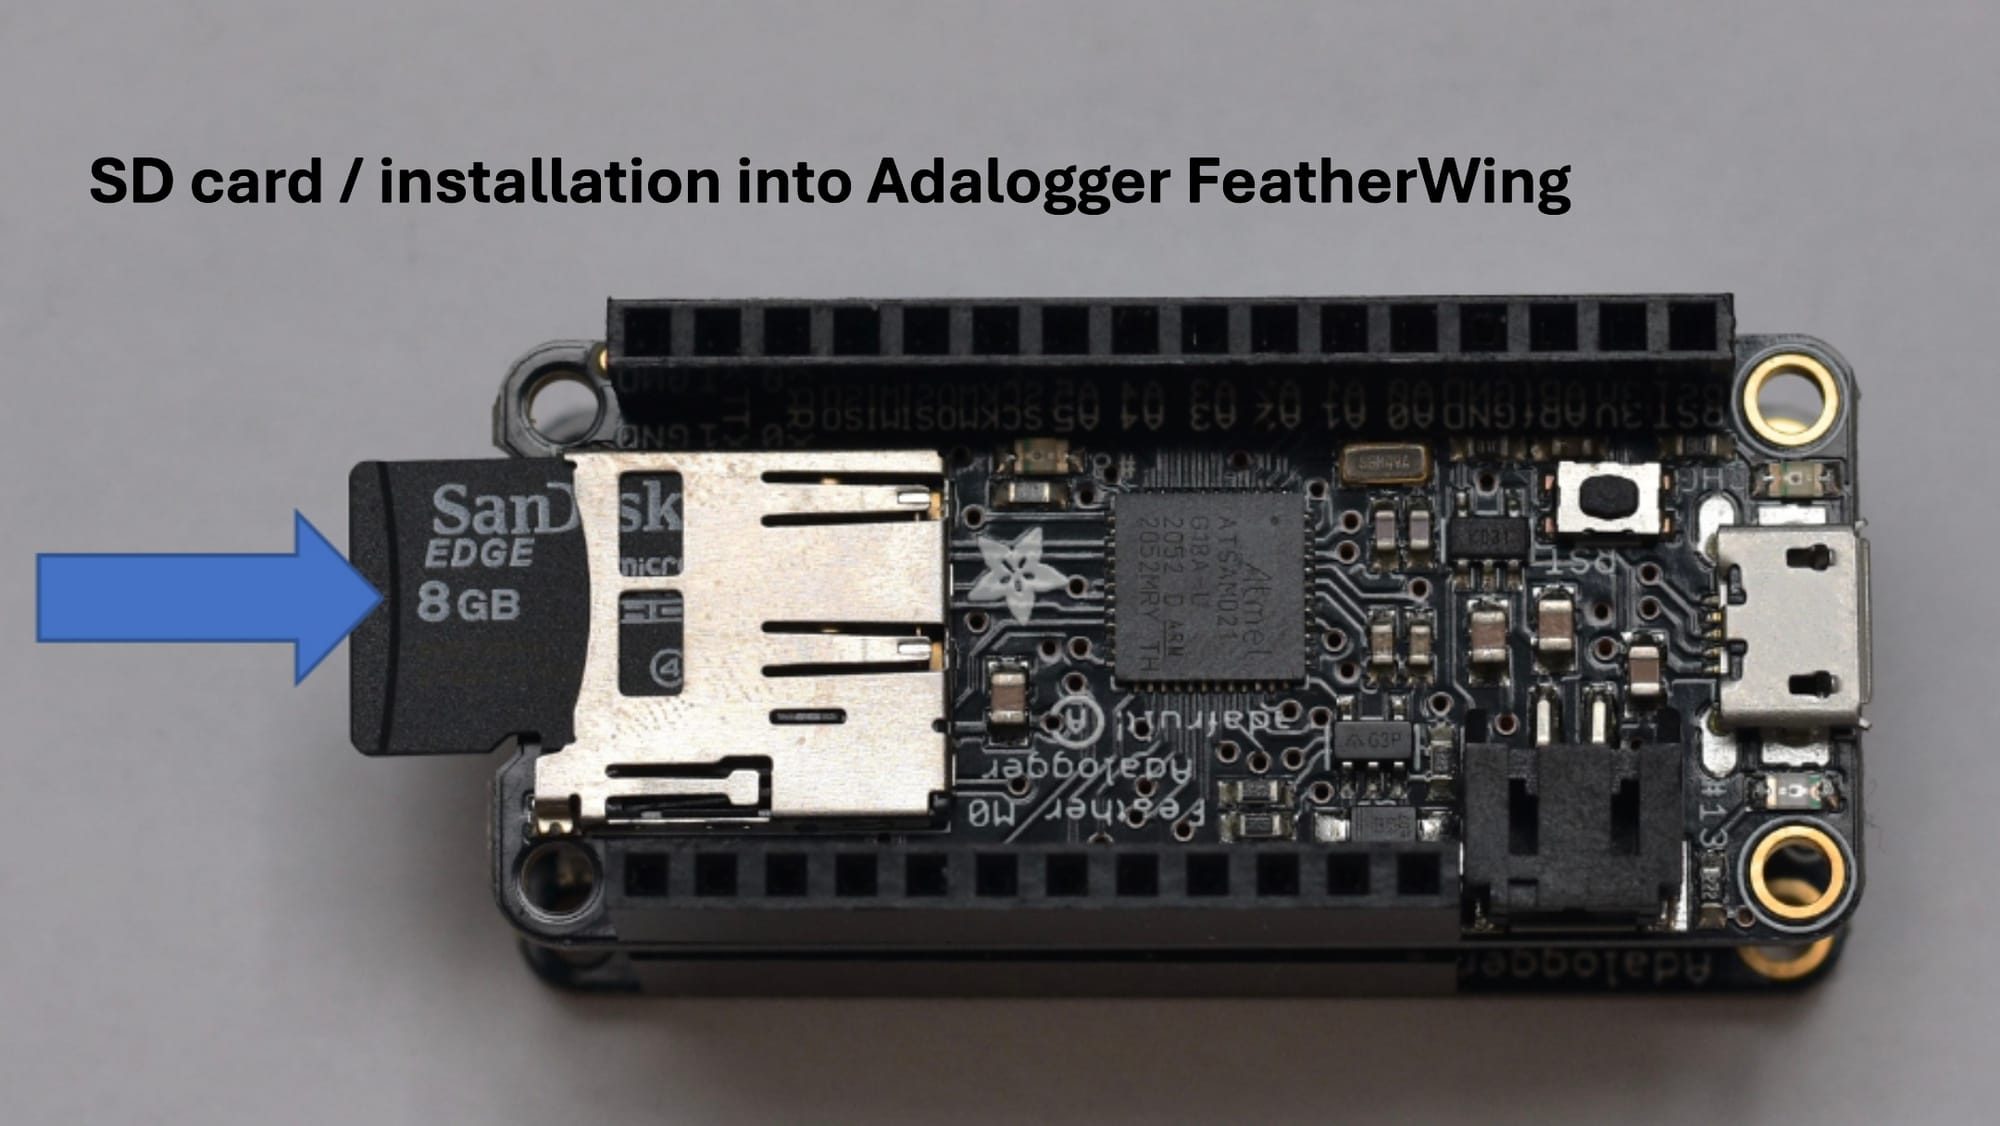
- Gently press the microSD card into the Adalogger FeatherWing until it clicks into place
- Update the Boron system firmware to match the current firmware as shown in the firmware directory of the GitHub repository
2. Distance sensor assembly
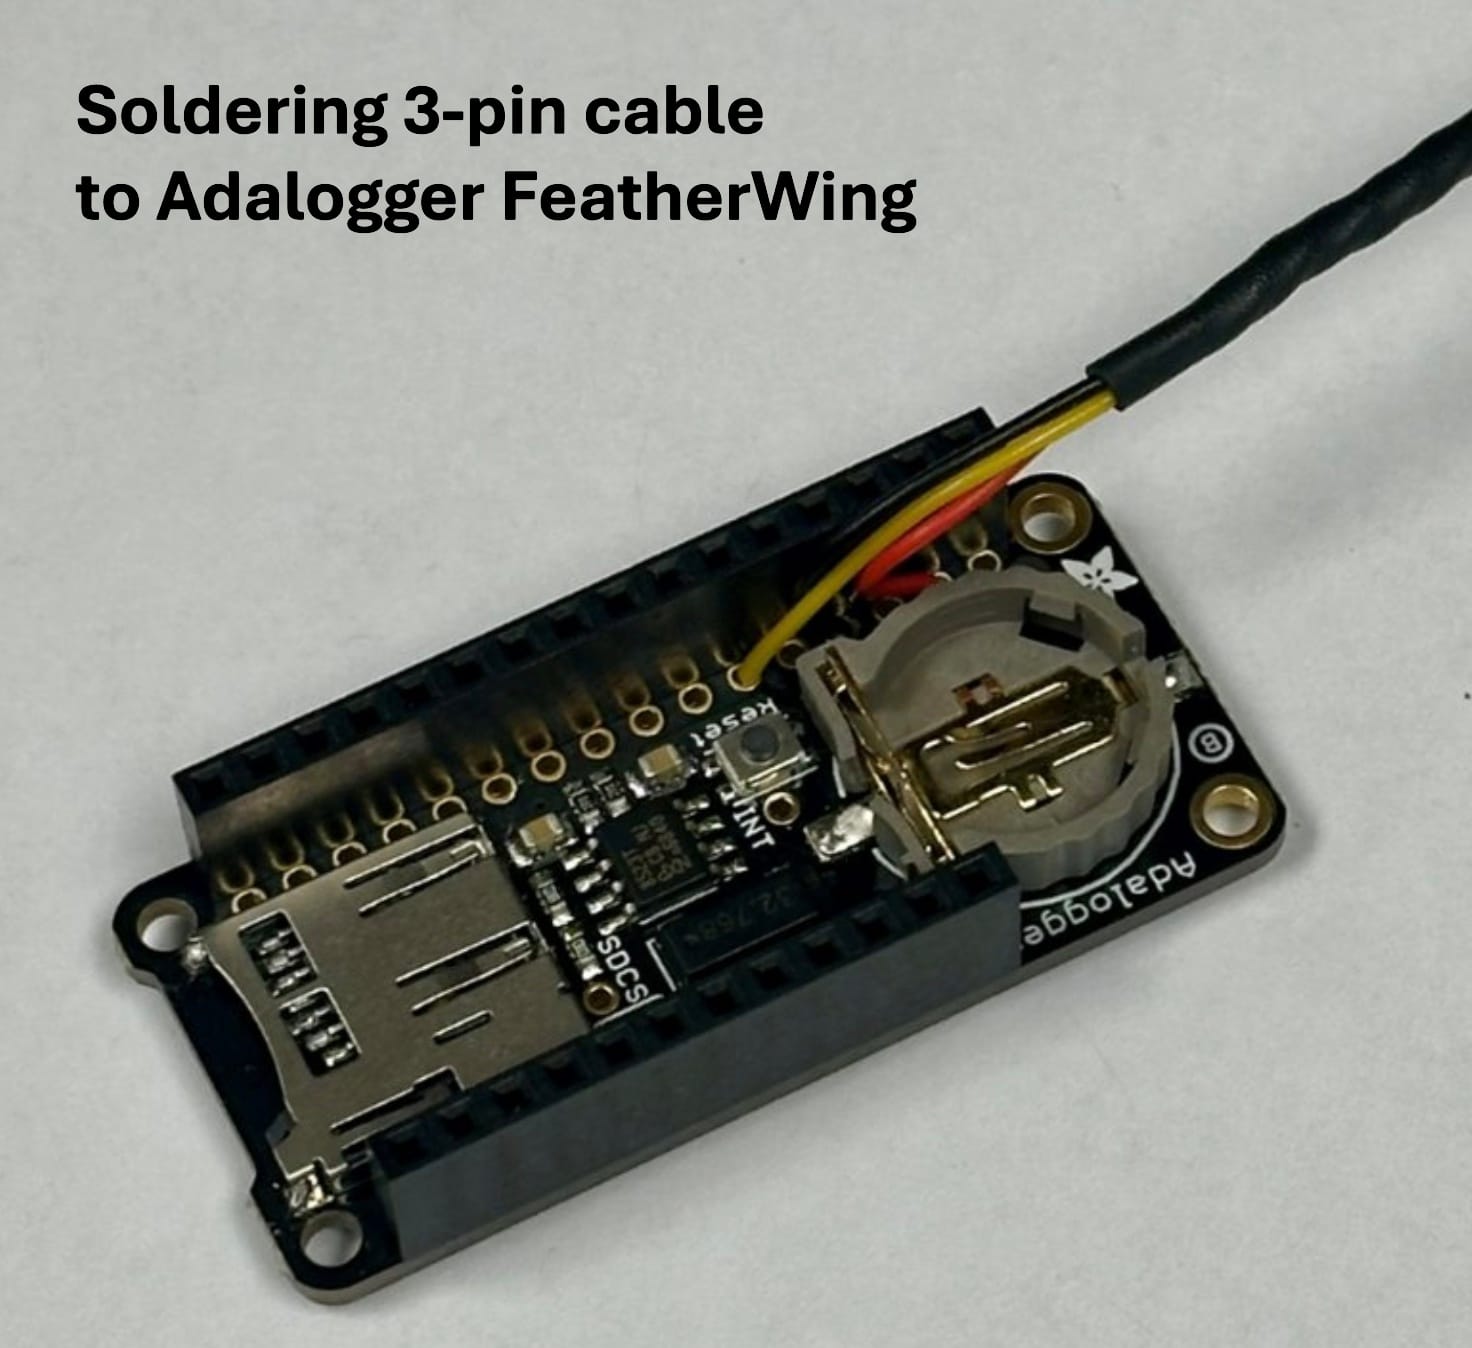
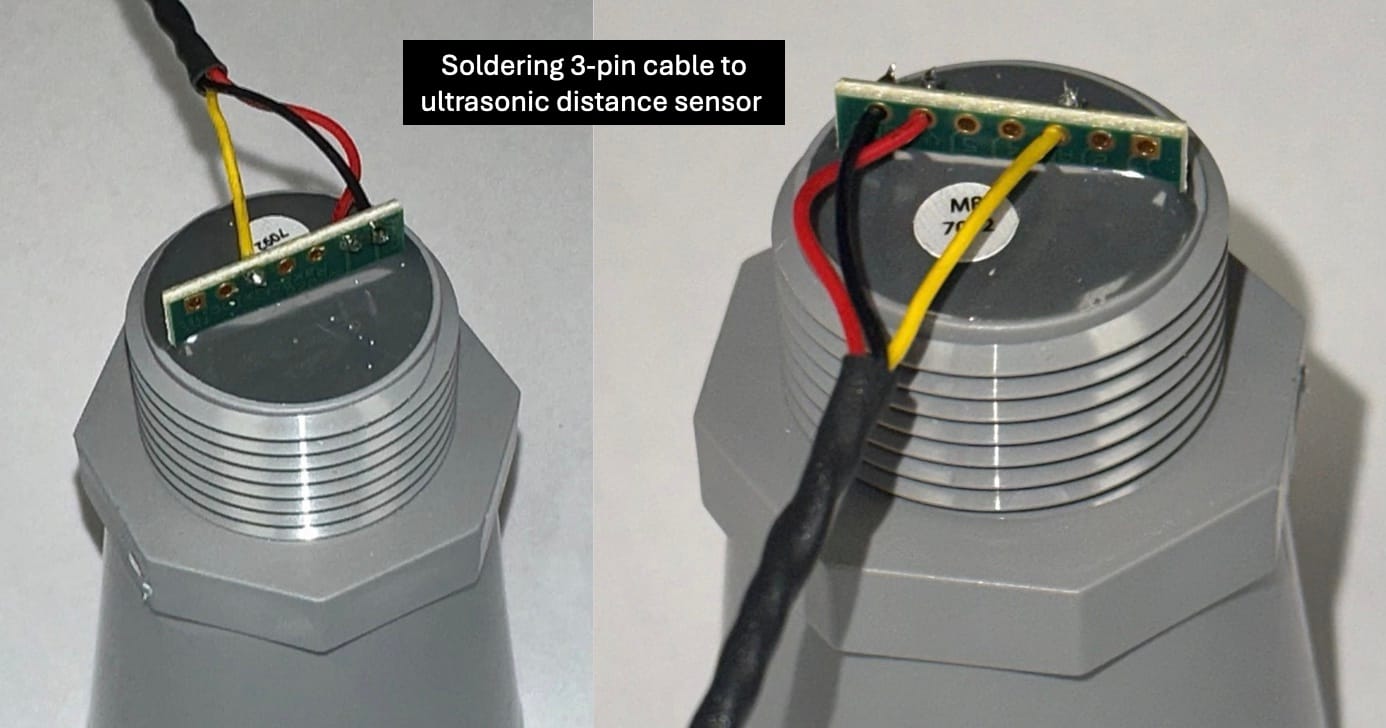
- Optional: Twist the 3-pin cables and enclose with shrink tubing
- Solder the female receptacle 3-pin cable onto the FeatherWing spare pins corresponding to power, ground, and analog inputs
- Solder the male block 3-pin cable onto ultrasonic distance sensor on pins corresponding to power, ground, and analog outputs
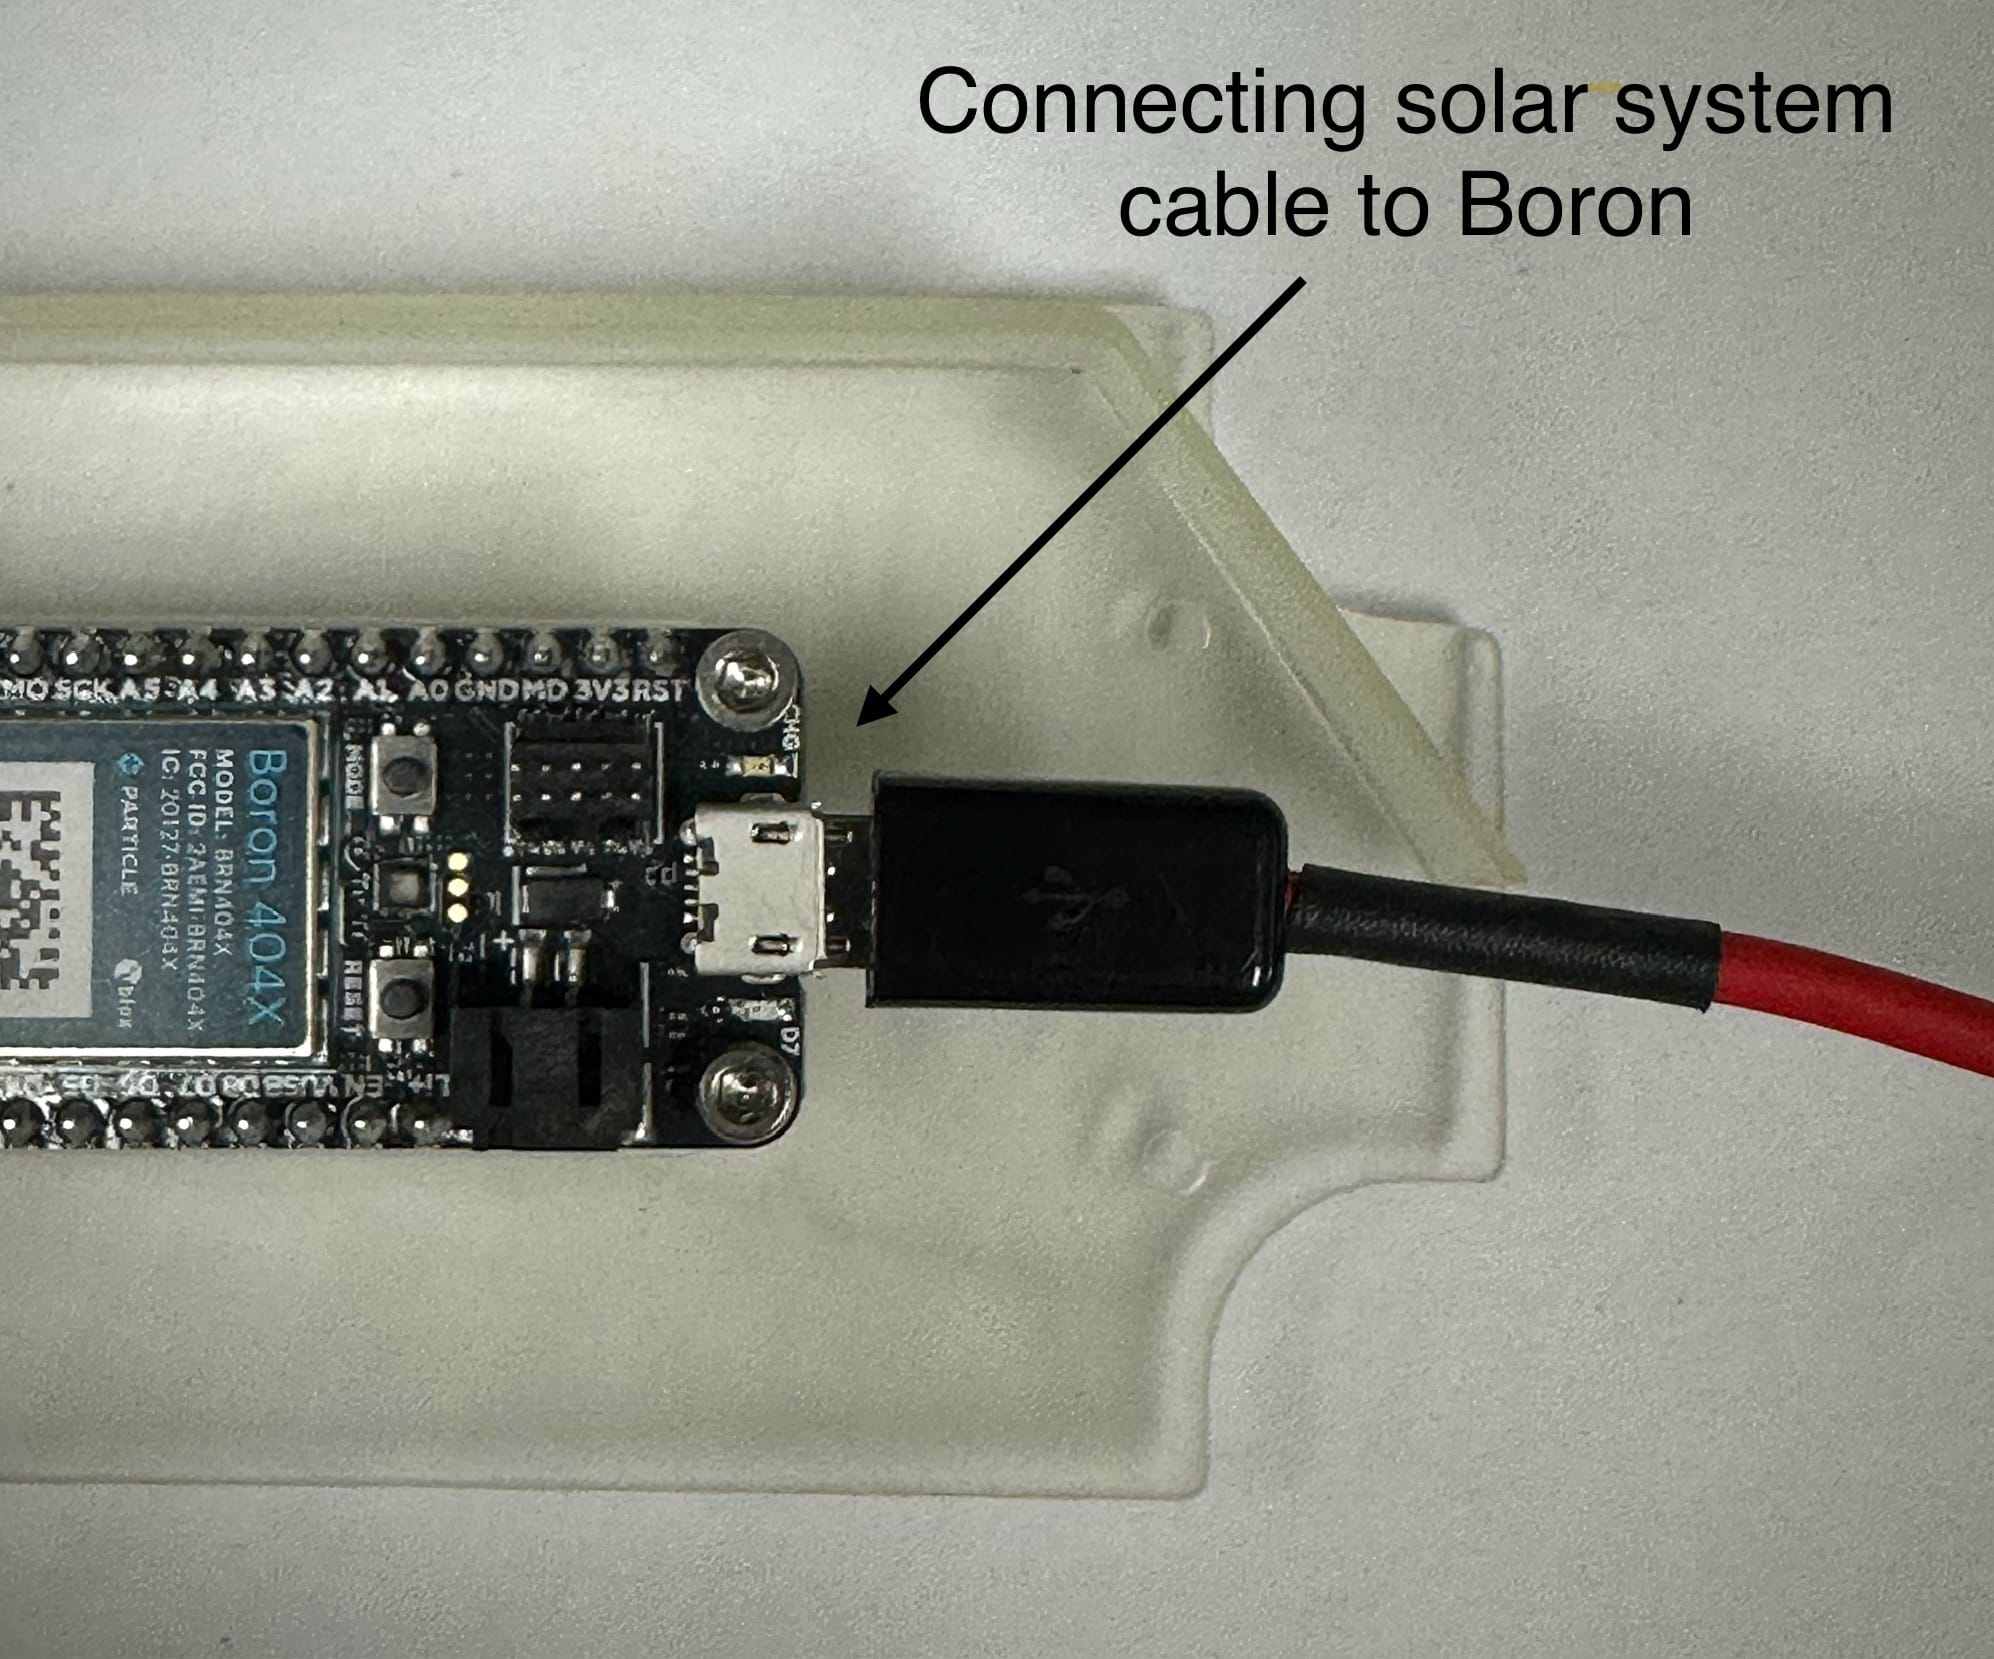
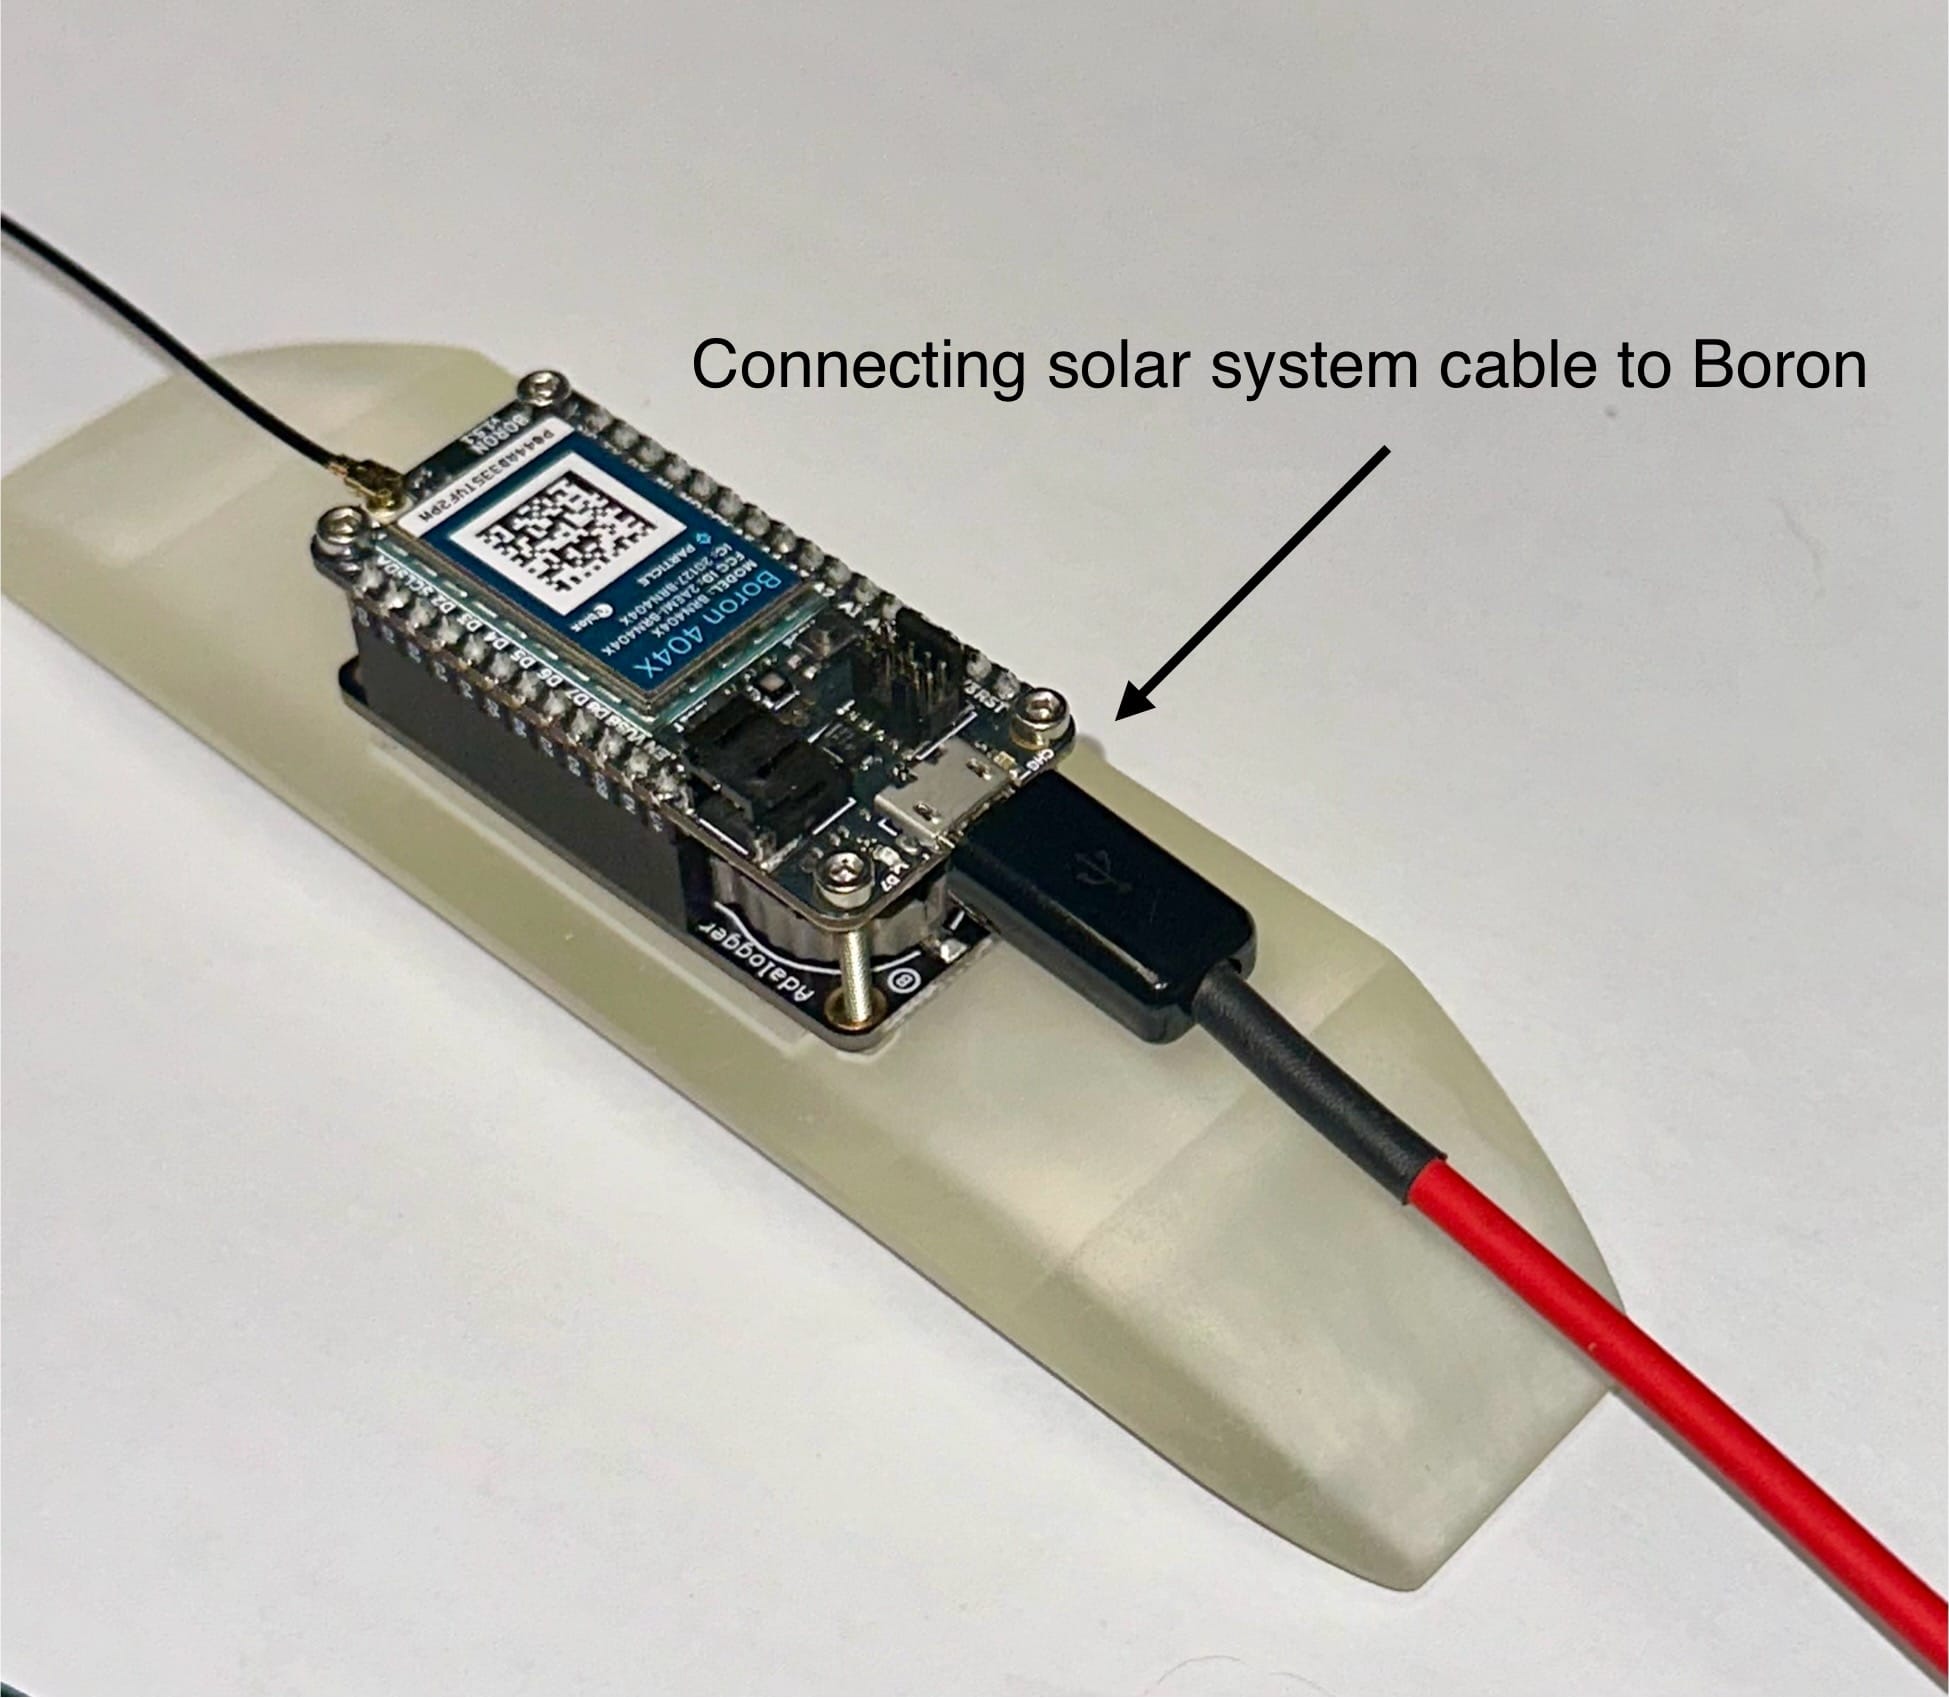
3. Connecting the solar system
- Cut the female 5V 2A connector of the solar cable and carefully strip the end
- Cut the USB A connector of the USB A to Micro-B cable and carefully strip the end
- Optional: Use shrink tubing to keep internal wires separated
- Solder the +5V wires together and the GND wires together
- Cover this connection with a material of choice (e.g. shrink tubing, electrical tape)
- Plug the Micro-B connector into the Boron's Micro-B port
Enclosure & Assembly
Currently, two effective housing enclosures have been developed for the sensor’s electronics. Both models, including the electronics parts listed above, have a total per-unit cost of around 310 USD, significantly lower than most ultrasonic water level sensors. Both designs are easy to build and are supported by detailed assembly instructions in the project’s GitHub repository.
The “PVC Model”
A PVC pipe serves as a practical enclosure for the ultrasonic sensor’s components while maintaining the project’s DIY low-cost initiative, employing several off-the-shelf parts that can be found at hardware stores. Strengths of using the PVC pipe include its low price, availability, and durability.
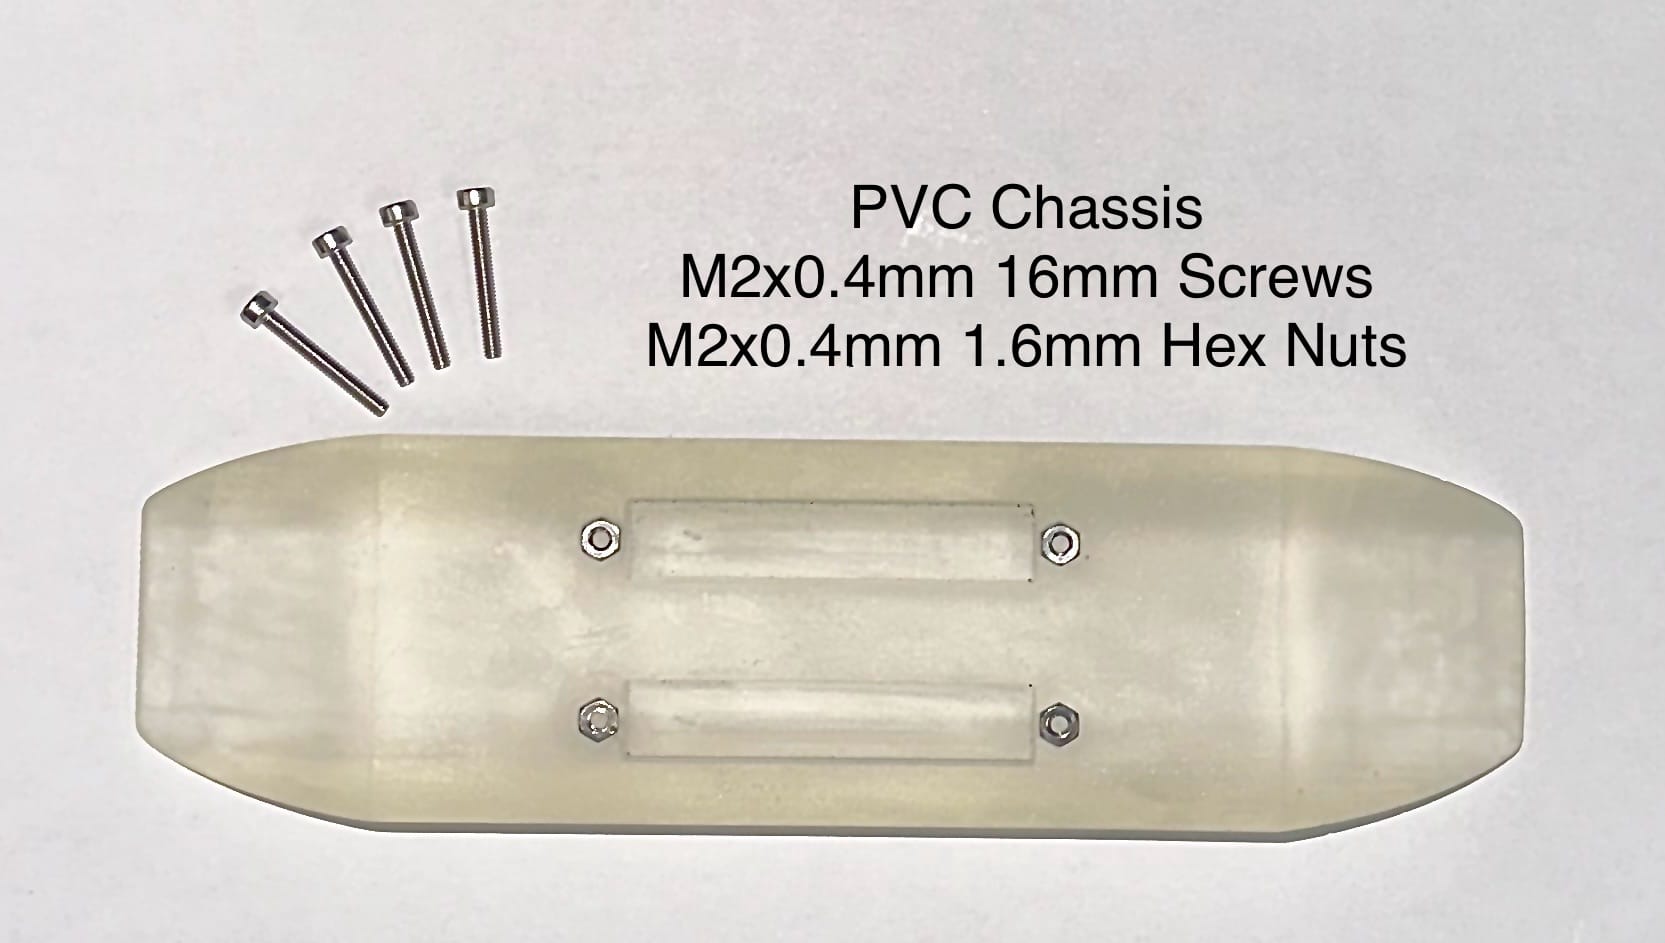
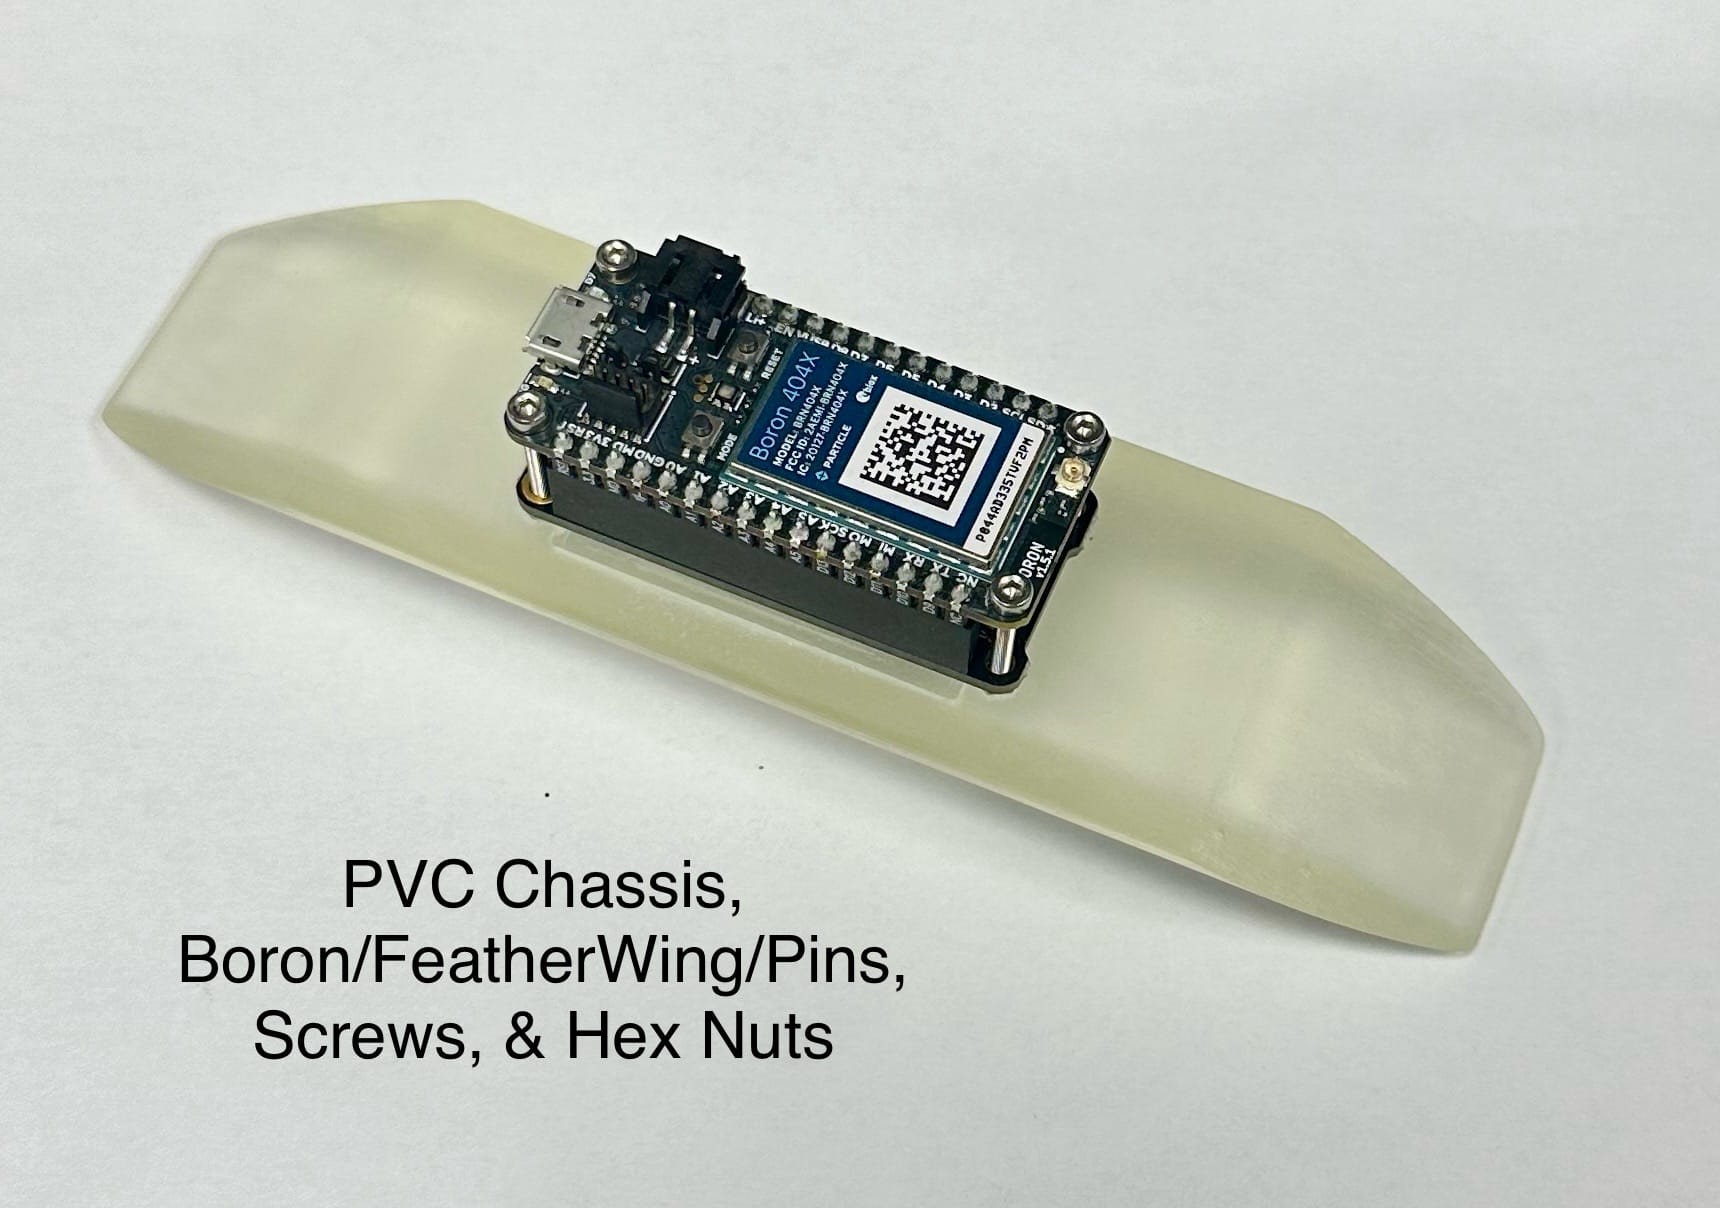
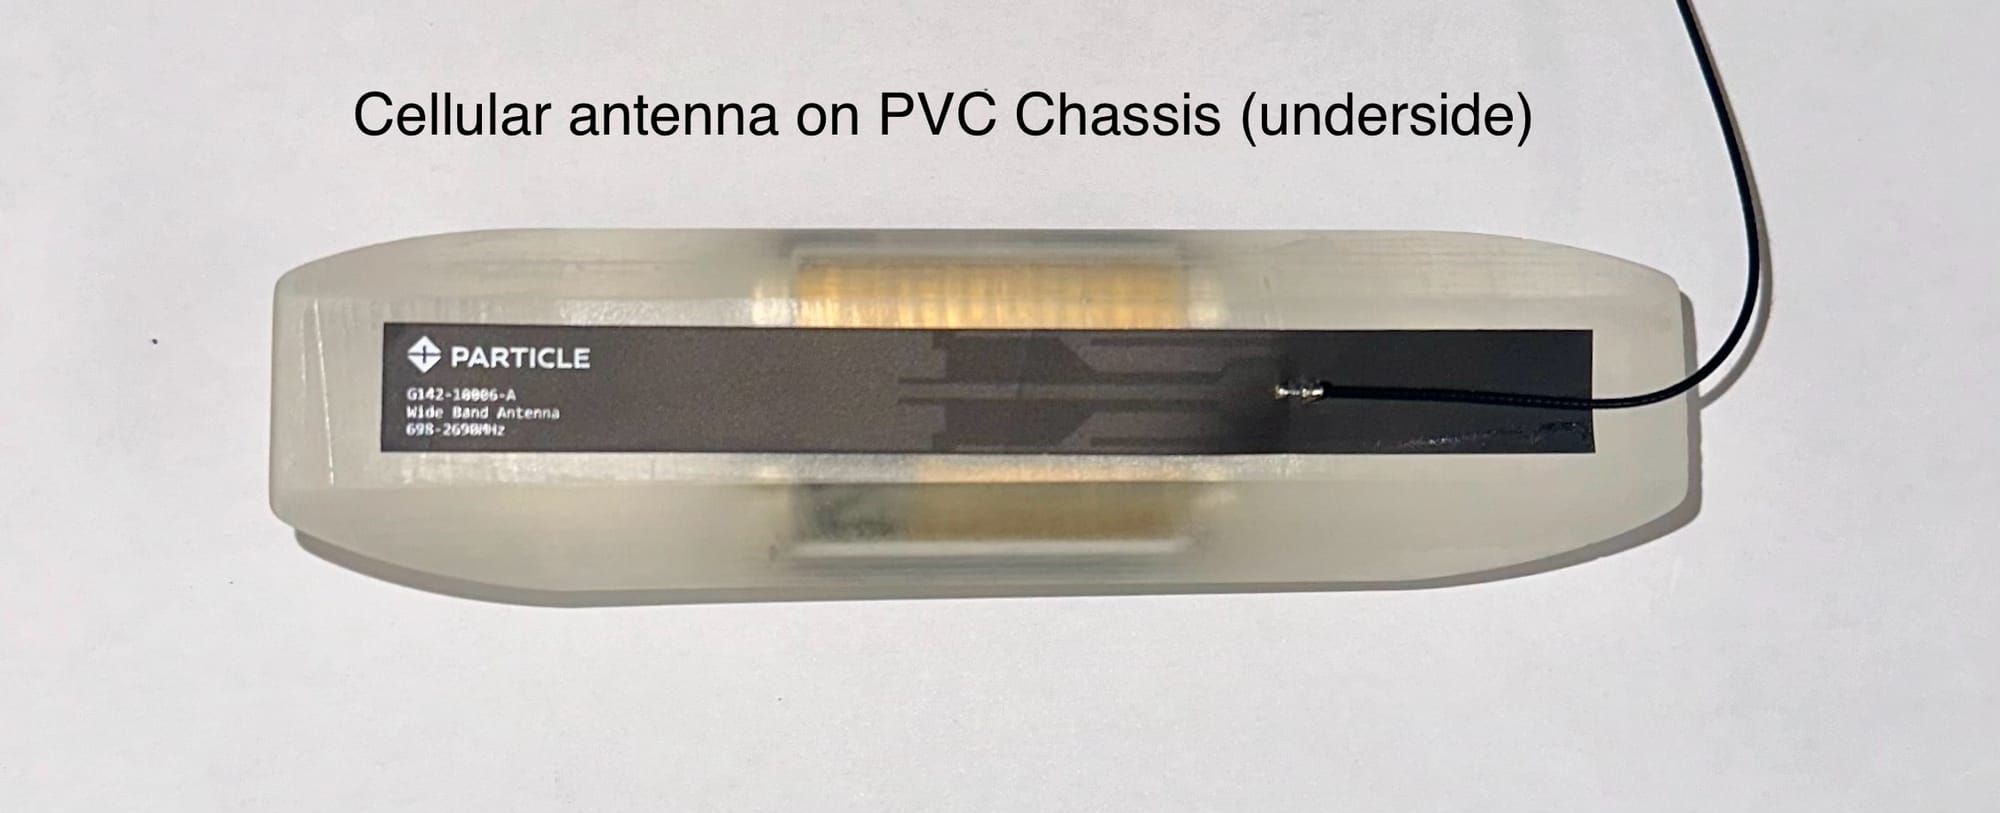
The “PVC Model” uses a 3D-printed internal chassis to which electronics are mounted, allowing for easy in-and-out access and organization of parts within the pipe enclosure. The chassis features rounded edges to slide easily against the internal curvature of the PVC pipe and a flat undersurface for attaching the cellular antenna. The soldered Boron, FeatherWing, and header pins are screwed atop slots in the chassis. A hole is drilled in the PVC pipe for solar cable entry and is sealed with marine epoxy for waterproofing. The Maxbotix Ultrasonic Rangefinder screws into a matching pipe bushing, which connects to the PVC pipe using a pipe coupling. The PVC pipe’s other end is sealed with a gripper, which employs a rubber gasket to protect against weather events. Navigate to this fabrication directory for access to the design files, bill of materials, datasheets, detailed assembly instructions, and more.
The “Polycase Model”
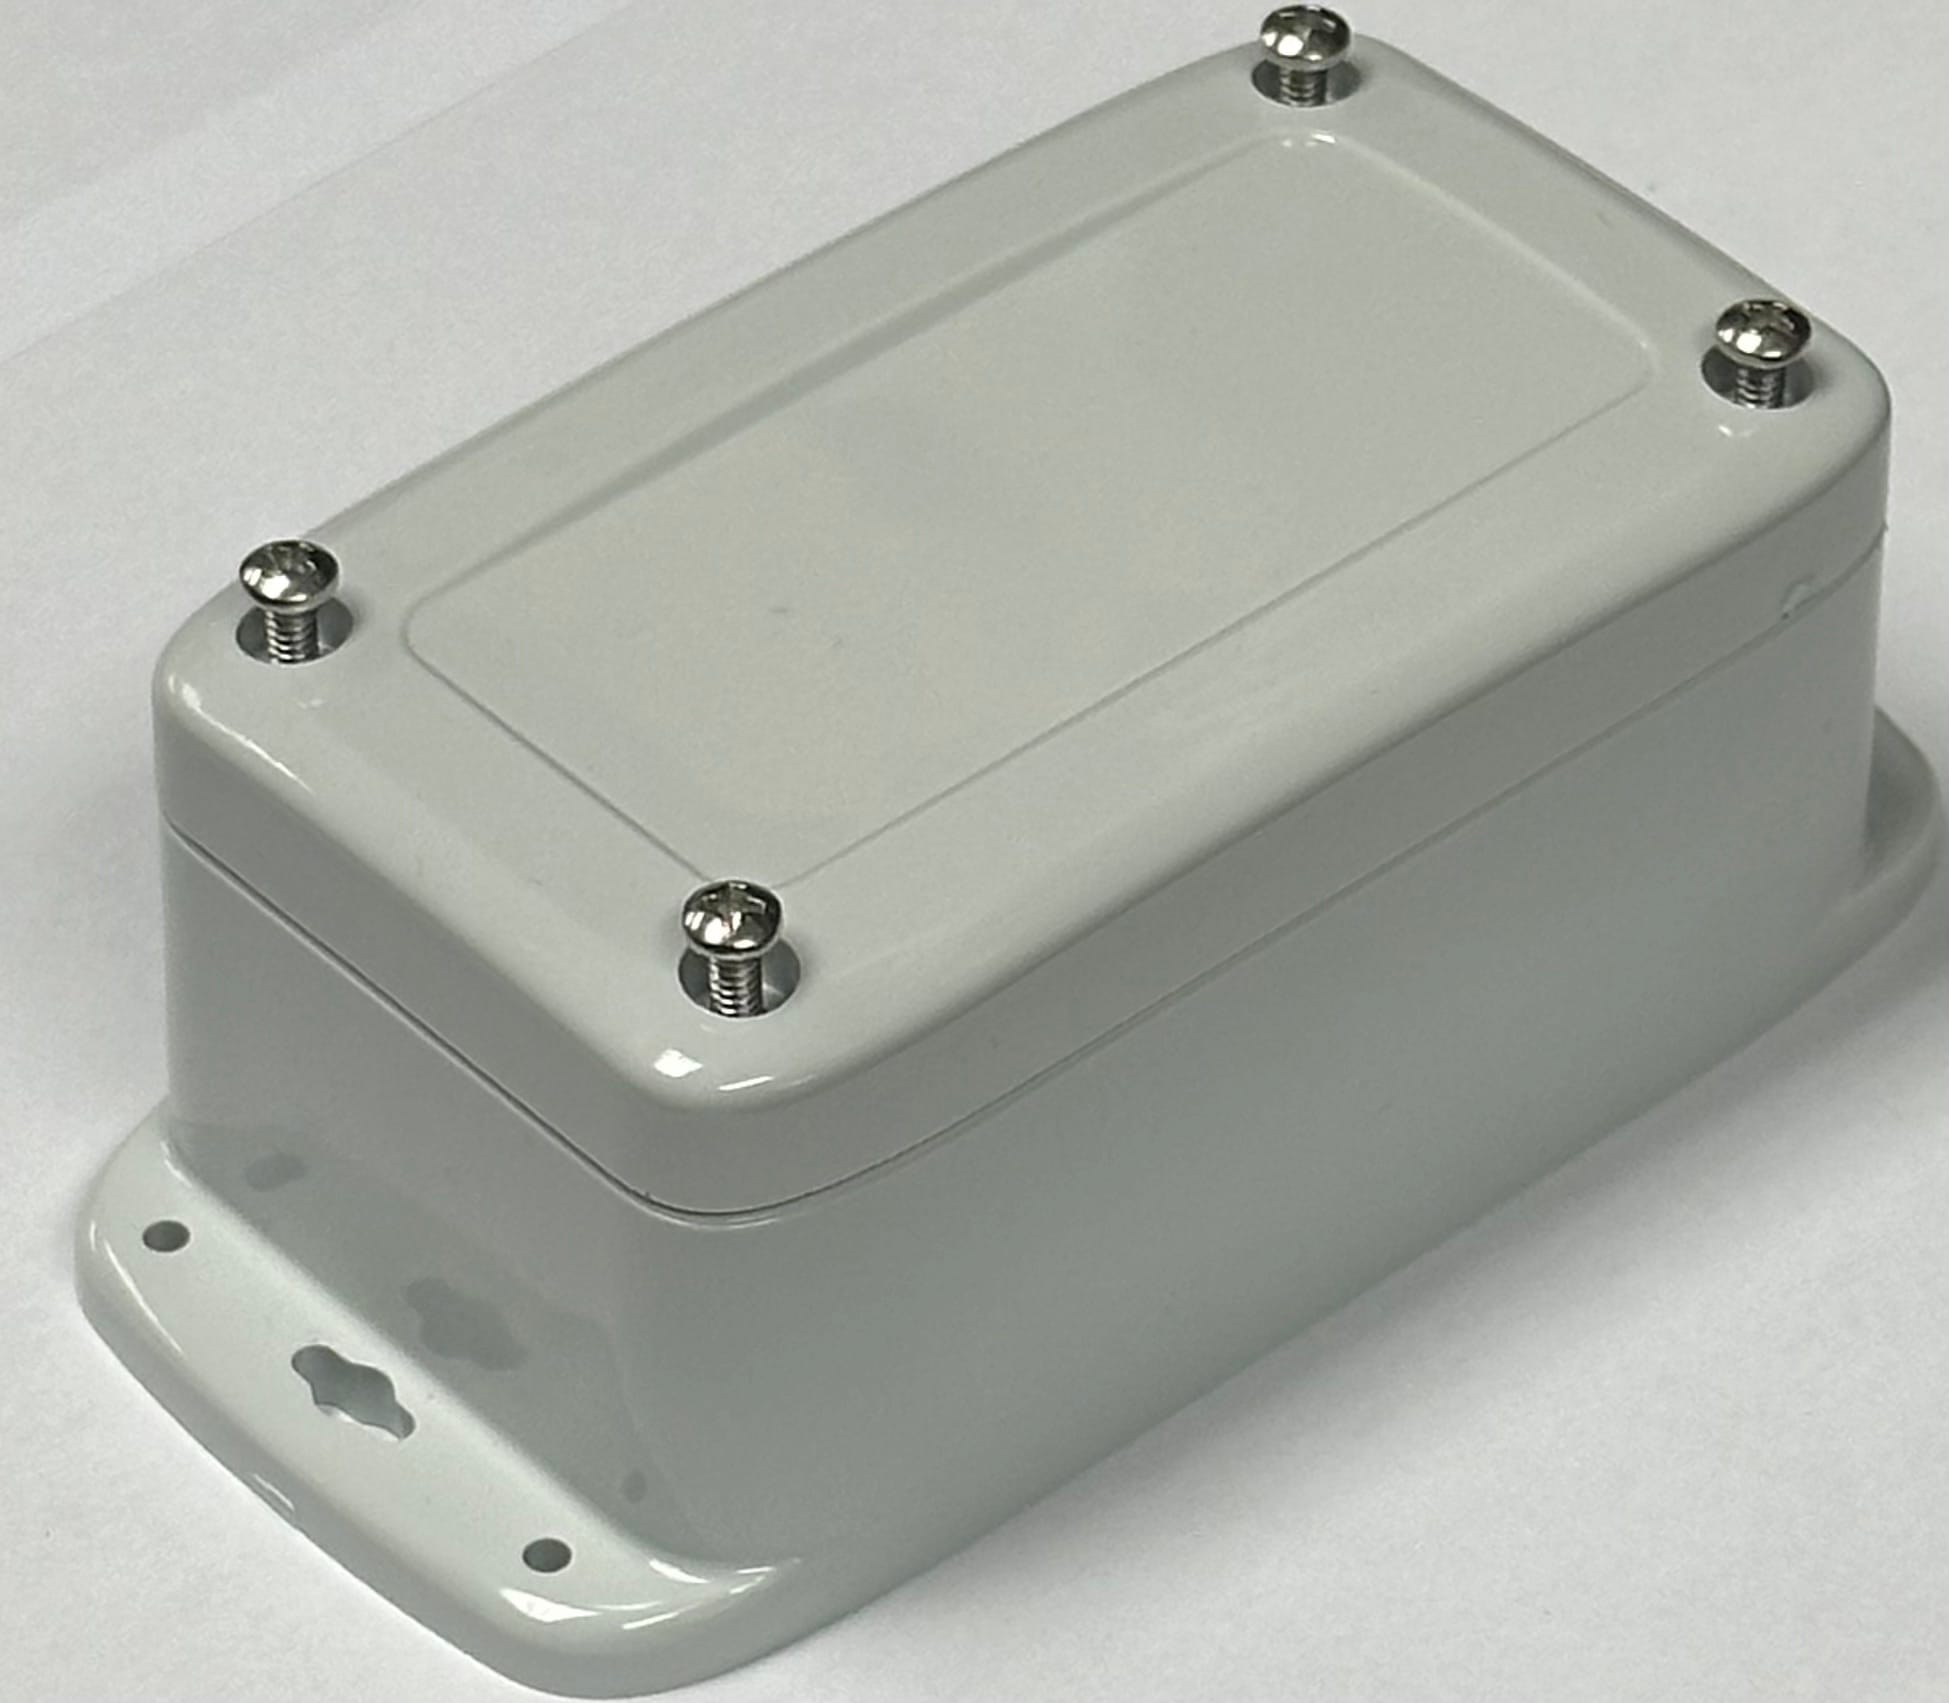
After the “PVC Model” was deployed and tested, a Polycase ML-24F Outdoor NEMA Enclosure was proposed as another effective housing for the water level sensor’s components. Electronic parts in the Polycase design are the same as the PVC design, including the real-time cellular connection. The “Polycase Model” simply offers another way to keep components safe and stable using a purchasable enclosure with flat surfaces.
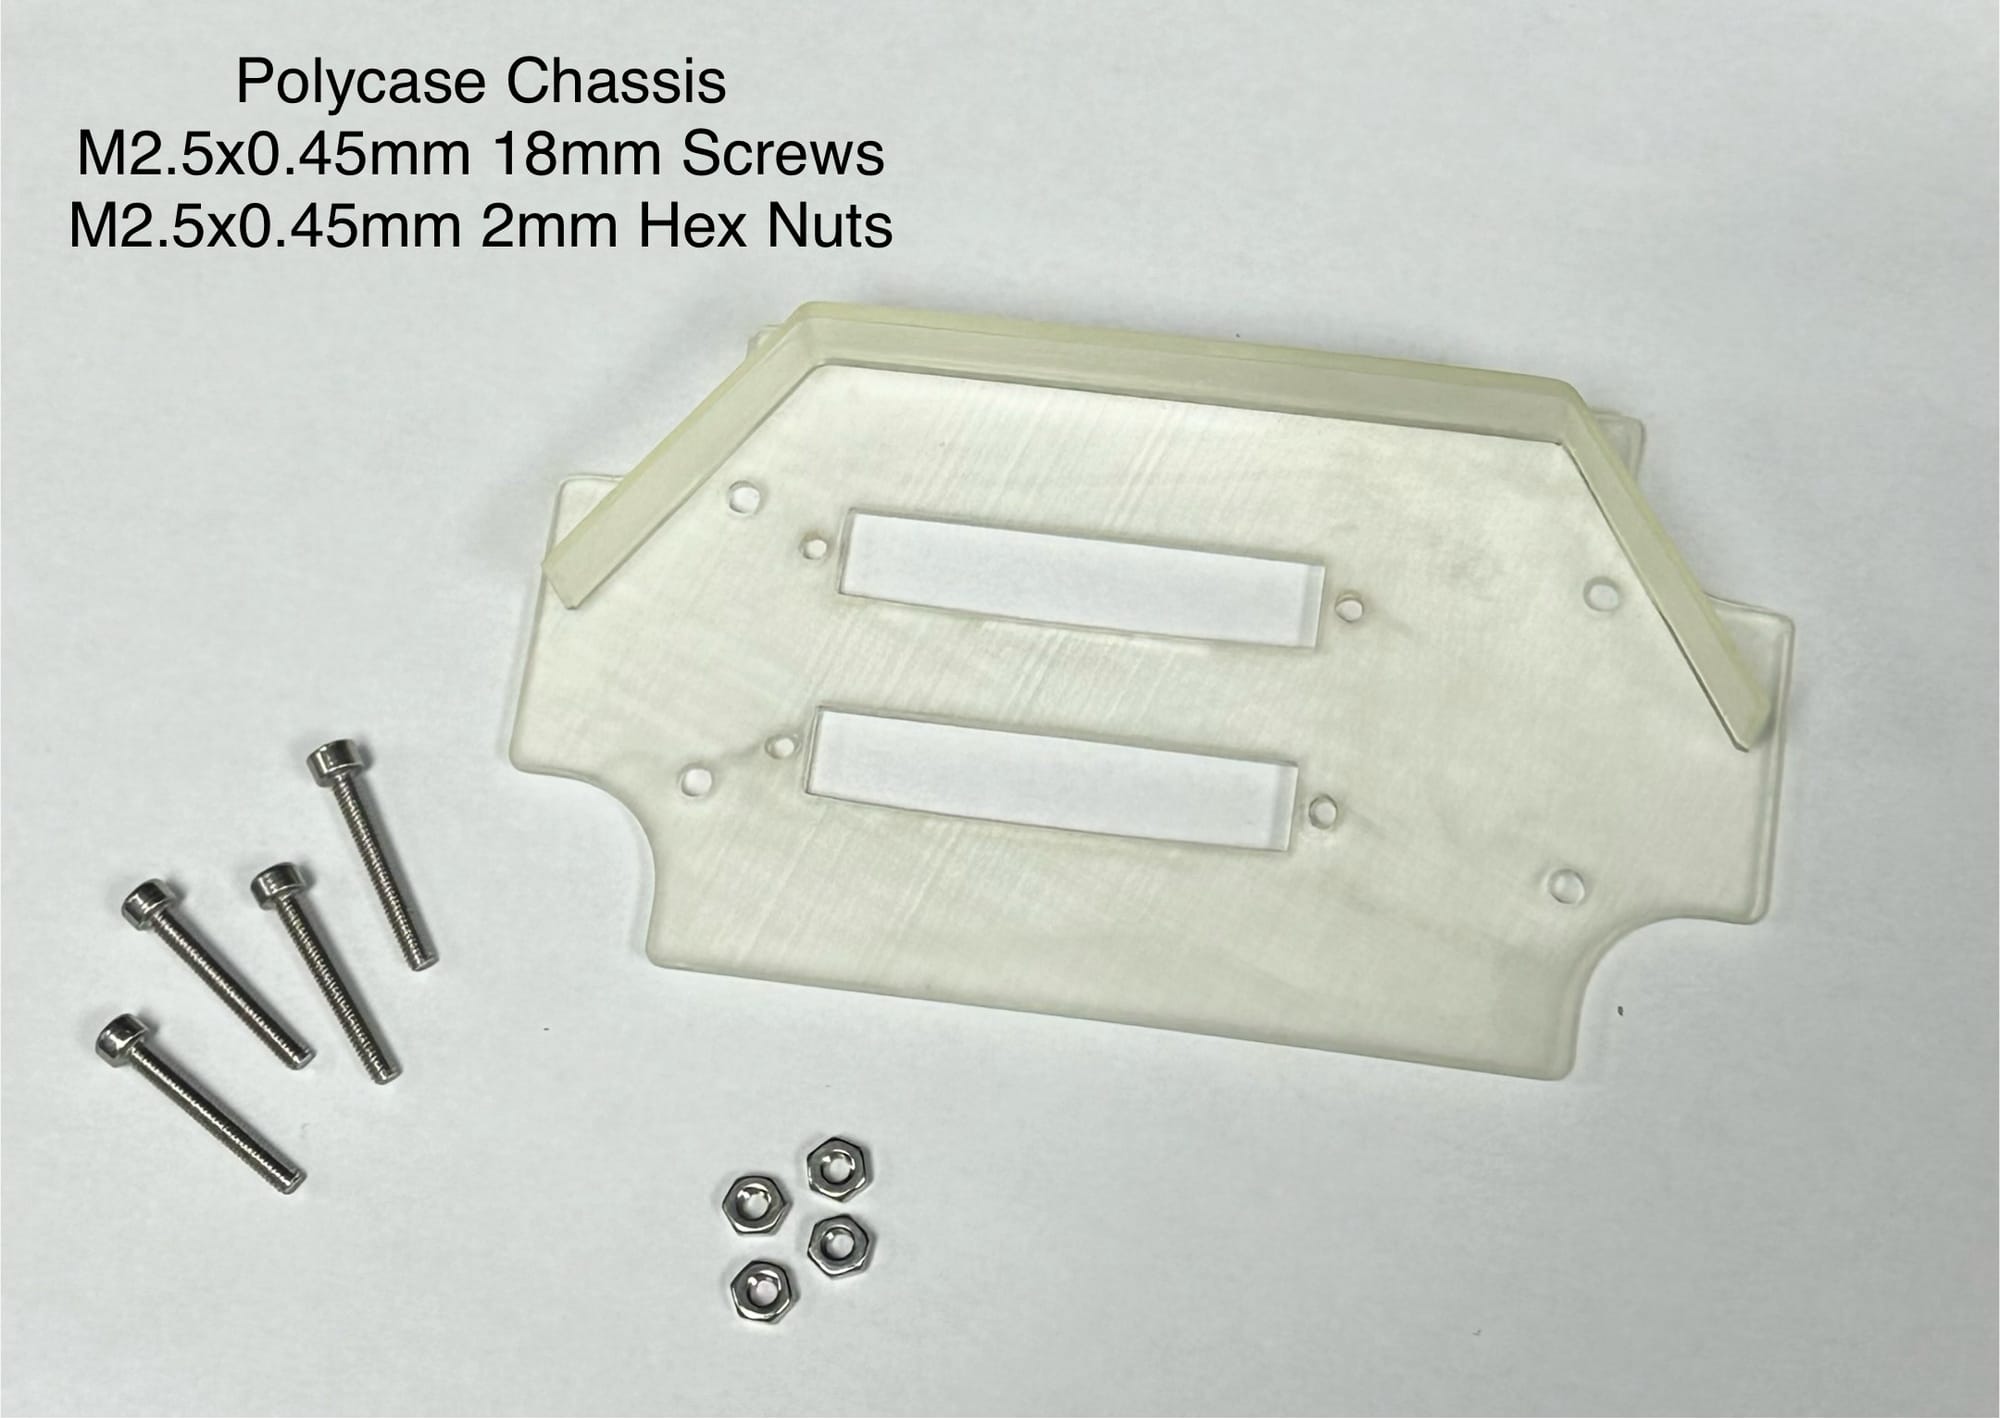
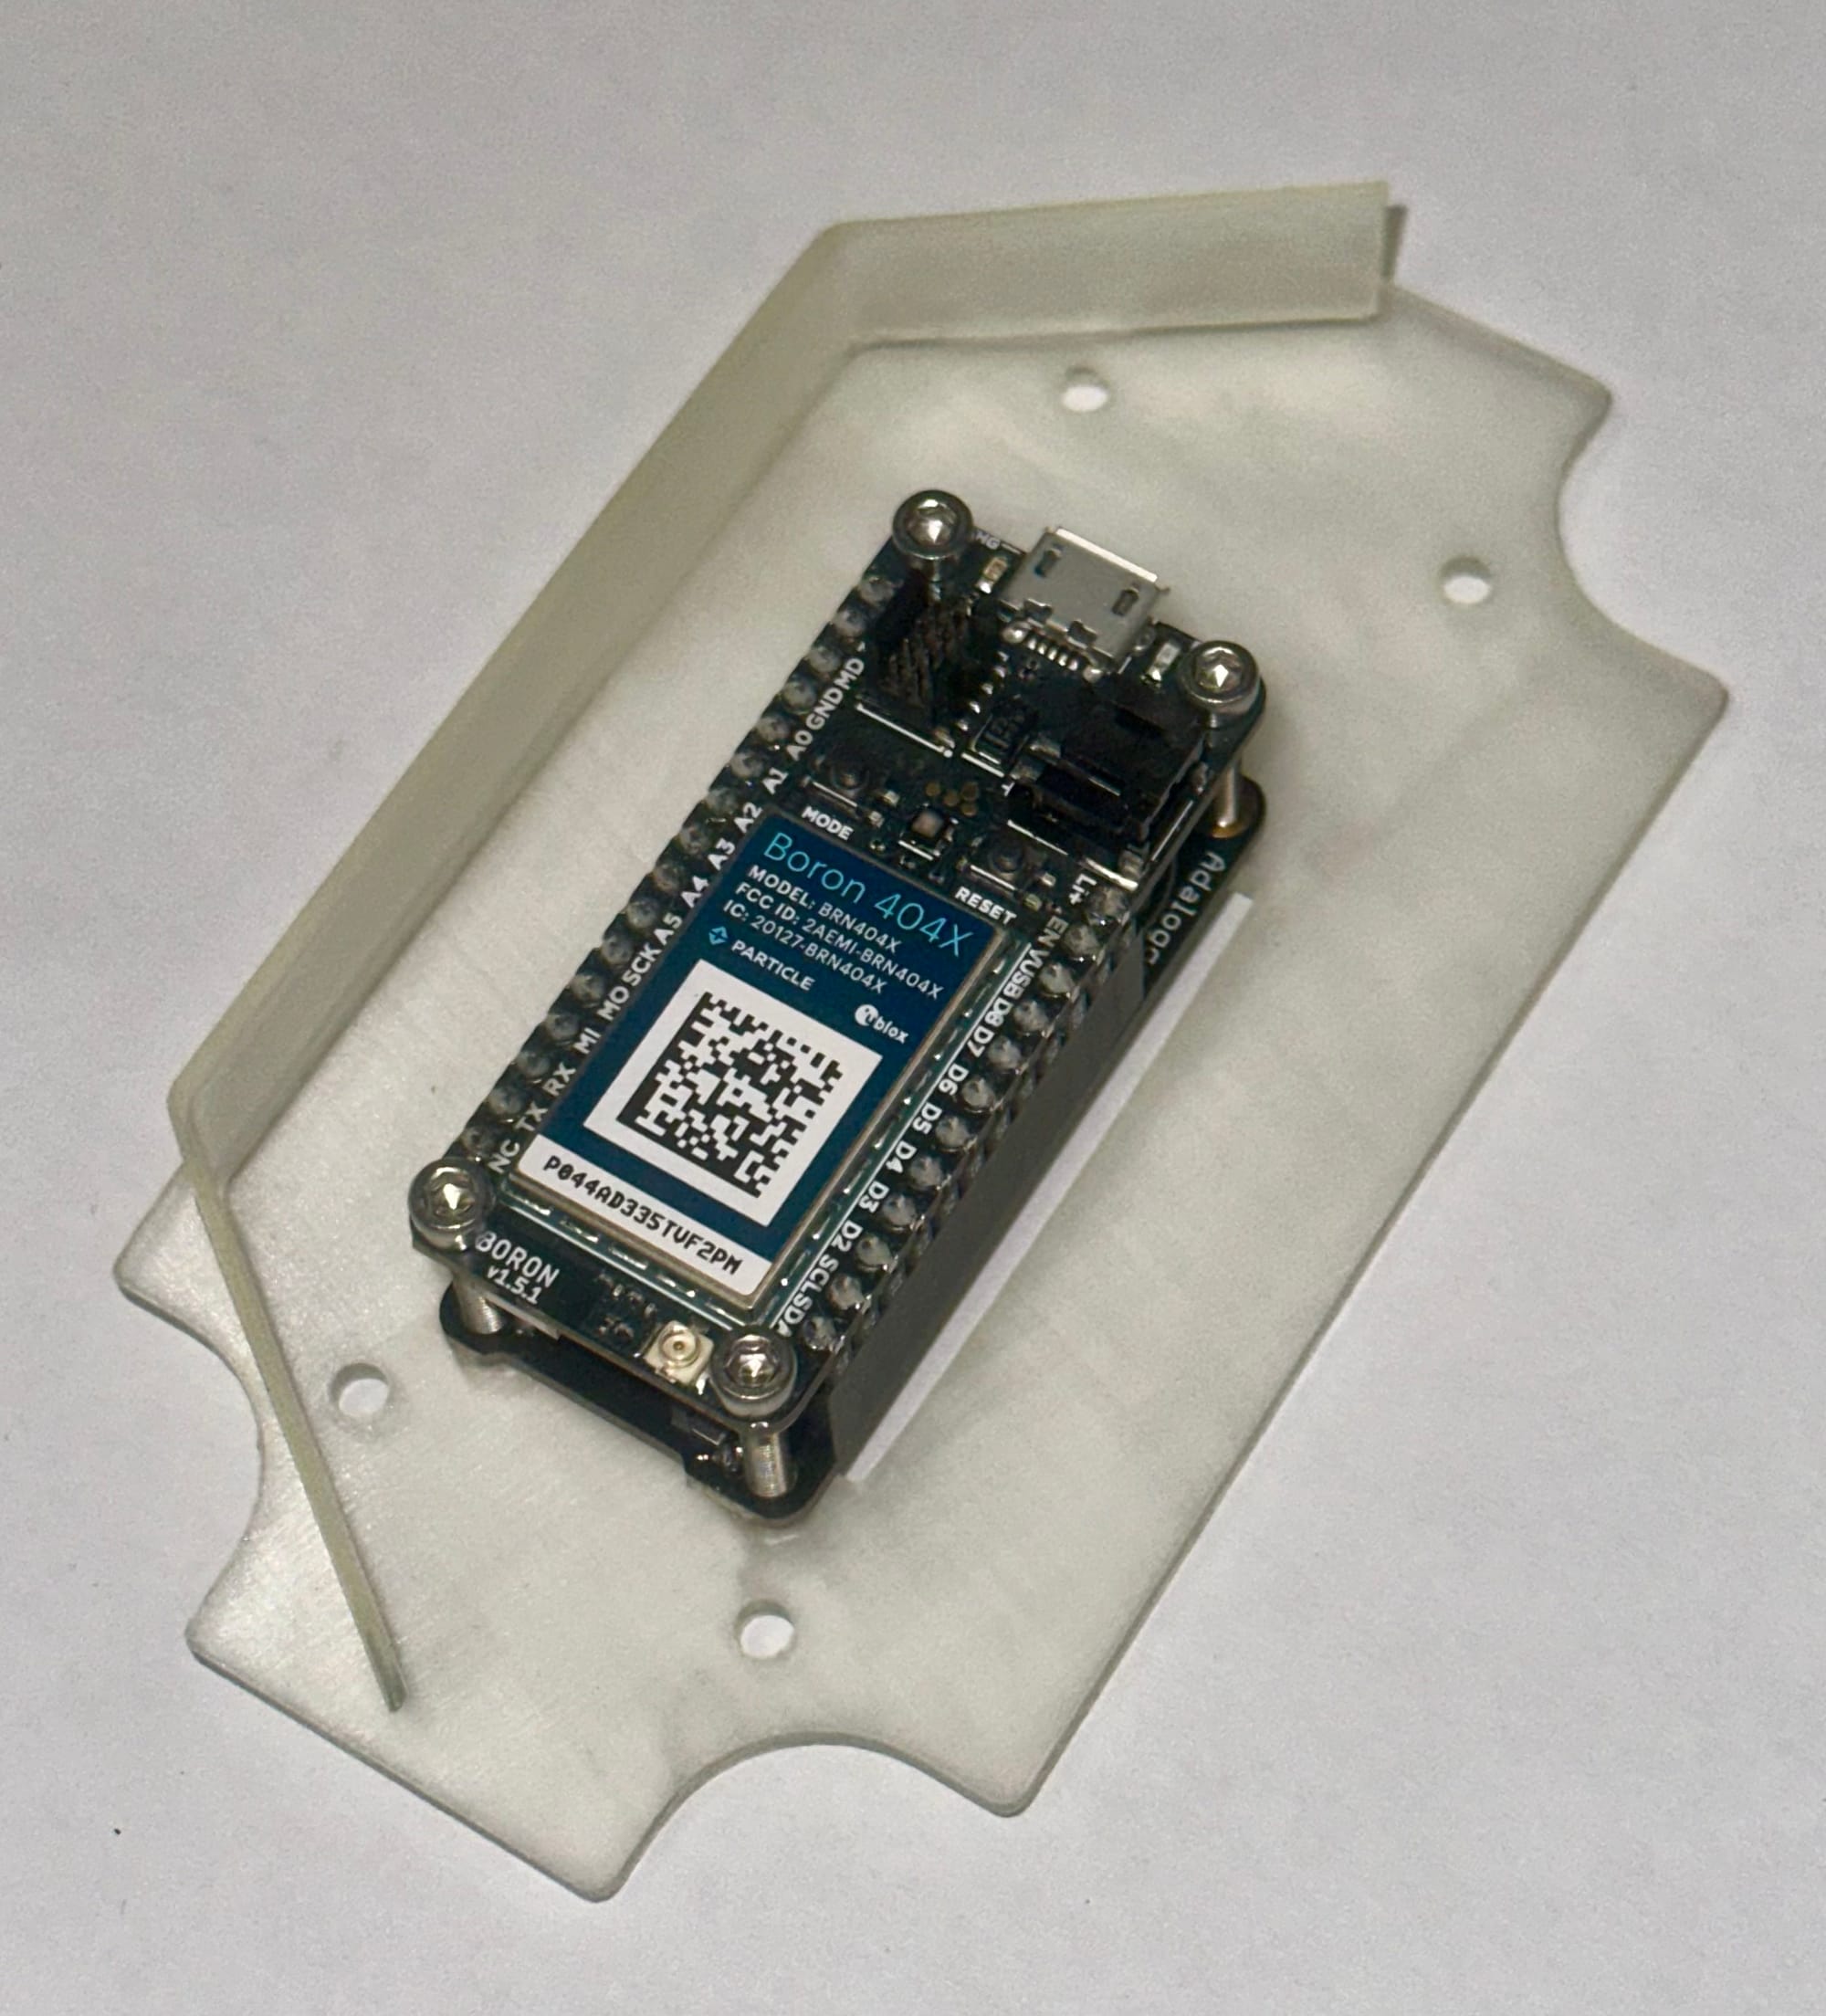
Like the PVC-enclosed design, the “Polycase Model” utilizes a 3D-printed chassis to hold internal electronic parts, secured in place by screws and hex nuts. The Boron, FeatherWing, and pins are again screwed atop slots in the chassis. A protruding flat surface acts as a frame to which the cellular antenna is attached. A threaded hole is drilled in the Polycase’s lid for the ultrasonic distance sensor, made waterproof with pipe tape. Another hole (made waterproof with a cable gland) is drilled in the enclosure’s side wall for the solar cable. A rubber gasket is included in the Polycase lid to help with waterproofing. Navigate to this fabrication directory for access to the design files, bill of materials, datasheets, detailed assembly instructions, and more.
Next Steps
The low-cost, DIY water level sensor described in this article has been shown to perform very well in a range of conditions and is well-suited for community and education applications. Potential next steps may focus on reducing the number of assembly steps requiring tools such as drilling and soldering, making the assembly process even more accessible. This would be particularly beneficial if the sensor is implemented in educational or community settings. These next steps include:
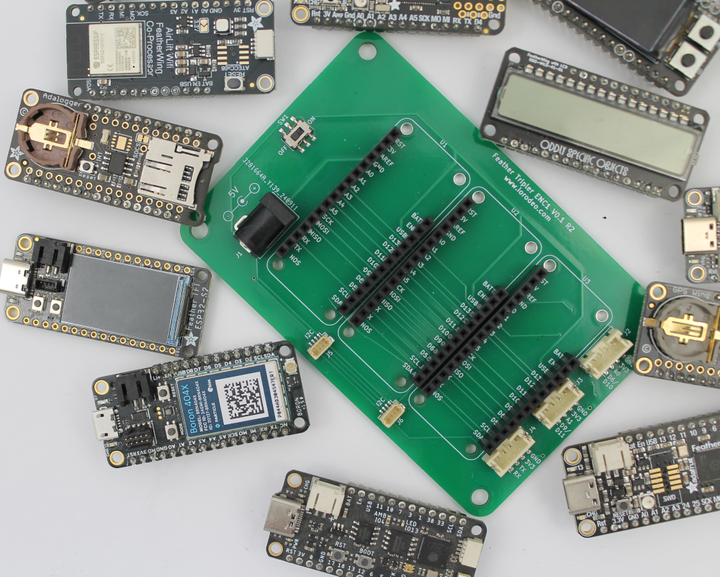
- Designing a custom printed circuit board (PCB) for mounting the Boron and Adalogger FeatherWing. The PCB would include mounting holes matching the enclosure and standardized connectors for the sensor and solar system in order to remove the need for custom cabling
- Swapping the ML-24F NEMA Enclosure for a commercially-available enclosure with hole knockouts to eliminate the need for drilling holes in the enclosure
The COAST lab is also collaborating with IO Rodeo to develop a commercially-available open hardware kit, and updates will be shared via the IO Rodeo newsletter and blog. In the meantime, we wish to acknowledge that there are many vetted commercial options which may have their own advantages. Several examples include Hohonu, Green Stream and Campbell Scientific.
Coastal science is ever-evolving, as is the DIY, low-cost, open-source water level sensor. Documentation on the COAST Lab’s GitHub repository is being continuously updated, as are the firmware and hardware components of the sensor itself. Follow the project on GitHub for the latest developments.
Resources
To learn more about coastal flooding and the COAST Lab’s sensor, check out the post Coastal Science and a Low-Cost, DIY Ultrasonic Water Level Sensor. Linked below are additional resources highlighting coastal flooding and groundbreaking work being done in the COAST Lab and other organizations. Finally, special thanks to IO Rodeo for the opportunity to spotlight the low-cost, DIY sensor and to bring light to the importance of coastal flood monitoring.








Comments ()