Getting Started: Installing a 3.7V Lithium Ion Battery
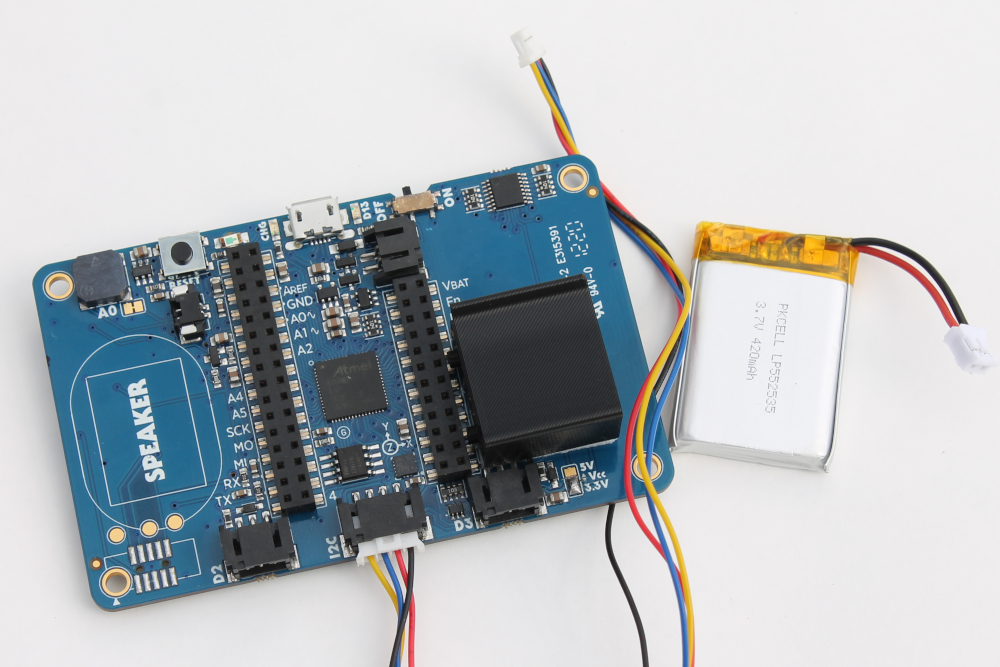
The Open Colorimeter can be powered by USB or a 3.7V lithium ion battery. To use the Open Colorimeter without a battery, simply plug in the USB cable for power. However, we recommend using a battery as the instrument works best as a portable device.
Currently we are not shipping lithium batteries with the Open Colorimeter, so you will need to purchase one. However, these are readily available from Adafruit and Sparkfun. We have listed some options below.
Recommended battery for the Open Colorimeter
The battery we use regularly is the Adafruit 3.7V 420 mAh lithium ion battery.

There are three other options listed below as well.
- Sparkfun 3.7V 400 mAh lithium ion battery
- Sparkfun 3.7V 850 mAh lithium ion battery
- Adafruit 3.7V 2000 mAh
Installation Instructions
Step 1: Use a screwdriver to remove the 4 corner screws. Take off the black 3D printed cover and set it aside.
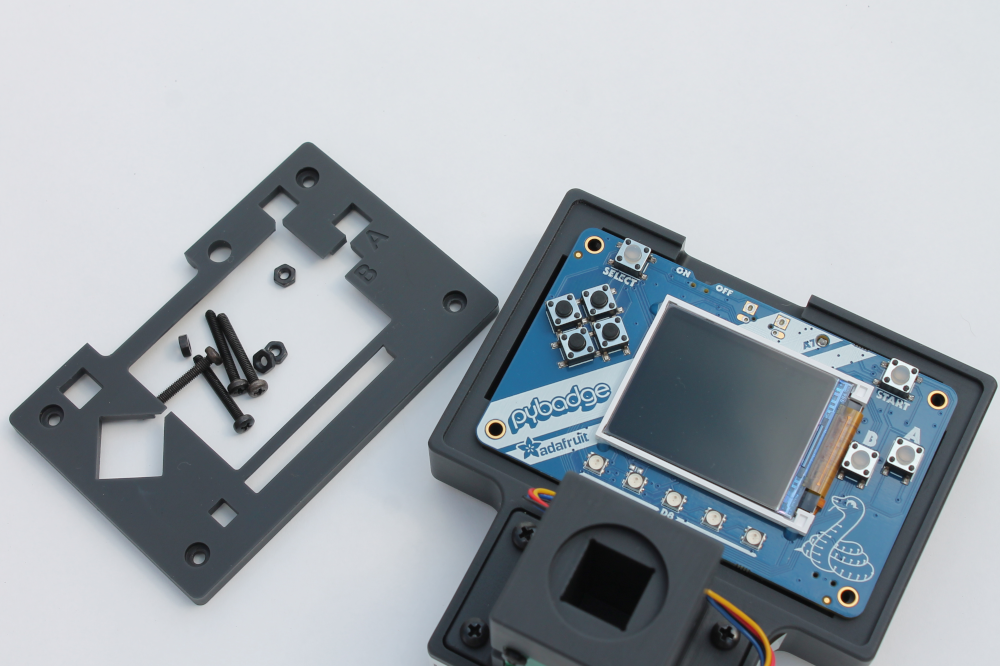
Step 2: Take out the PyBadge and flip it over. There is a battery clip attached the the back of the PyBadge.
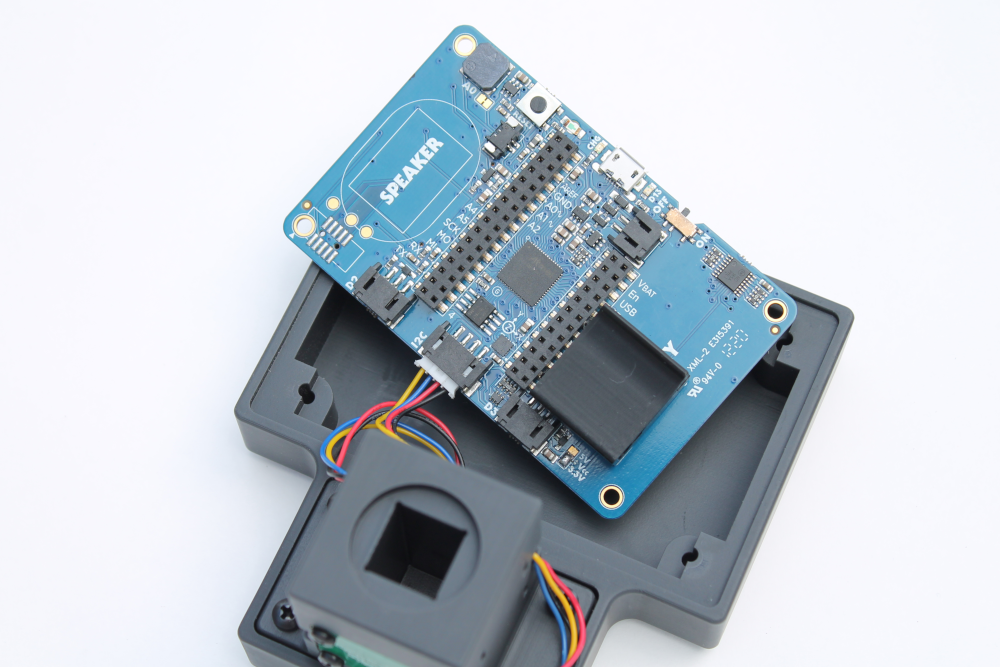
Step 3: Connect the battery as shown in the image below.
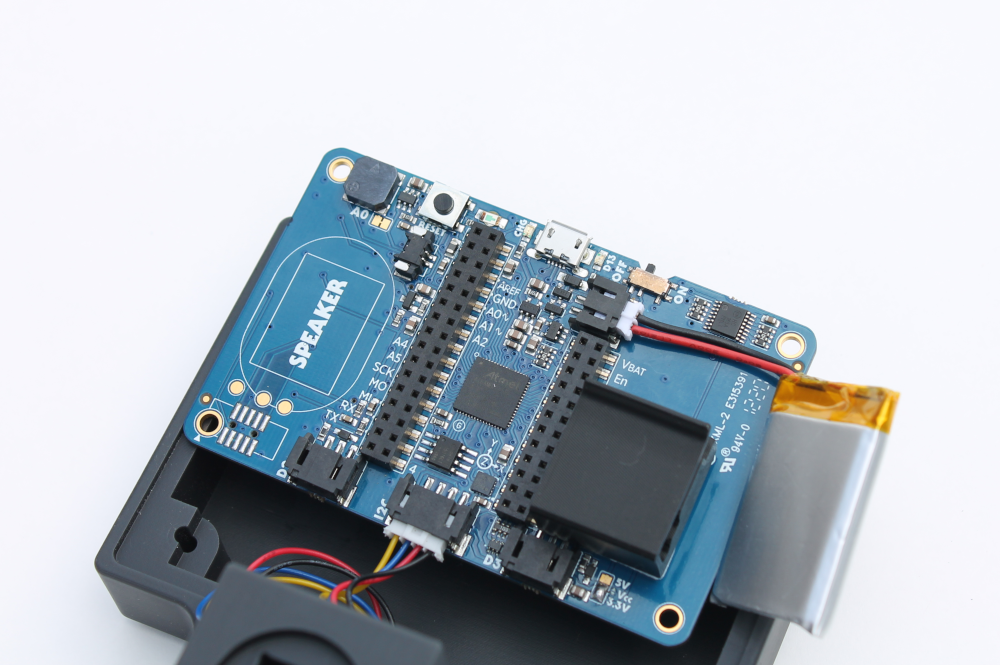
Step 4: Insert the battery into the battery holder as shown in this image.
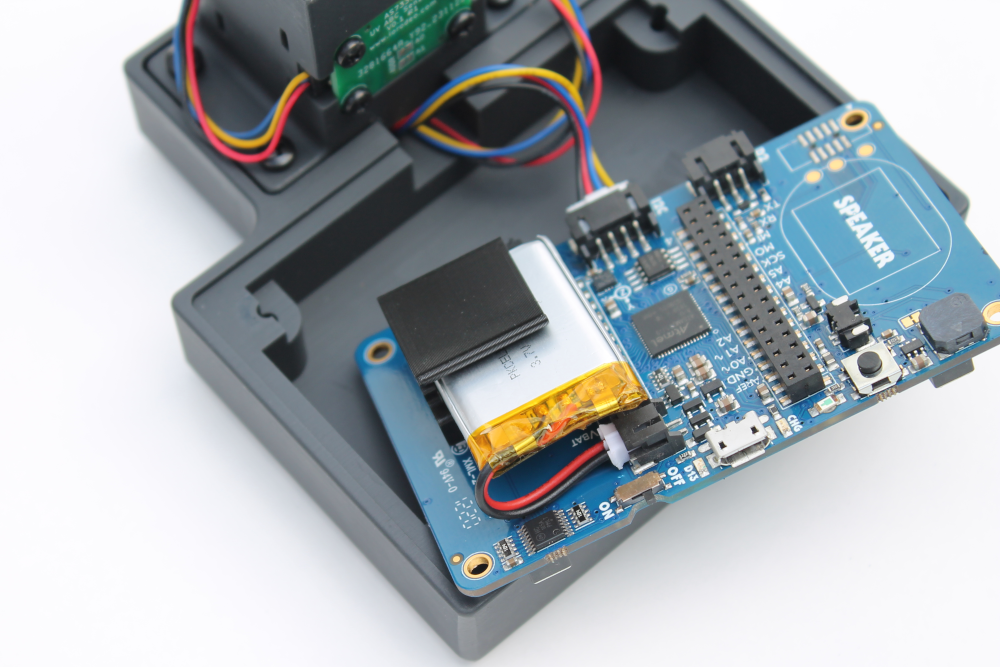
Step 5: Place the PyBadge into the enclosure as shown here. You will likely need to do some cable management - feed the excess cable back under the cuvette holder. When you are finished it should look like this image below.
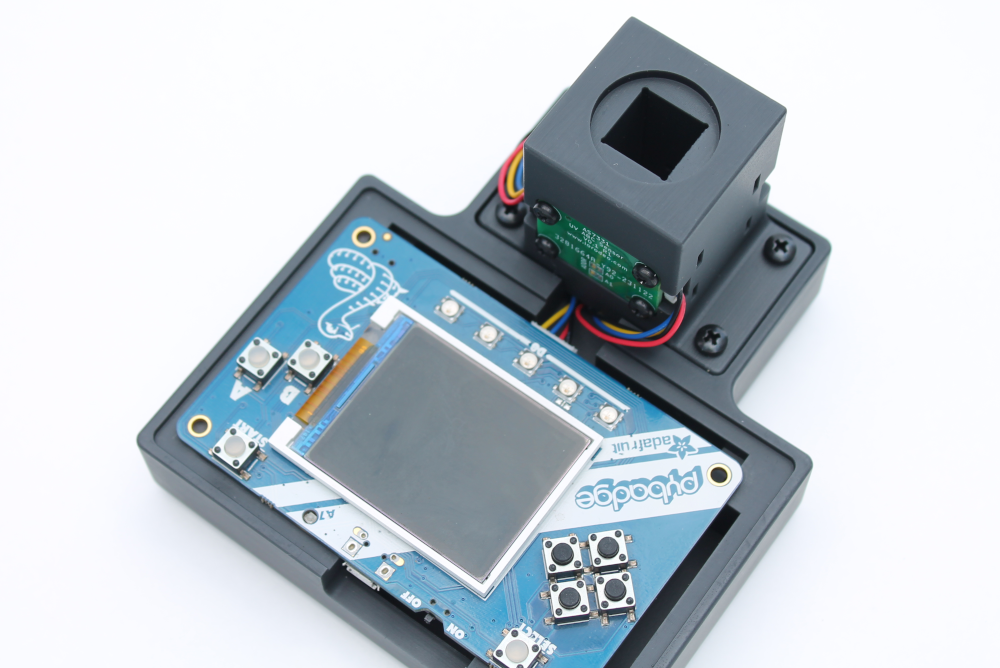
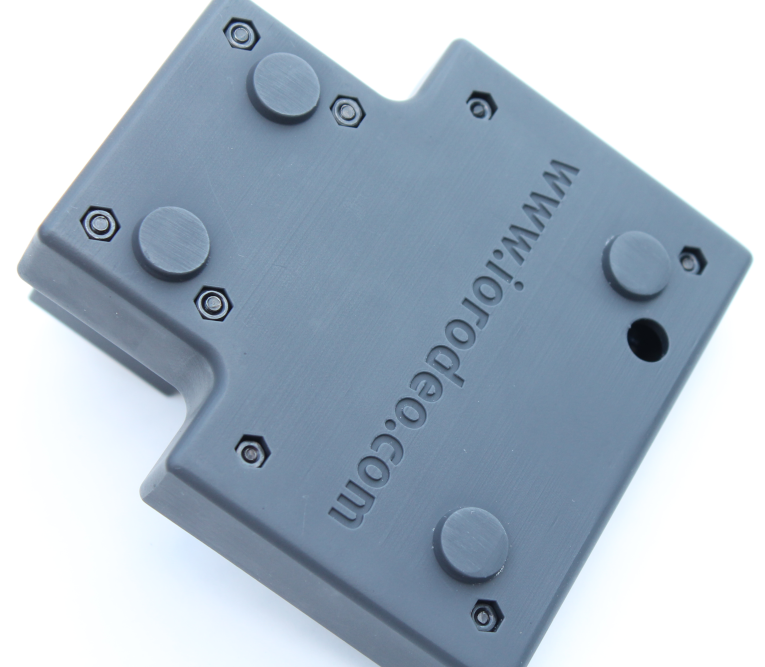
Step 5: Place the cover over the PyBadge. Place a screw into one of the corner holes and a nut in the recessed hole on the bottom. You will have to hold the nut in place with your finger and a screwdriver to tighten the screw. Repeat until all 4 corner screws are in place.
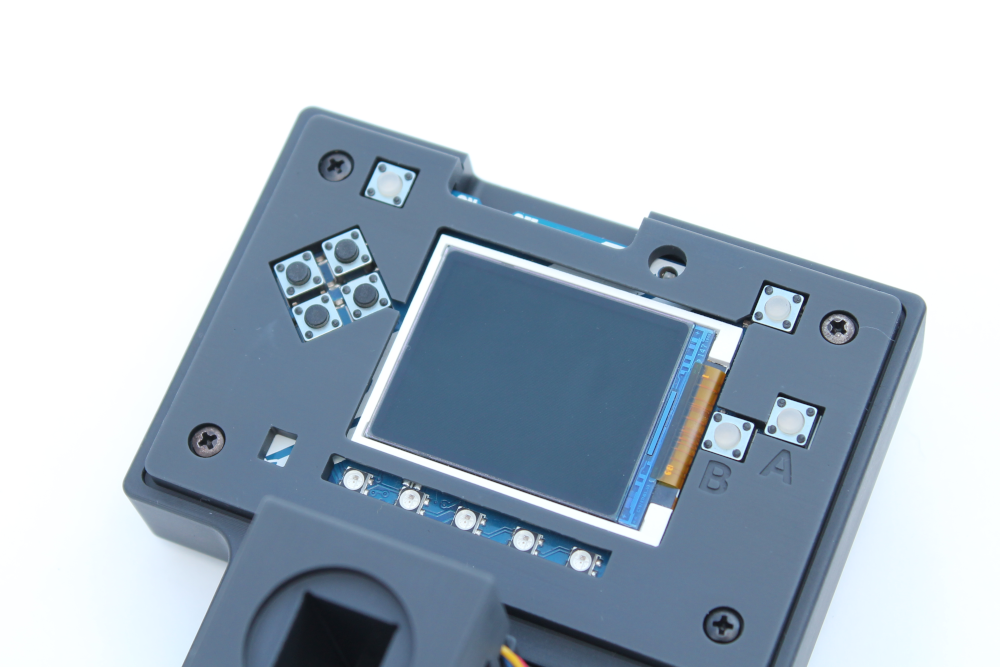
This image shows the four recessed nuts in place
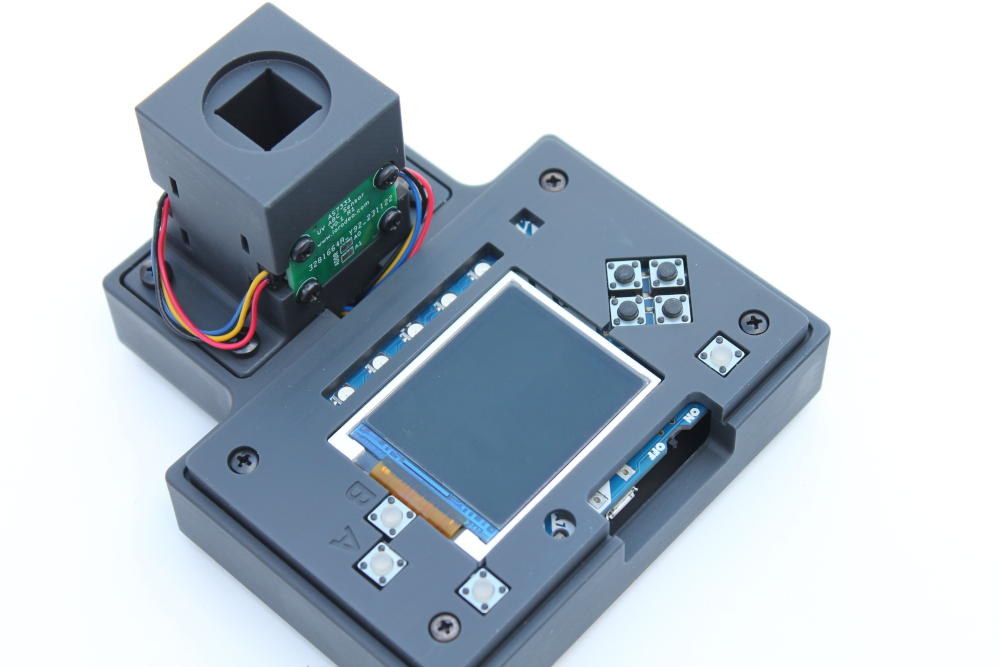
Step 6: And that's it! You can switch on your Colorimeter and are ready to start using it.
Charging the battery
When you switch the Open Colorimeter on, you will see a battery display that tells you the charge level on the battery. When this is low, plug in the micro USB cable to charge the battery.

