Open source potentiostat features
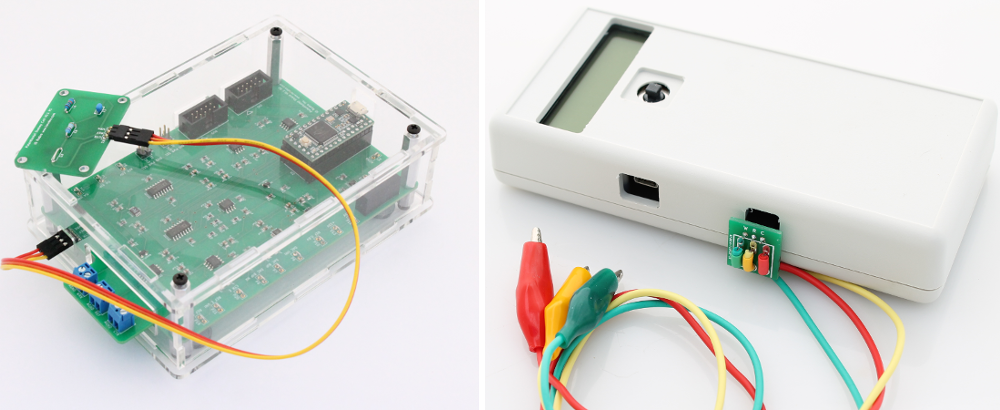
In this blog post we give a quick overview of some of the main differences between two open source potentiostats: Rodeostat and Cheapstat.
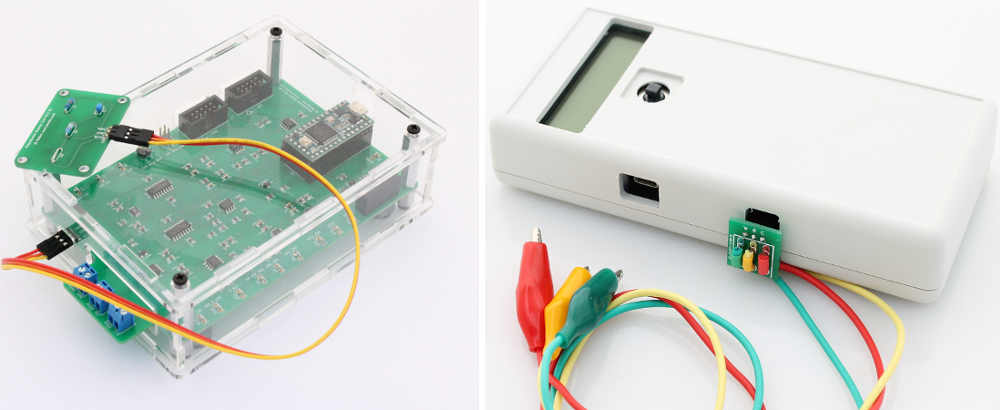
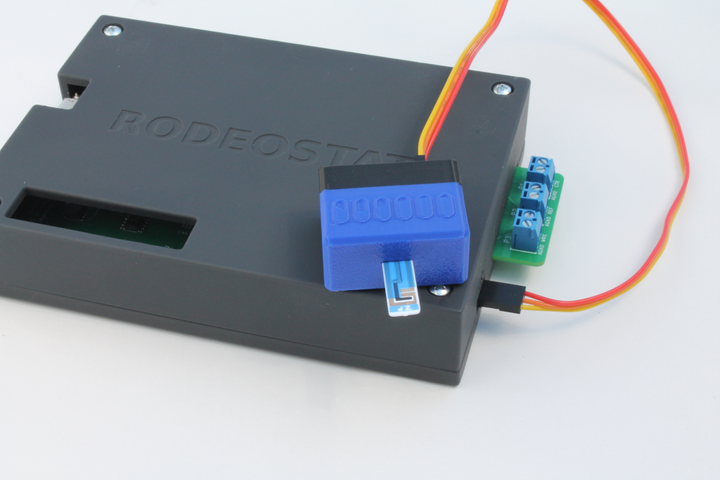
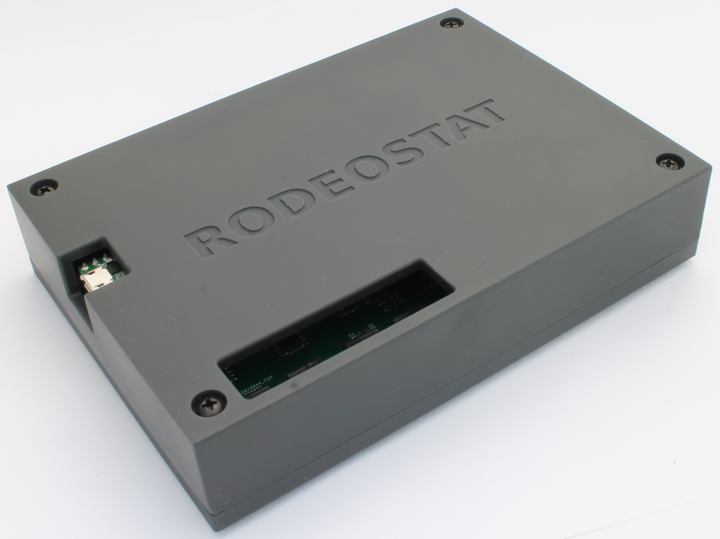
The Rodeostat (previously known as the Potentiostat Shield) is our newly designed open source potentiostat. We have received a number of questions regarding how the new potentiostat differs from the popular Cheapstat. In this blog post we give a quick overview of some of the main differences between the two open source potentiostats.
Voltage Ranges
- Rodeostat: +/- 1, 2, 5, and 10V
- Cheapstat: -0.8 to 1.6V
Current Ranges
- Rodeostat: +/- 1, 10, 100, and 1000uA
- Cheapstat: +/- 10 and 50uA
Analog Input/Output Resolution
- Rodeostat: 12-bit analog output for each voltage range and 16-bit analog input for each current range (13-bits usable).
- Cheapstat: approx. 2400 values for analog output and approx. 3300 values for analog input for each current range (exact value depends on current range selected).
USB/Serial
- Rodeostat: designed to be configured and controlled over USB/Serial - so you set test parameters, initiate tests and stream data back to the host PC over USB/Serial. There is a software library (in Python) available for controlling the Rodeostat from the host PC. The Rodeostat streams data back continuously to the host PC during a test and can essentially run indefinitely - it won't run out of memory.
- Cheapstat: requires you to use the joystick push button on the device to select test parameters and to start tests. After the test is complete the Cheapstat streams the data back to host PC over USB/Serial. The Cheapstat stores the test data in local memory on the microcontroller during tests and only streams it back after a test is complete. As such for the Cheapstat test duration is limited by the available memory on the device.
Graphical User interface (GUI)
- Rodeostat: at the moment there is no GUI for the Rodeostat and some programming is required to use it (via the Python library). The programming required is very simple as all of the lower level communication details are handled by the library. There is a getting started guide and examples in the documentation. We are actively working on a GUI for the Rodeostat and should have something ready by summer 2017.
- Cheapsat: has a simple, easy to use GUI written in Java. It allows the user to connect to the cheapstat, it receives data over USB/Serial after tests are completed, and plots the data after it is received. It also has facilities for save the data and copying the data to the clipboard.
Calibration
- Rodeostat: does not require calibration. All values are returned with units e.g. time (secs), voltage (V) and current (uA).
- Cheapstat: requires calibration. The values returned for current are just the raw integers from analog input ADC. Calibration is usually done by running a cyclic voltammetry or linear sweep test with a dummy cell. Notes on calibration can be found here.
Firmware customization
- Rodeostat: developed as a expansion board (or shield) for the Teensy 3.2 microcontroller development board. The Teensy 3.2 is part of the Arduino ecosystem and can be programmed with the Arduino IDE over USB and no external programmer is required. Arduino libraries used by our own firmware are available to facilitate development. We will be writing documentation and tutorials on firmware customization in the coming months.
- Cheapstat: firmware can also be customized. Doing so requires an AVR programmer - such as this. It can be programmed using avr-gcc and a project template which can be used as a starting point is available here.

Comments ()