OpenFlexure Microscope Kit: Supplemental Electronics Assembly Instructions

Step 1: Prepare electronics drawer
Follow steps as described for this step on Complete The Wiring page.
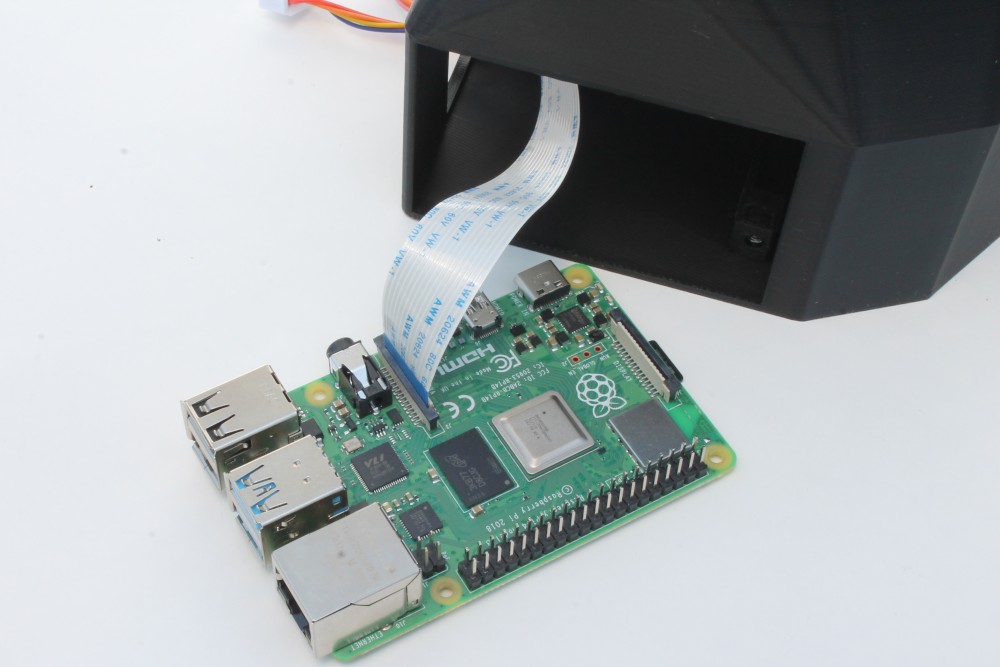
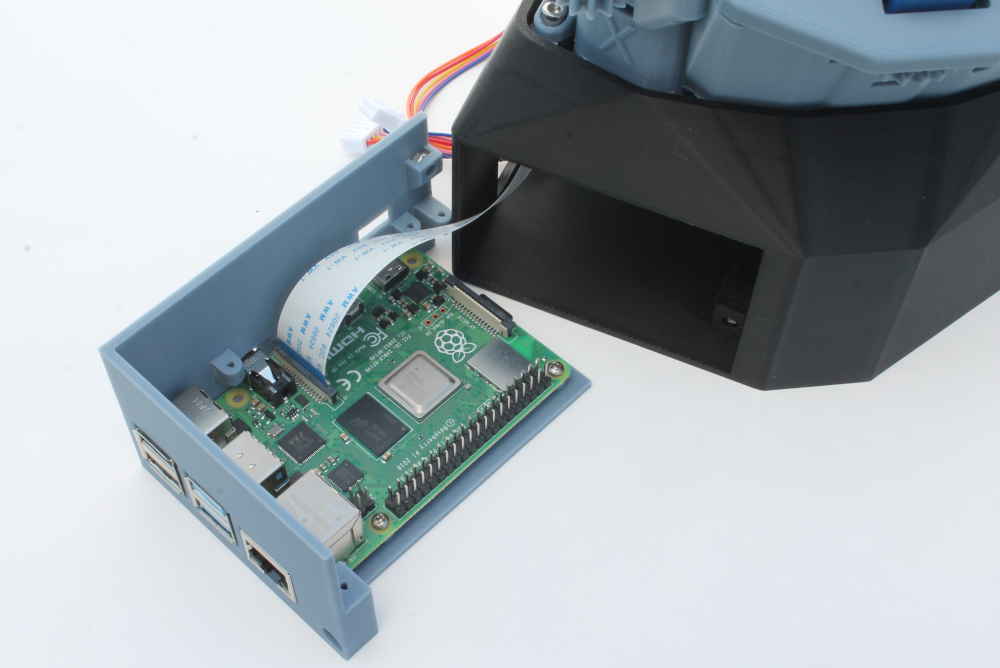
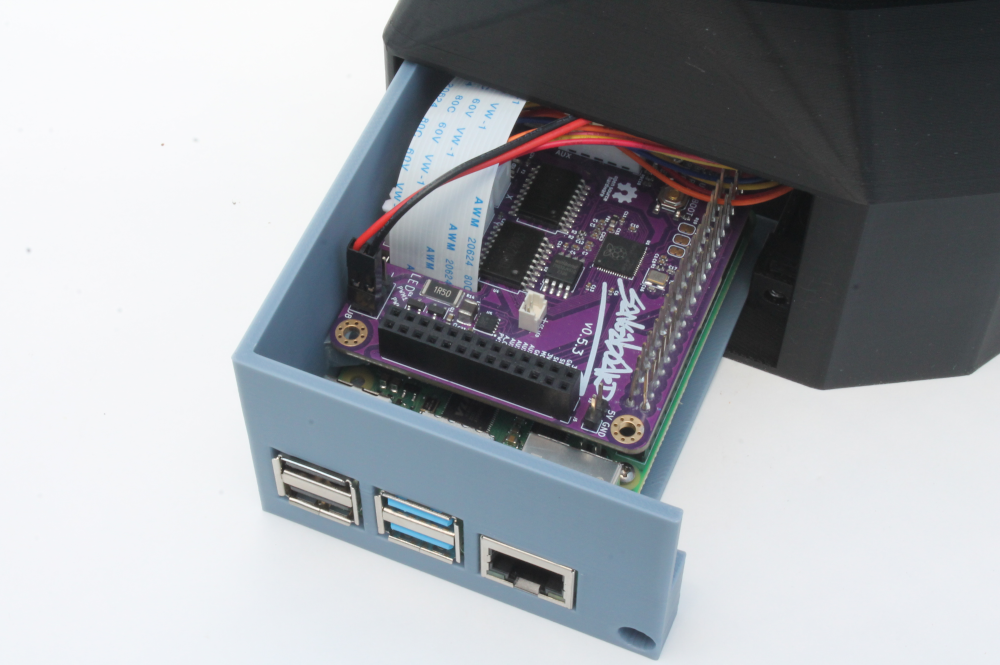
Step 2: Connect the Raspberry Pi
For this step we recommend connecting the camera cable first before mounting the Raspberry Pi into the electronics drawer. It is easier to access the cable connector before placing it in the drawer.
Step 3: Upload the Sangaboard firmware & Step 4: Connect the Sangaboard
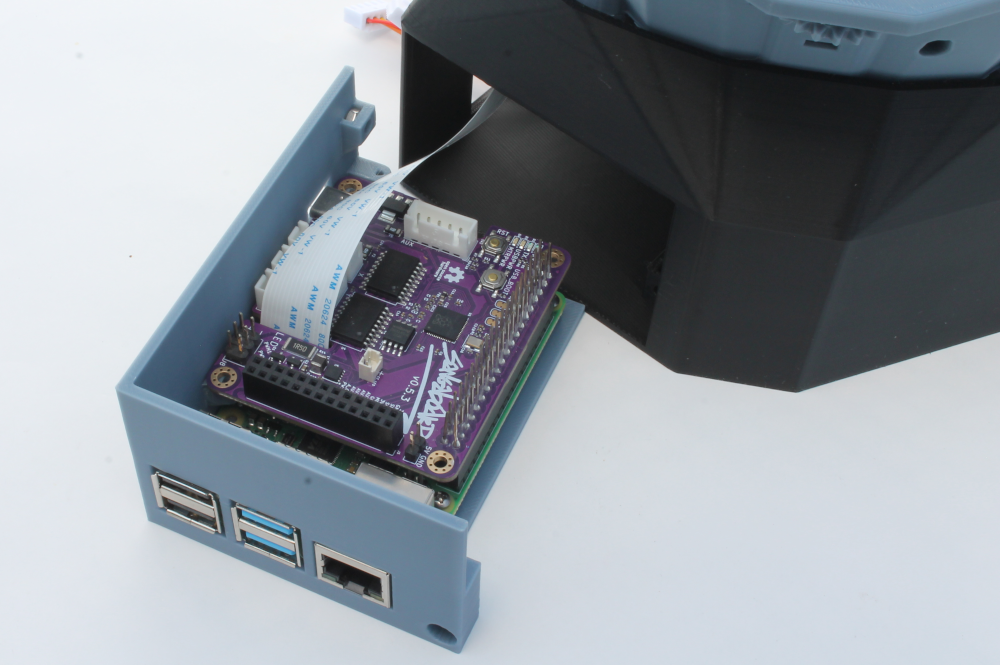
The Sangaboard is the motor control board for the OpenFlexure Microscope. It is an open hardware design manufactured and sold by Filip Ayazi at TauLab based on designs by Valerian Sanga.
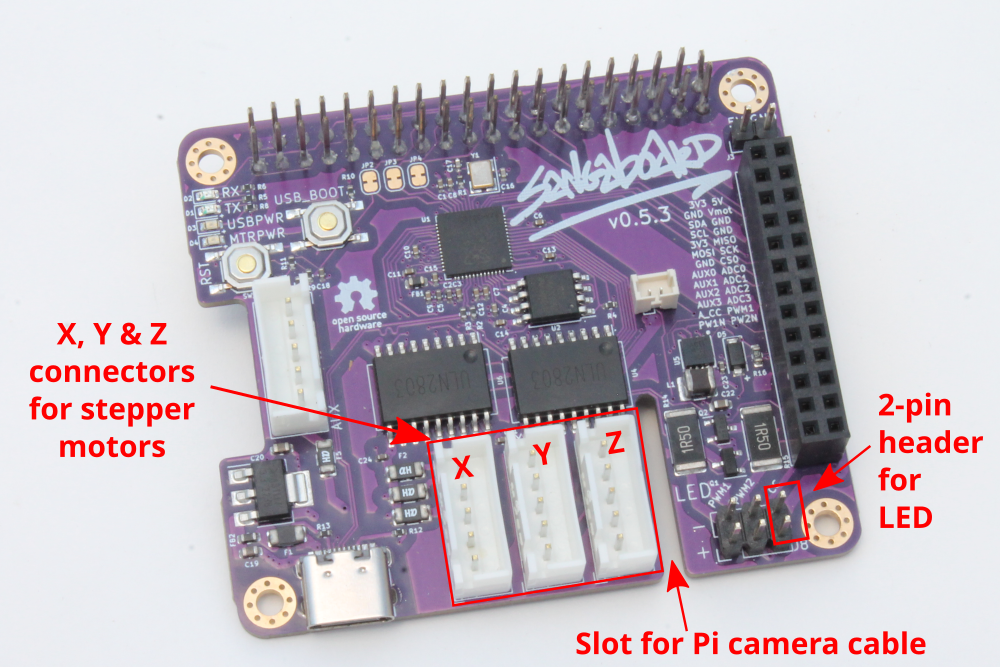
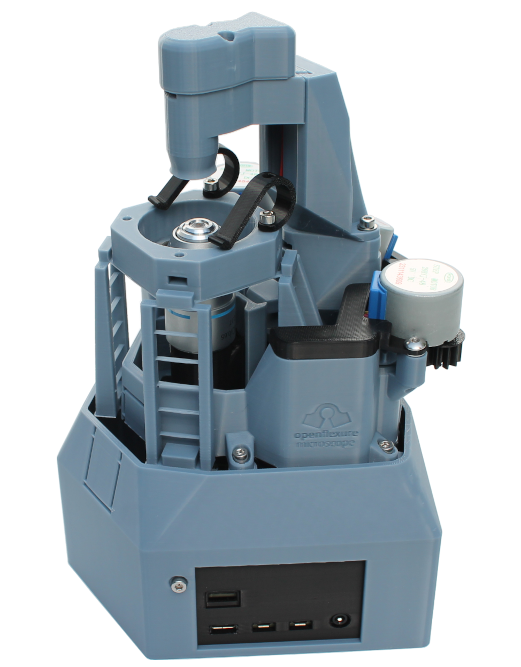
Each kit includes a pre-programmed Sangaboard v0.5 so you can skip step 3 and move straight to connecting the Sangaboard. As shown in this image below, the Sangaboard mounts directly onto the Raspberry Pi GPIO 40-pin header. The camera cable passes through a slot in the Sangaboard.
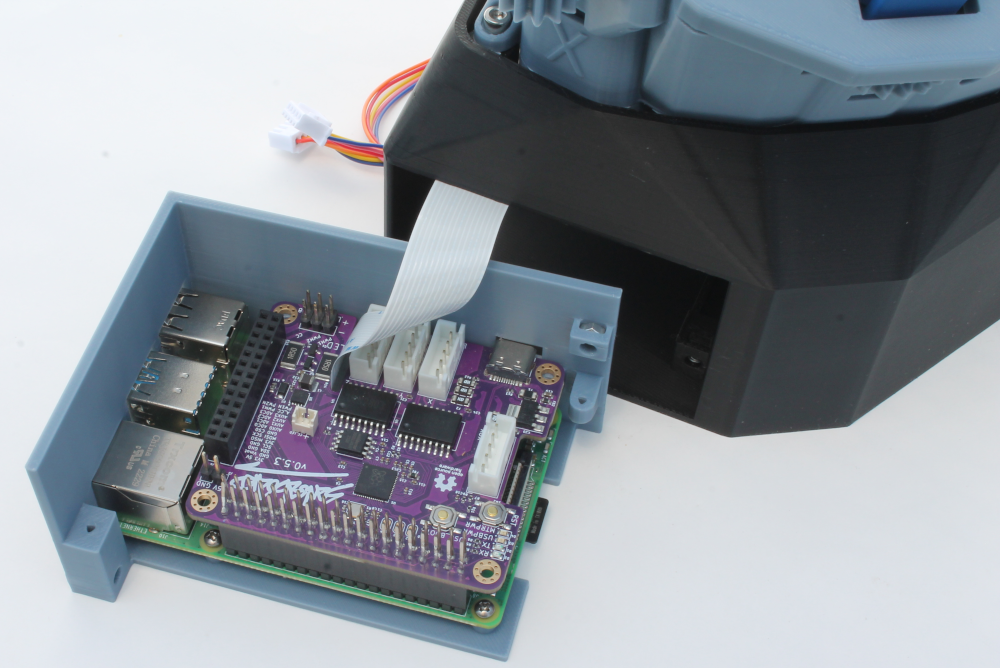
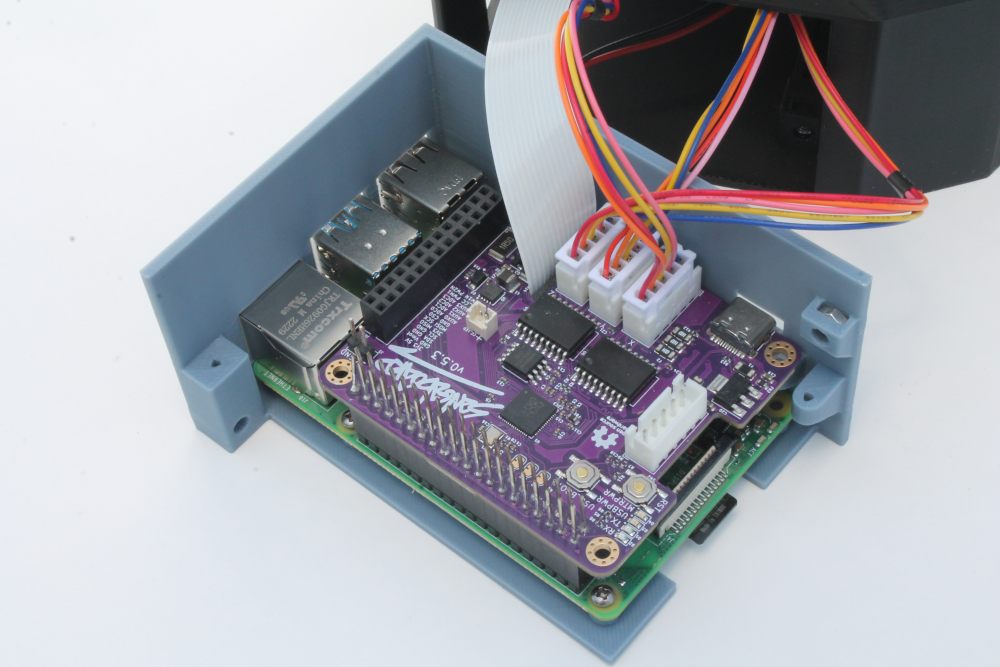
Next, connect the stepper motors to the Sangaboard. As described in the instructions for this step on the Complete The Wiring page, you want to make sure the motor from the correct axis on the microscope goes to the correct port.
Step 5: Connect the LED to the Sangaboard
Finally, connect the LED cable to the 2-pin CC header on the Sangaboard as shown in the image below. In this example, a red & black cable was used however in your kit the cable might be red & orange. It is important to match the header on the cable so that the + pin on the illumination PCB is connected to the + pin on the Sangaboard. In this example, the red cable connects the + pin on both the illumination pcb header and Sangaboard header.
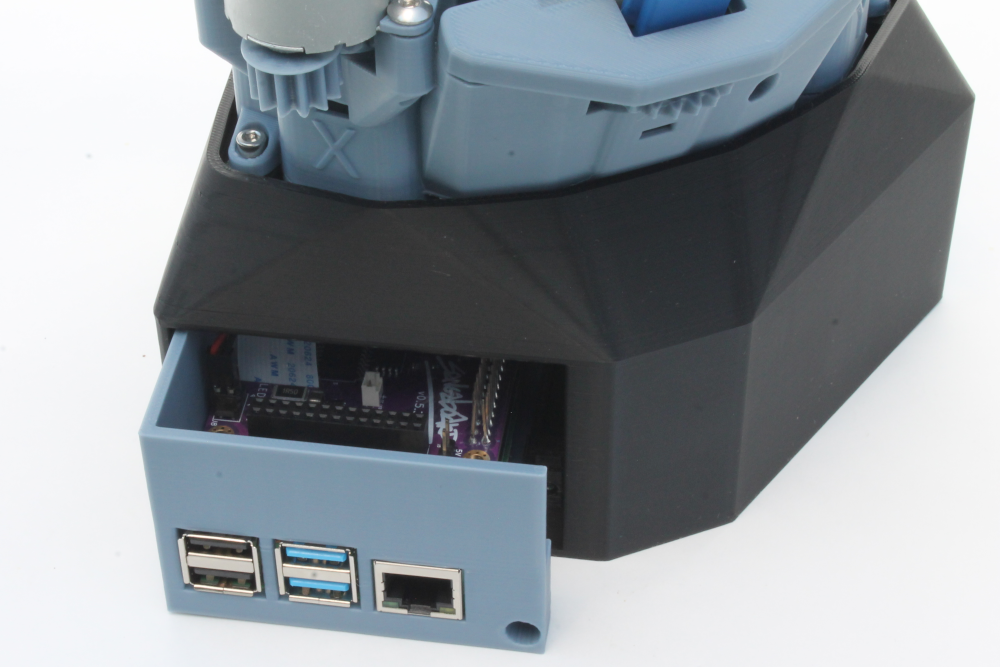
Step 6: Mount the electronics drawer
Follow steps as described for this step on Complete The Wiring page.
Next Steps
Now you have a completed the kit assembly you can start using your microscope! We have included an SD card with the software. Head over the the main OpenFlexure website to get started.