Supplemental Assembly Photos

🪛
The supplemental assembly images in this section are included for additional guidance for the IO Rodeo kits and are not a substitute for the official build instructions.
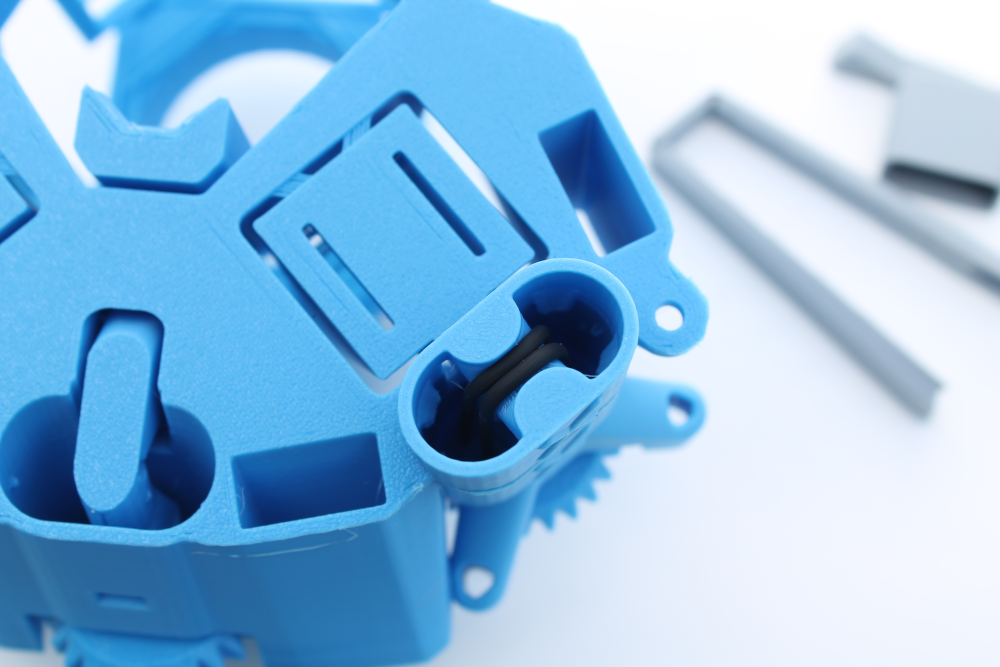
Prepare the Main Body
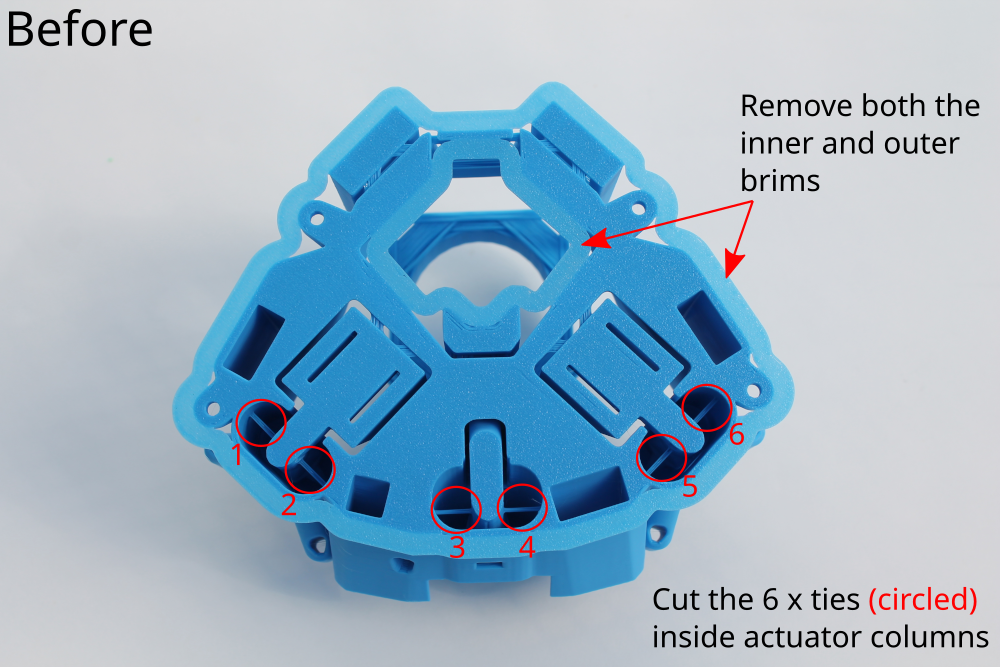
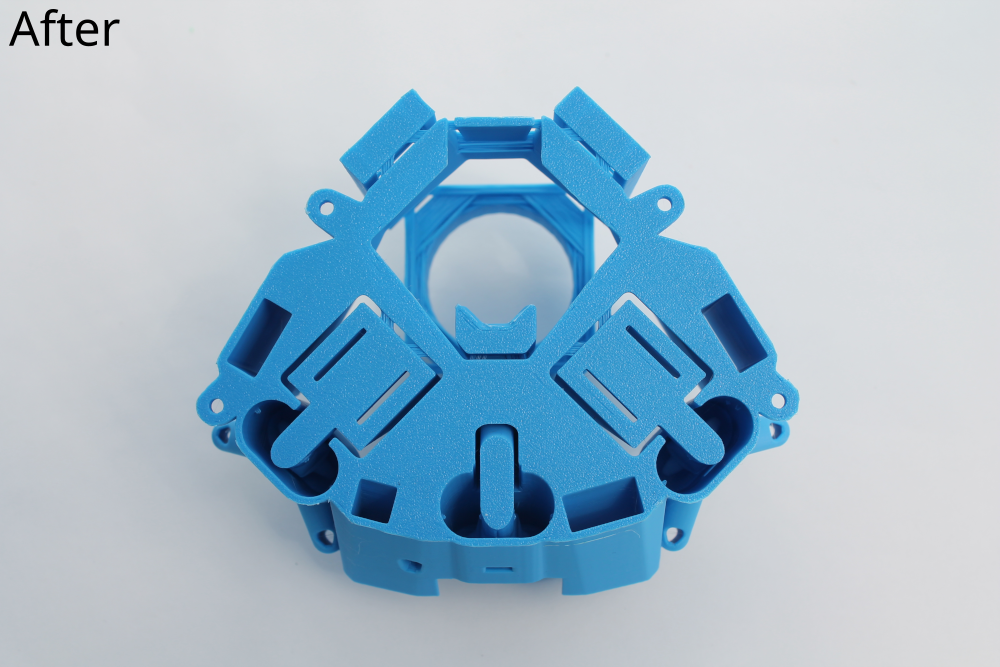
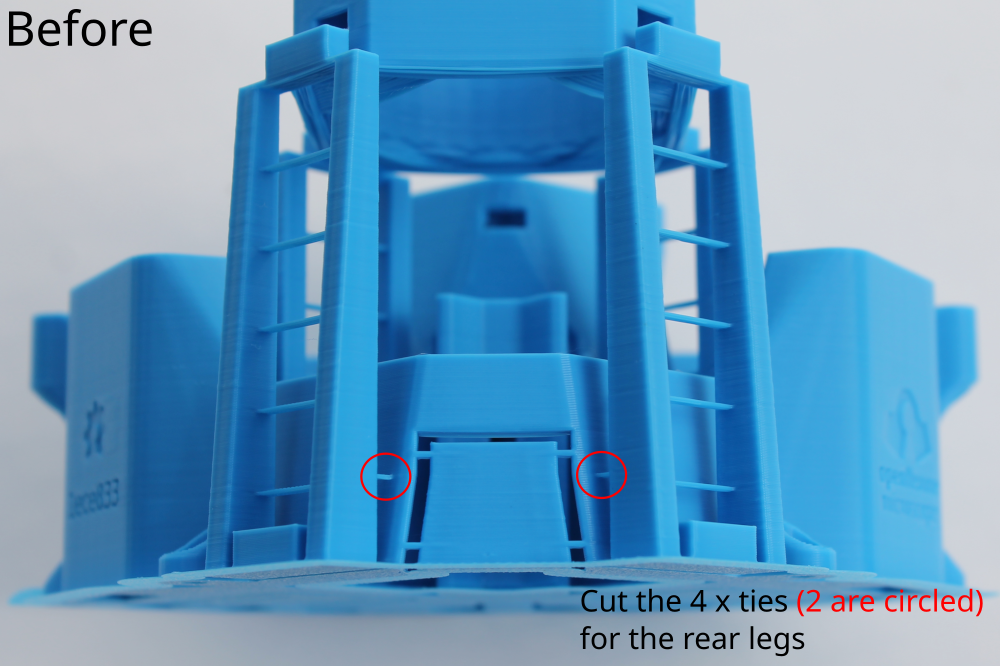

In the before images you can see how the main body arrives in the kit with the brim and support ties. The after images show how the part will look after you have trimmed and removed the brim and support ties.
Assemble the Actuators
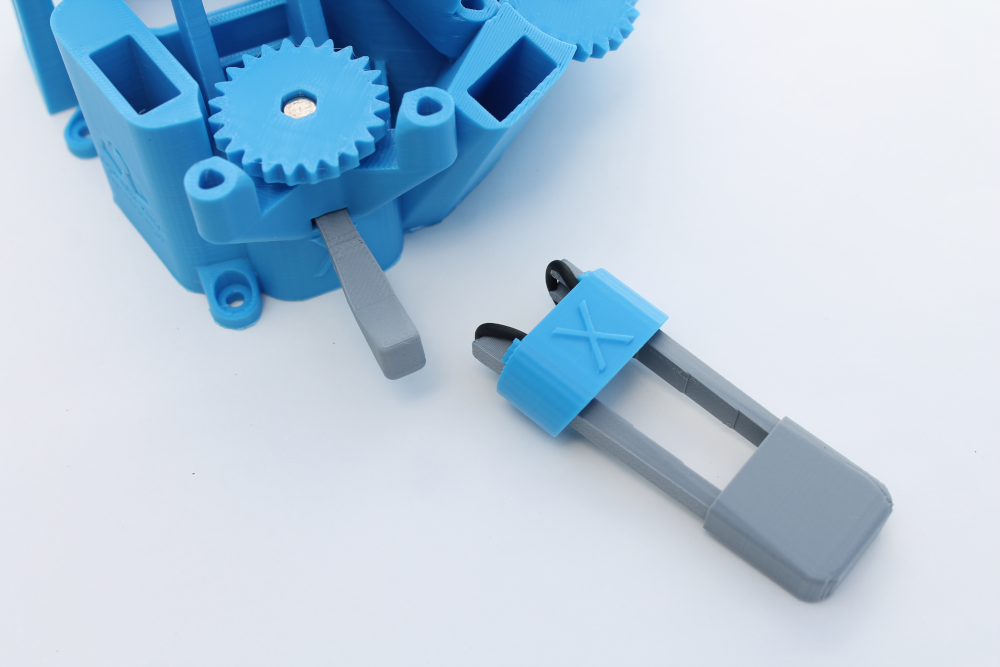
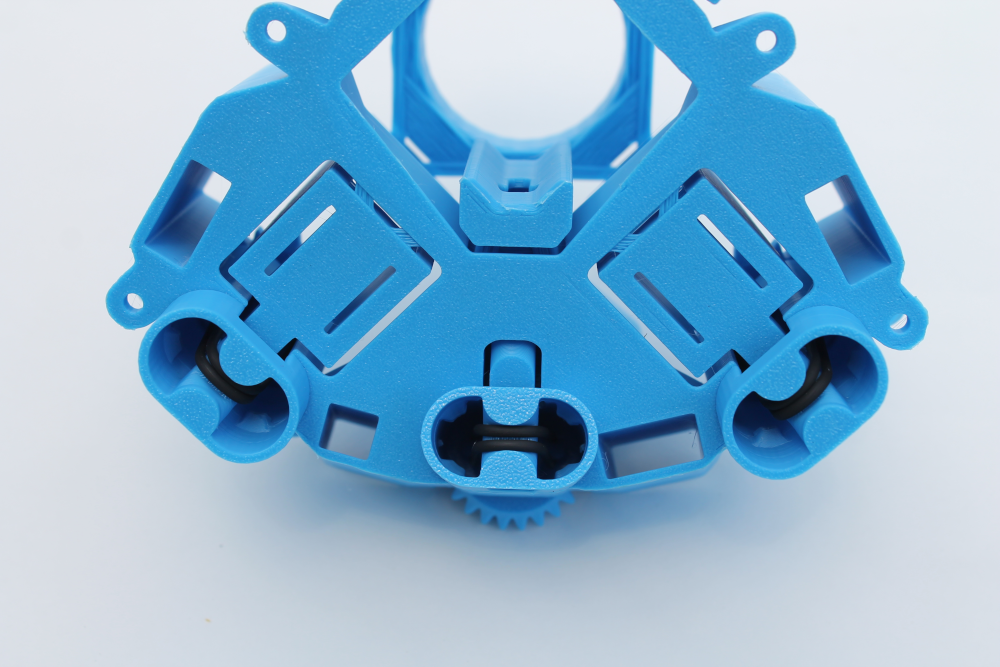
Images from attaching the viton bands and feet assembly steps
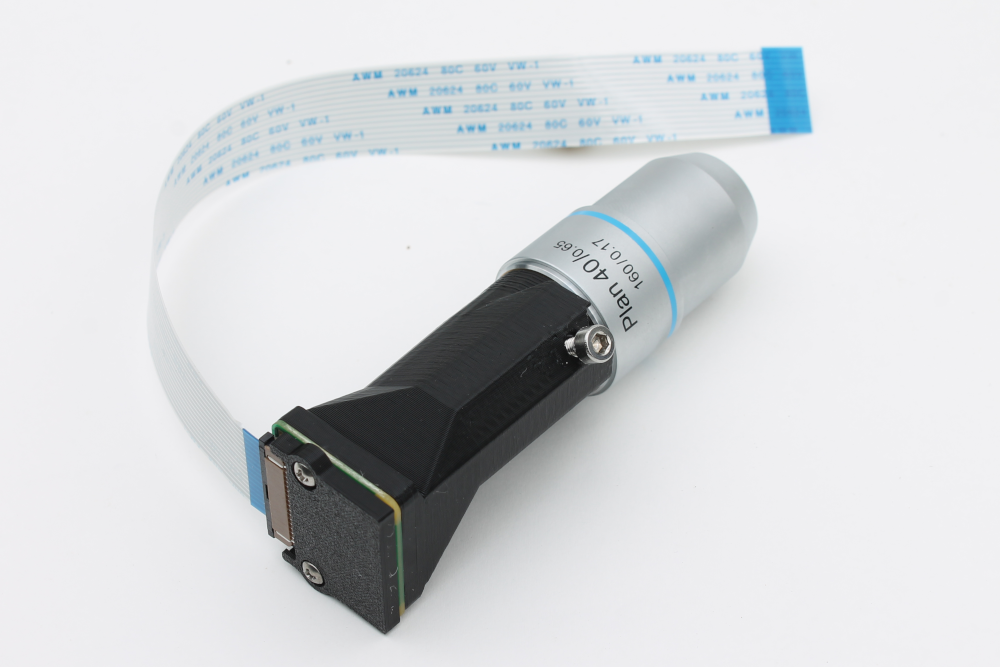
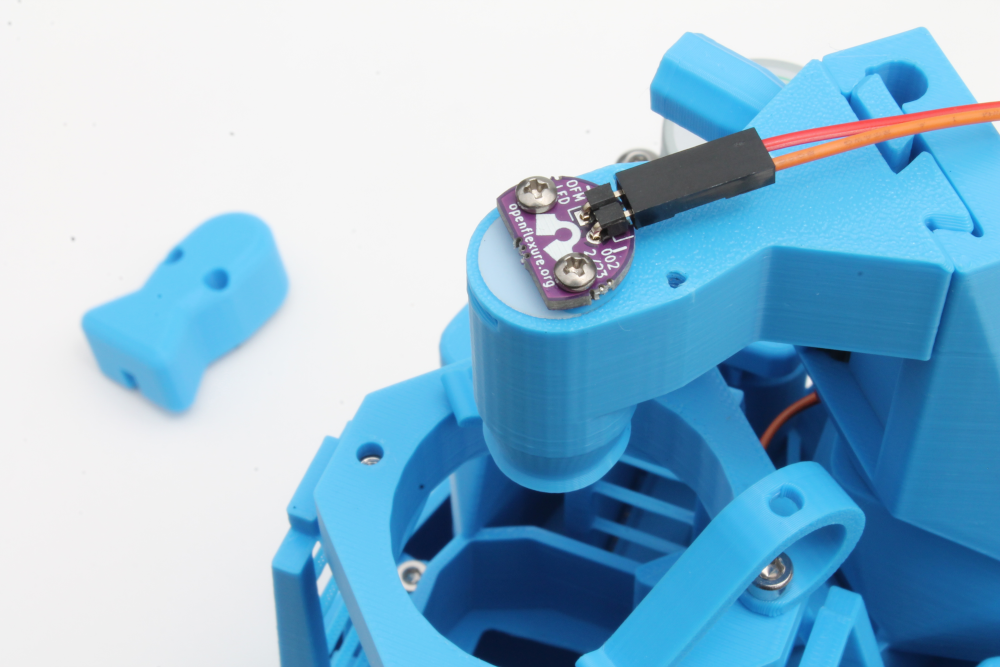
Assemble the optics
Assemble and mount the illumination
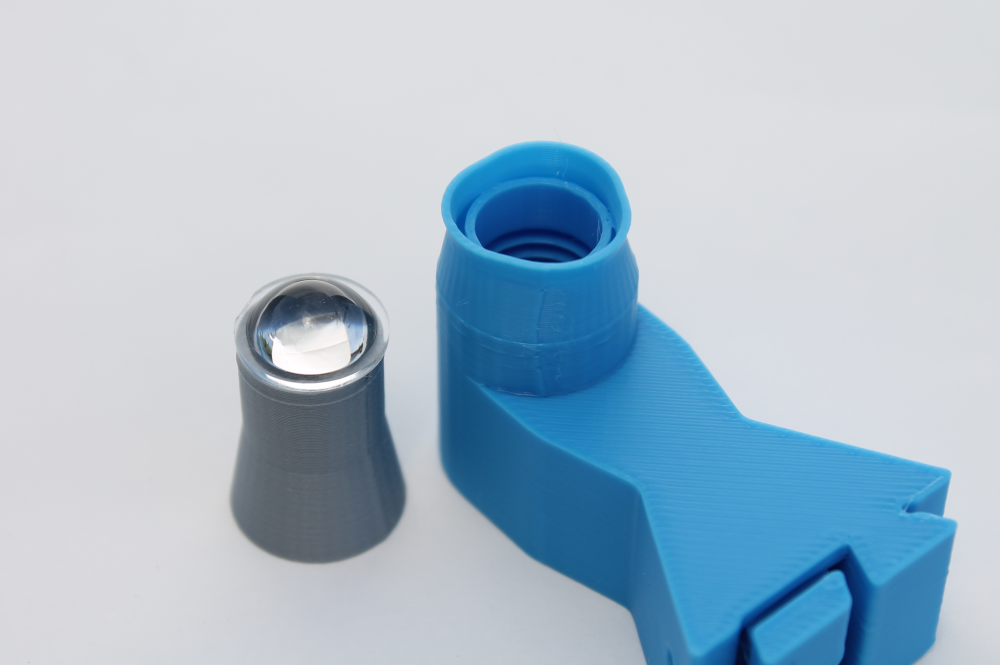

Image of Condenser Arm before and after mounting the Condenser Lens using the Lens Tool
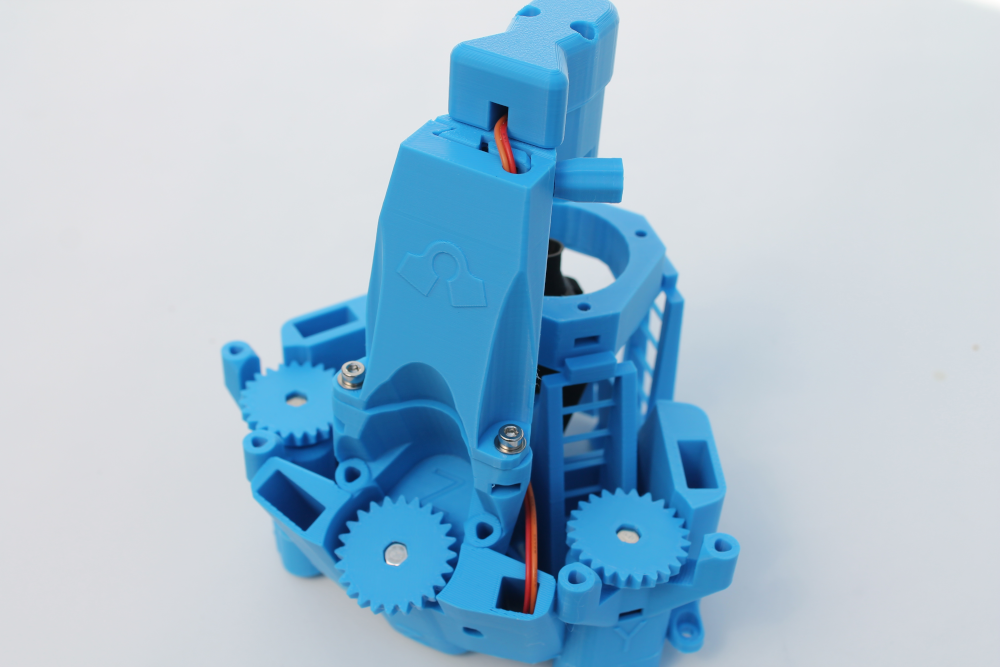
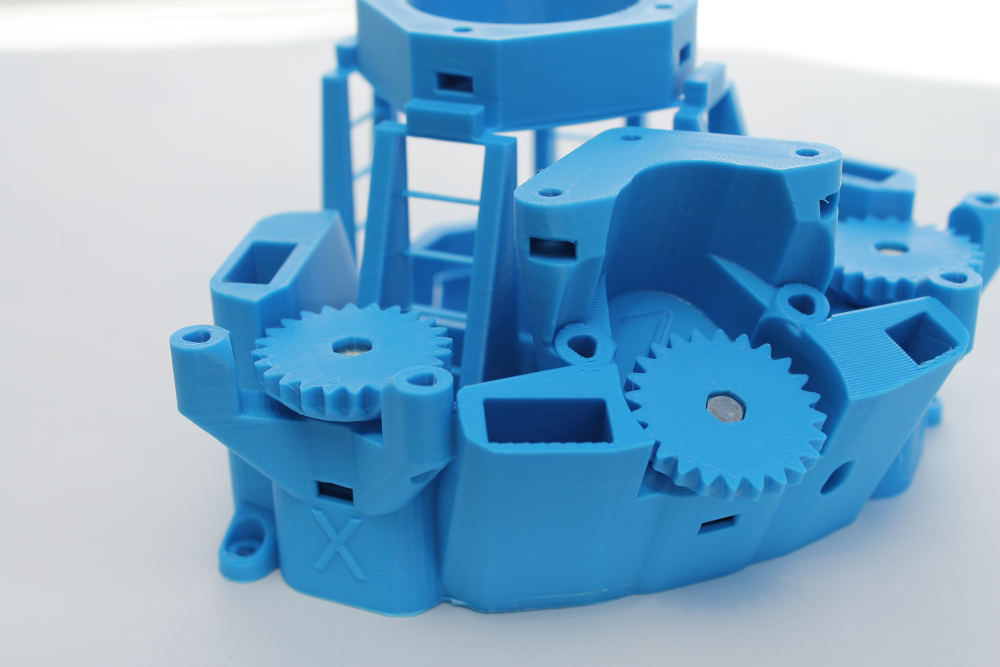
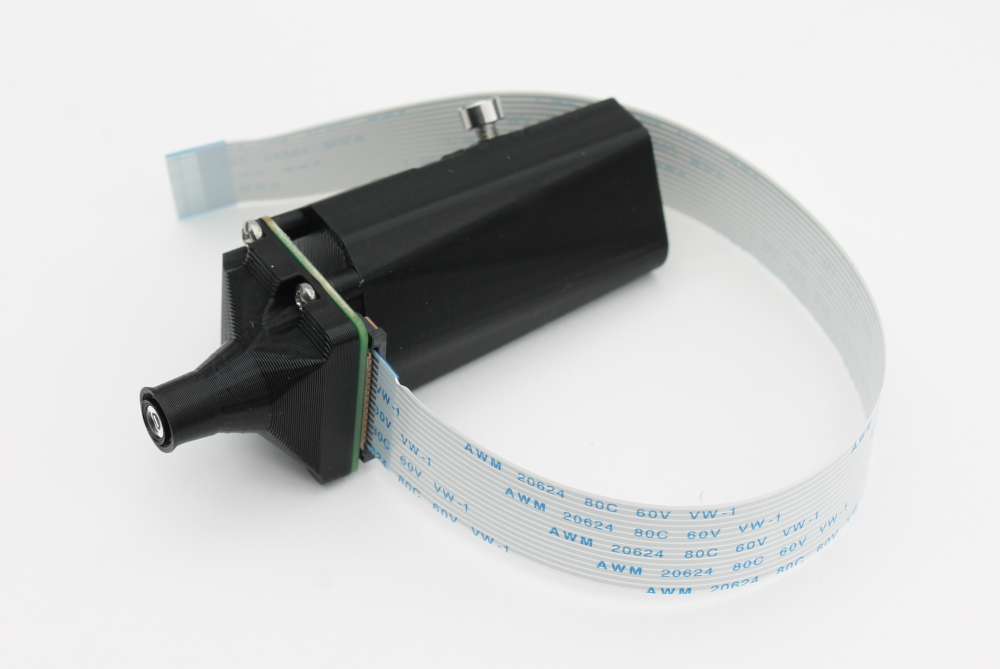
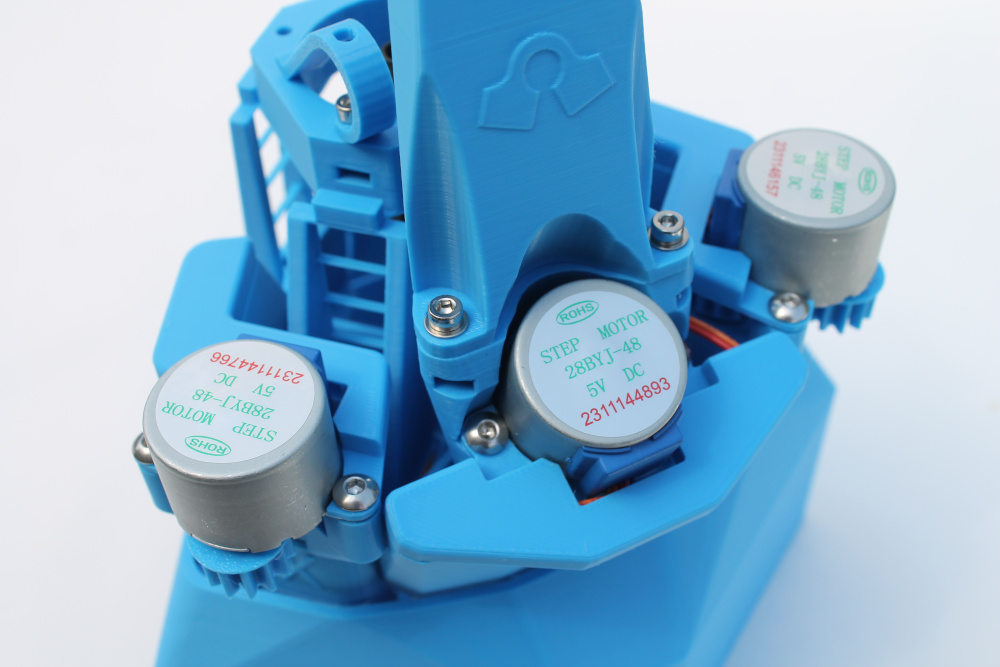
Assemble the motors
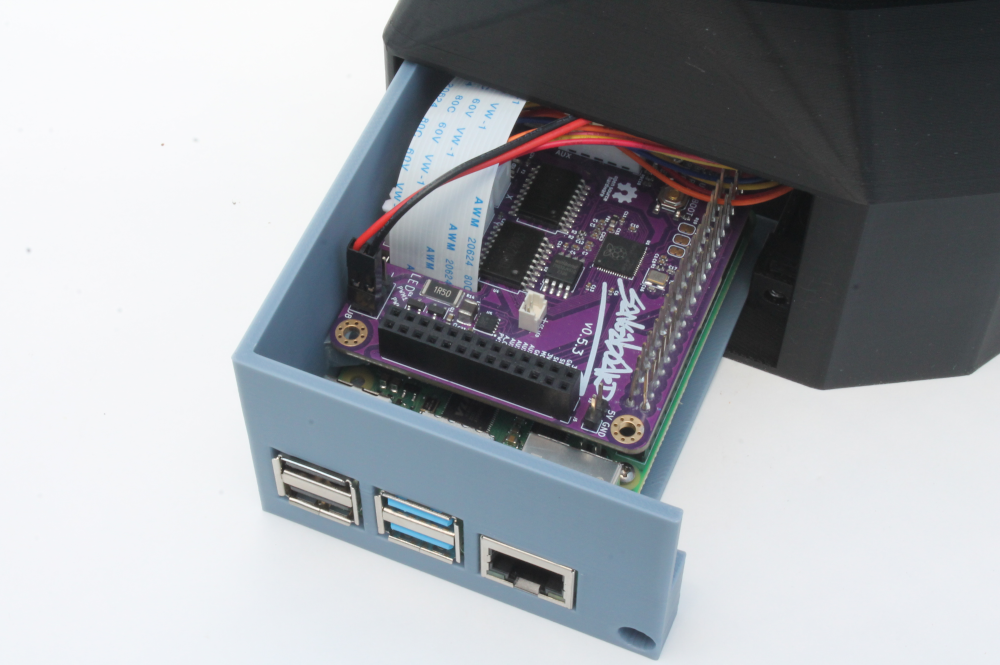
Complete the wiring
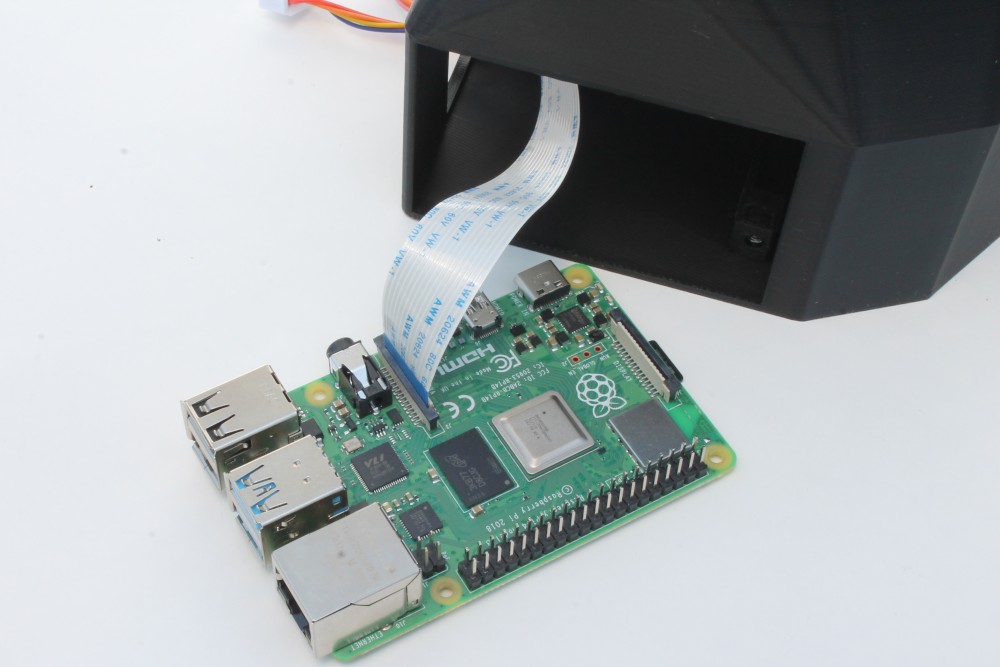
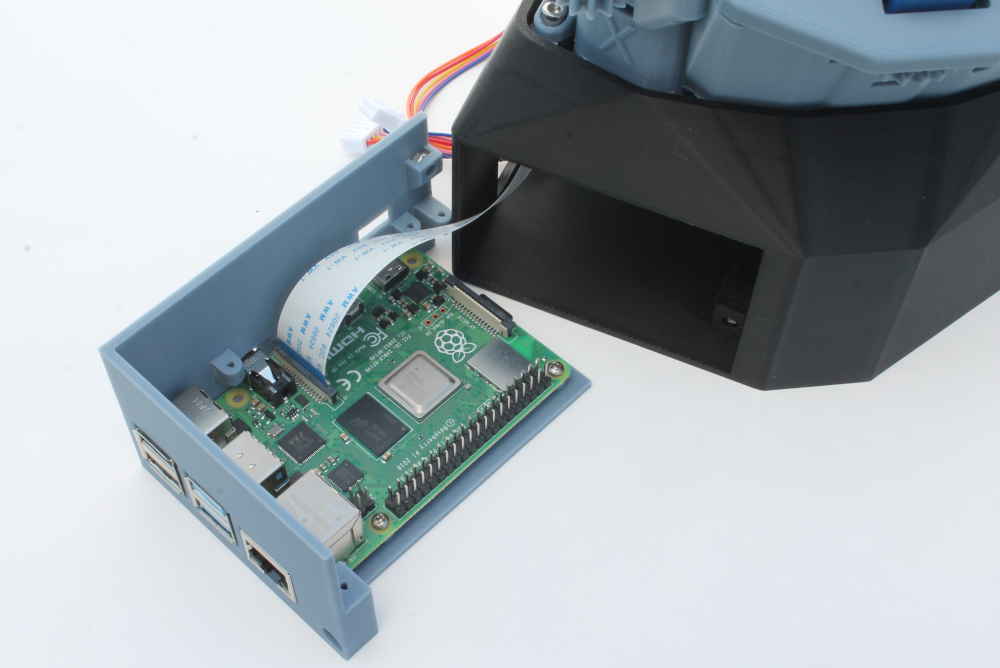
We prefer to connect the camera cable first before mounting the Raspberry Pi into the electronics drawer. It is easier to access the cable connector before placing it in the drawer.
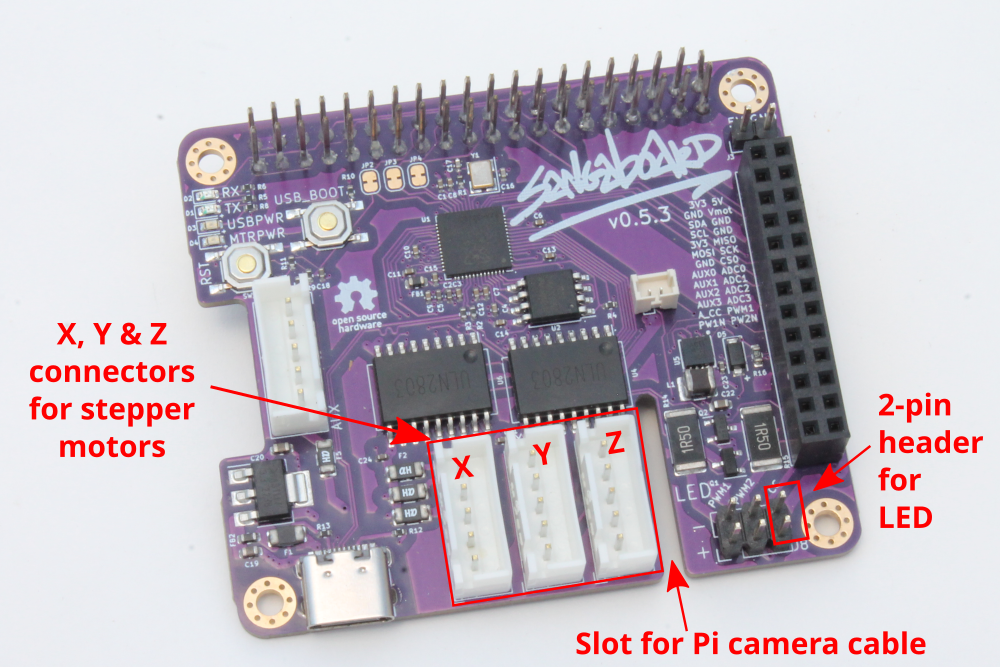
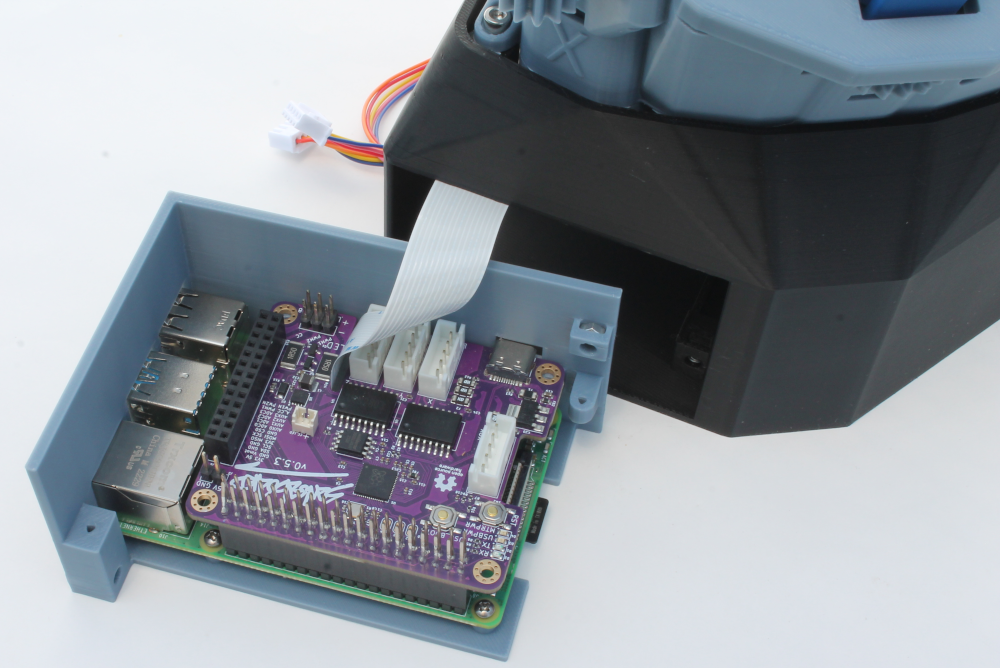
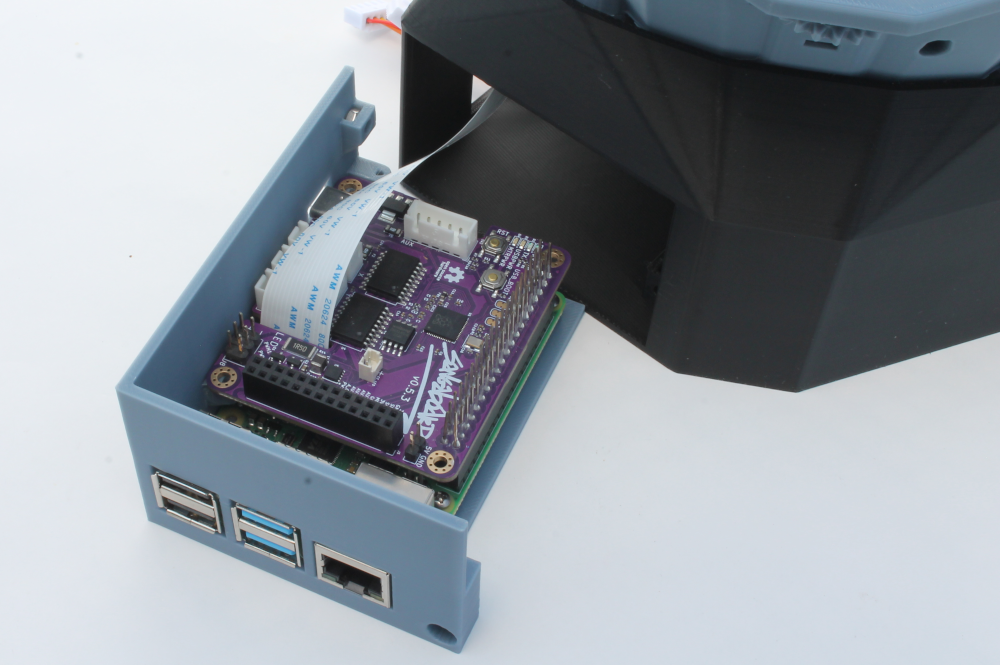
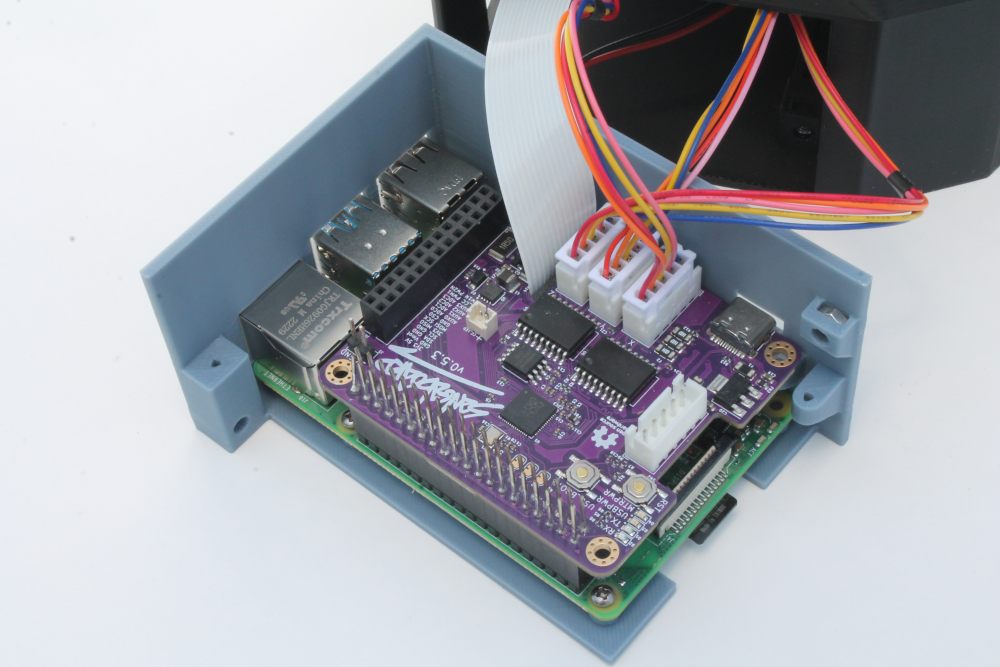
The Sangaboard mounts directly onto the Raspberry Pi GPIO 40-pin header. The camera cable passes through a slot in the Sangaboard.