Rodeostat FeatherWing Assembly
The Rodeostat FeatherWing is sold as an unassembled kit. The kit includes the Rodeostat FeatherWing v0.3 board (PCB with all of the smt components), and a set of through-hole components.
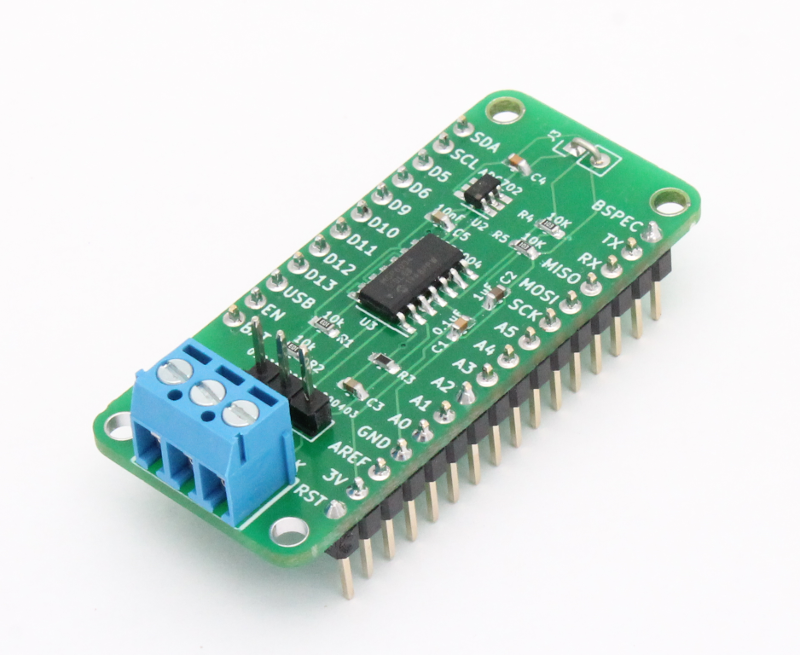
The Rodeostat FeatherWing is sold as an unassembled kit. The kit includes the Rodeostat FeatherWing v0.3 board (PCB with all of the smt components), and a set of through-hole components. These are i) 3-pin screw terminal connector (blue), ii) 3 x male headers: 3-pin, 12-pin and 16-pin and iii) ground clip.
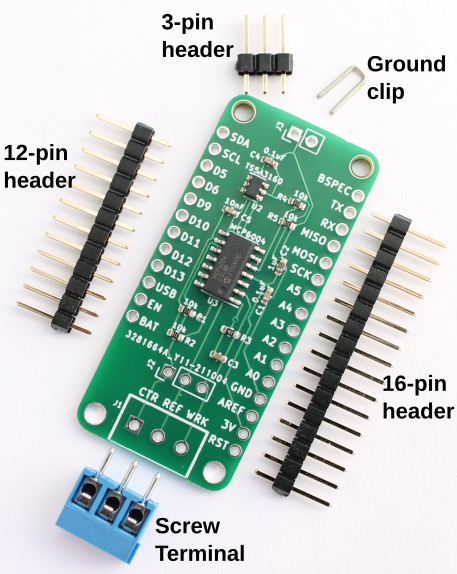
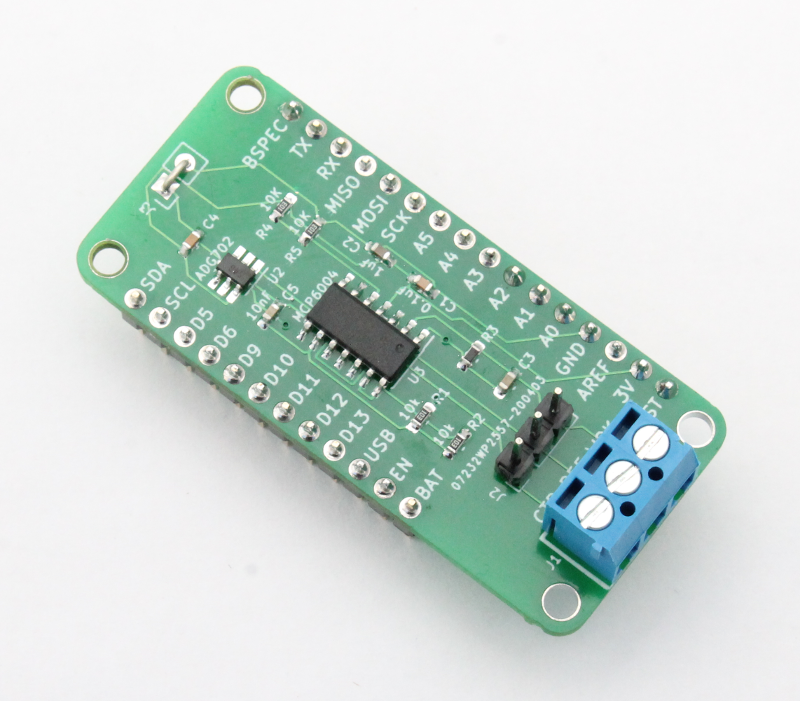
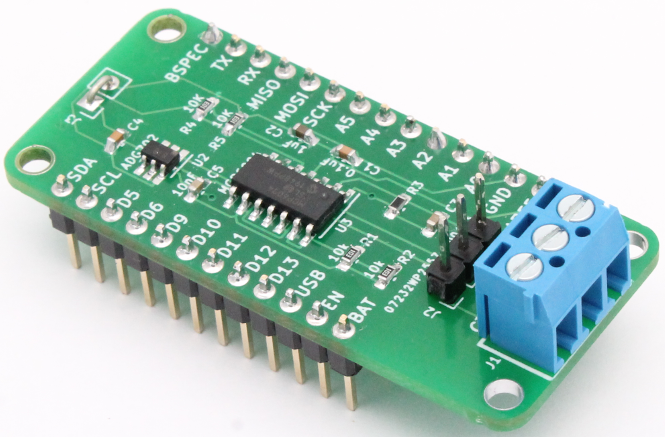
Before you can use the Rodoestat FeatherWing, you will need to solder the through-hole parts onto the board as shown in the images below.
i) Orient the blue 3-pin screw terminal connector so that the side with the connectors is facing out as shown below.
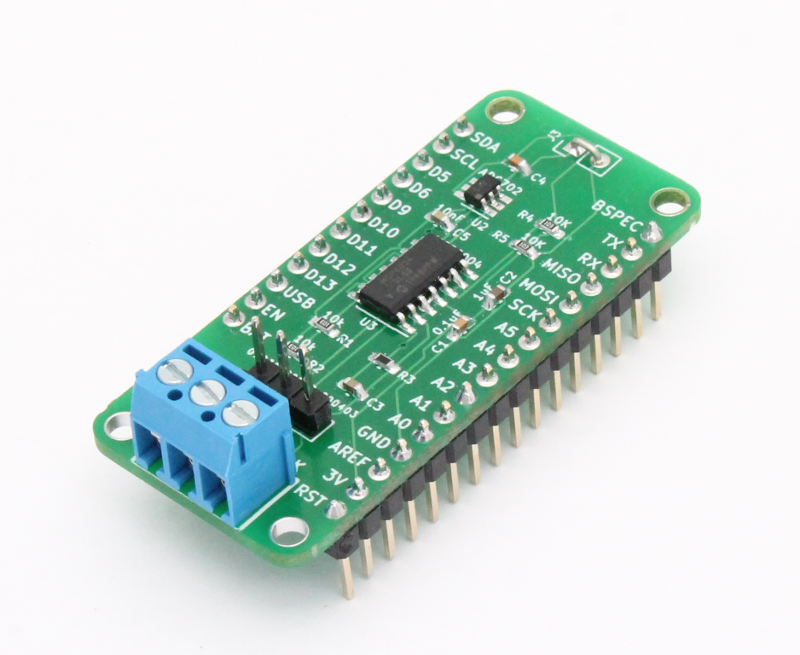
ii) The 3-pin header is placed in position J2 and the two longer headers on either side of the board. Solder the headers in place so that the shorter leg goes through the holes in the PCB and the longer leg is exposed as shown in the image below.
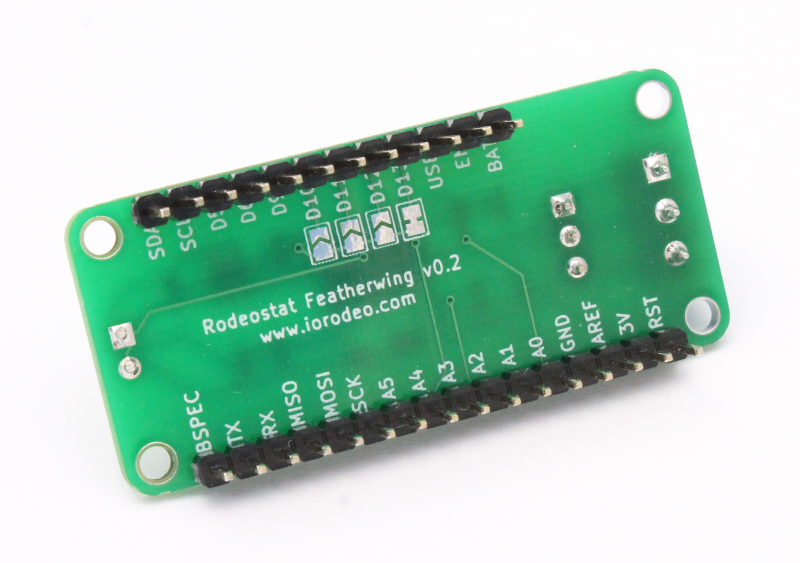
iii) Press the Ground clip onto the board in Position J3 as shown below and solder in place.

Comments ()