Installing/upgrading CircuitPython and the bootloader
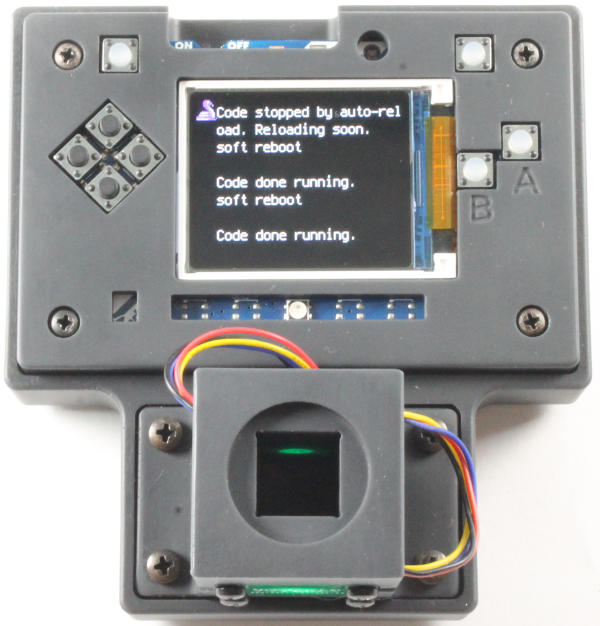
As new versions of CircuitPython come out you may want/need to upgrade the version of CircuitPython (or bootloader) running on your Open Colorimeter's PyBadge. These notes describe how this can be done.
Step 1. Downloading CircuitPython and the UF2 bootloader
The first step in installing a new version on your colorimeter is to download the required uf2 files from the CircuitPython webpage for the PyBadge here. Both the latest stable release of CircuitPython and previous releases are available.
The Open Colorimeter firmware is tested and known to work with a specific version of CircuitPython and bootloader. For each release you can find the versions of CircuitPython and bootloader used for testing in the text section above the files on the project's github releases pages here. For example, the 0.1.0 release of the Open Colorimeter firmware was tested with CircuitPython 7.3.2 and bootloader V3.14.0. This doesn't necessarily mean the firmware won't work on other combinations of CircuitPython and bootload. However, these are known testing combinations, and are a good place to start if you are having issues.
Select the versions of CircuitPython and bootloader which you want to use and download the uf2 files to your computer.
Step 2. Put your PyBadge into bootloader mode
First plug your PyBadge into your computer and turn it on. Next put it into boot loader mode by double clicking the reset button on the PyBadge. The reset button is accessible via a hole on the bottom of the enclosure as shown in the image below.
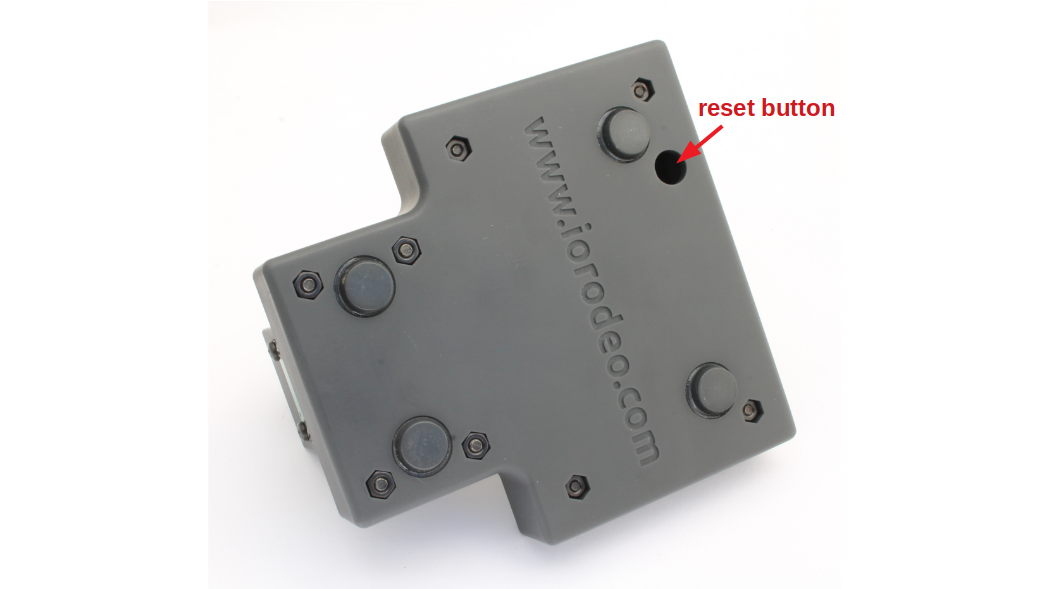
In order to press the button through the hole you will need to use a short non-conductive rod or stick - such as the eraser end of a pencil - in order to reach the button through the hole. Make sure the rod you use is non-conductive. Once the PyBadge is in bootloader mode its screen will change to look as shown below.
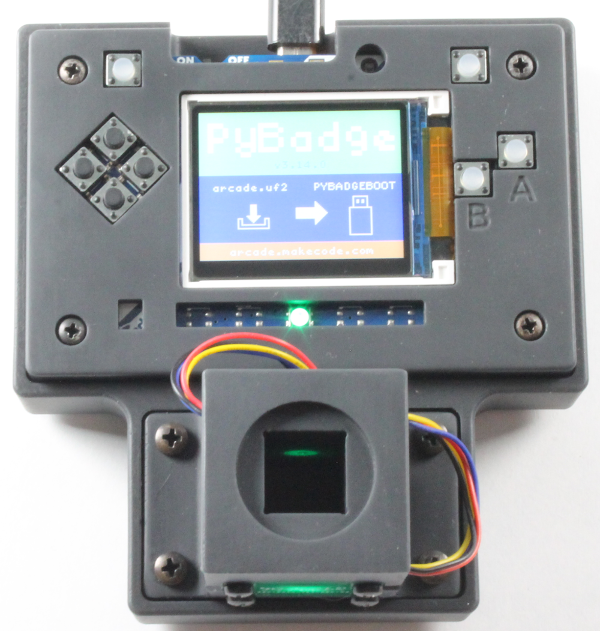
In addition the colorimeter will show up on your computer as a flash drive named BADGEBOOT. This is in contrast to when the device is running CircuitPython in which case in shows up as a drive named CIRCUITPY.
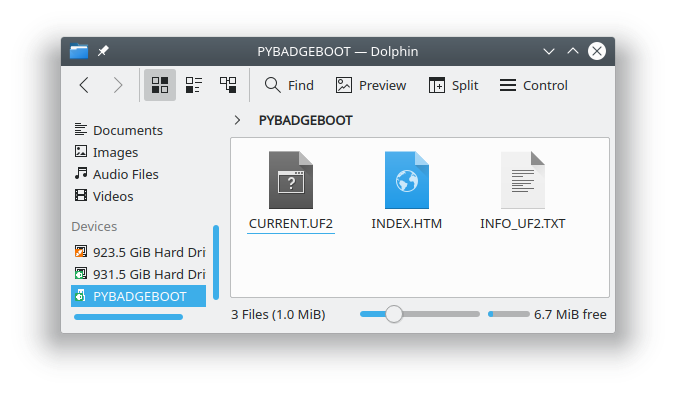
Open the BADGEBOOT drive on your computer. It should look as follows.
Step 3. Copy the bootloader uf2 to the BADGEBOOT drive
If you are upgrading the bootloader on your PyBadge copy uf2 file for the bootloader to the BADGEBOOT drive. If you are not upgrading the bootloader you can skip this test.
The process of upgrading the bootloader will take several seconds, but when it is finished the colorimeter should reappear as a drive named BADGEBOOT after upgrading the bootloader. Open this drive again and continue the next step.
Step 4. Copy the CircuitPython uf2 to the BADGEBOOT drive
To upgrade CircuitPython on your colorimeter, copy the uf2 file for the version of CircuitPython you wish to use to the colorimeter's BADGEBOOT drive.
Again this process will take a several seconds. When it is finished the colorimeter should reappear and a drive named CIRCUITPY and should display the following screen.
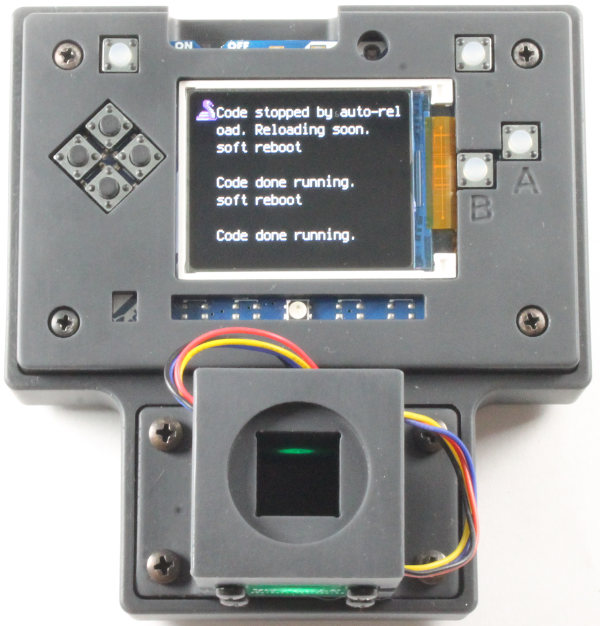
You have now completed upgrading the bootloader and/or version of CircuitPython on your colorimeter.
Further information on this process can be found at Adafruit here and here.
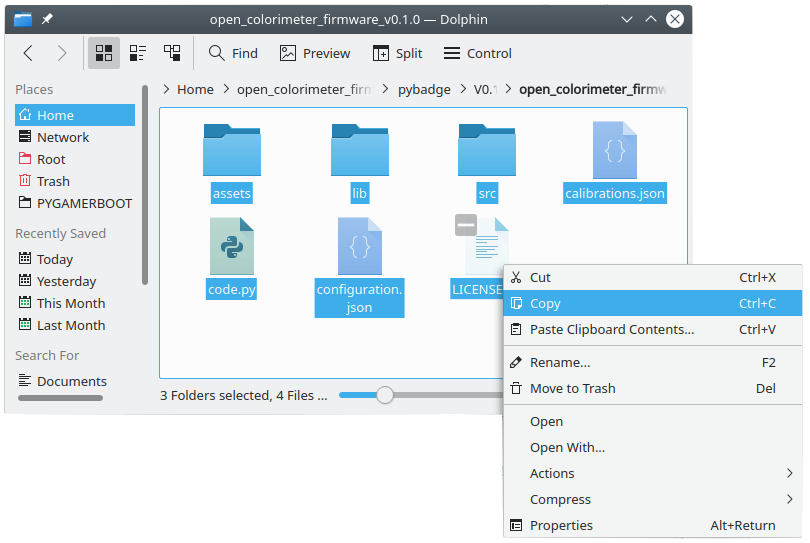
The next step is to install the Open Colorimeter firmware. Instructions for doing this can be found on this page:

Open Colorimeter Product Guide
Documentation site for the Open Colorimeter, Multi-Channel Colorimeter, UV Open Colorimeter & Open Colorimeter Plus
Product Guide Home Page
