Part 5: Setting up your workspace
Goal: Prepare a clean and organized workspace to do arsenic analysis.
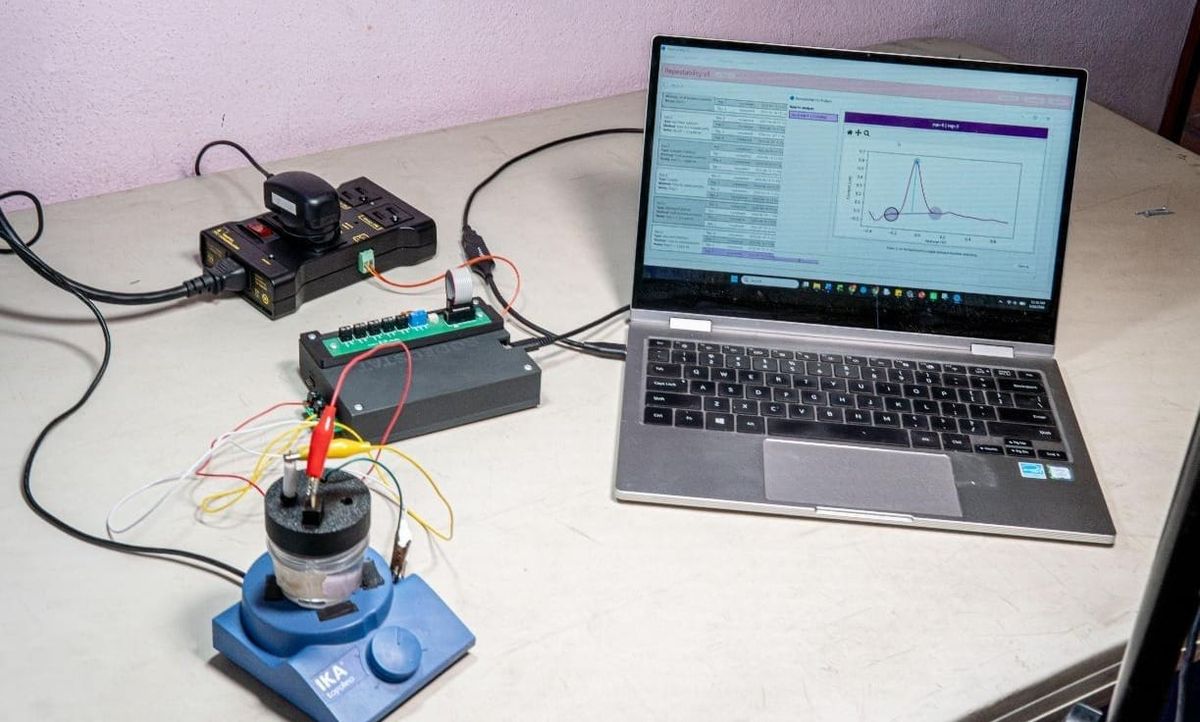
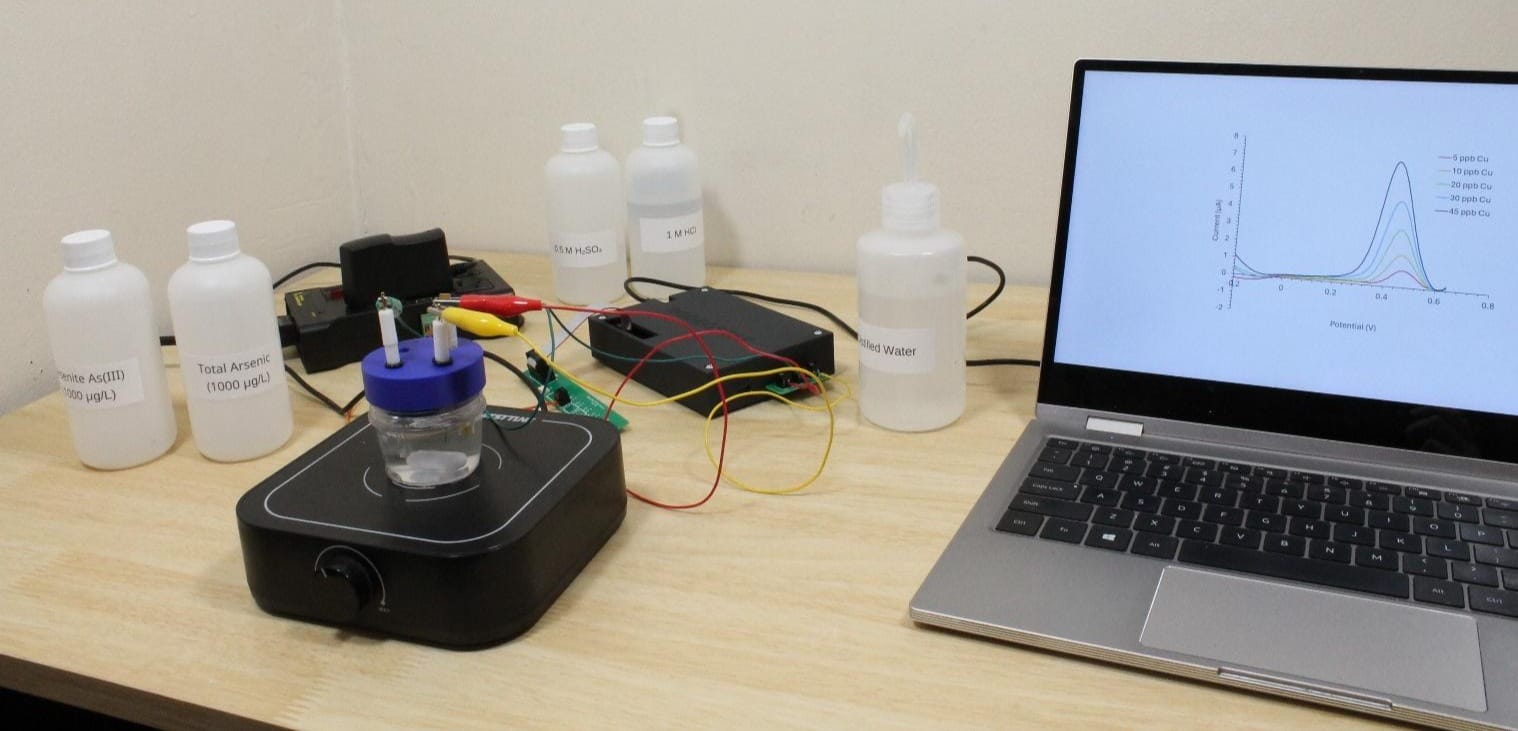
Goal: Prepare a clean and organized workspace to do arsenic analysis. If you do not have much laboratory experience, this is the place to start. You will need a basic laboratory setup, specific electrochemical hardware, and basic safety materials.
5.1 Basic laboratory setup
- Place the stirrer on a stable bench.
- Place the electrochemical cell on the stirrer platform.
- Position the clamp so it can hold electrodes and cables without pulling on the cell.
- Keep pipettes, tips, DI water, wipes, labels, and waste containers within reach.
- Keep acids and arsenic standards clearly labelled and away from general workspace clutter.
5.2 Safety setup
- Wear PPE before preparing acids or arsenic-containing solutions.
- Prepare acids in a fume hood where possible.
- Have a designated arsenic waste container ready before starting.
- Label all bottles with solution name, concentration, date, and initials.
- Do not eat, drink, or store food in the workspace.
- Have a designated space for rinsing containers with deionized water.
- Have a designated space for drying containers
- Have designated spaces for storing containers, chemicals, and hardware