Kit assembly instructions
Links to the official OpenFlexure build instructions and additional notes for the IO Rodeo kits.
Once you are ready to start building your OpenFlexure Microscope kit, you will follow the official OpenFlexure Microscope project instructions depending on which microscope optics you are using.
An OpenFlexure video of the assembly is linked below.
Assembly Video by Per Wilhelmsson, PKI Utveckling & OpenFlexure
IO Rodeo supplemental kit assembly notes
The supplemental assembly notes below are included for additional guidance specifically for the IO Rodeo kits.
- The OpenFlexure documentation instructs users to mount the trapped nuts in the Microscope Stand using one of the M3 x 10mm socket screws. However, we prefer to use a shorter M3 x 8mm socket screw and have included one in the kit.
- The kit includes hardware for both optics versions, depending on which version of the OpenFlexure Microscope you are building.
- The kit includes an illumination Kit with 3 pieces of pre-cut diffusers (along with the LED and the 2-pin cable) so you do not need to cut the diffusers
- The kit includes an SD card for Raspberry Pi software
- The kit includes a pre-programmed Sangaboard v0.5
- Photos from a build are included on this page linked below
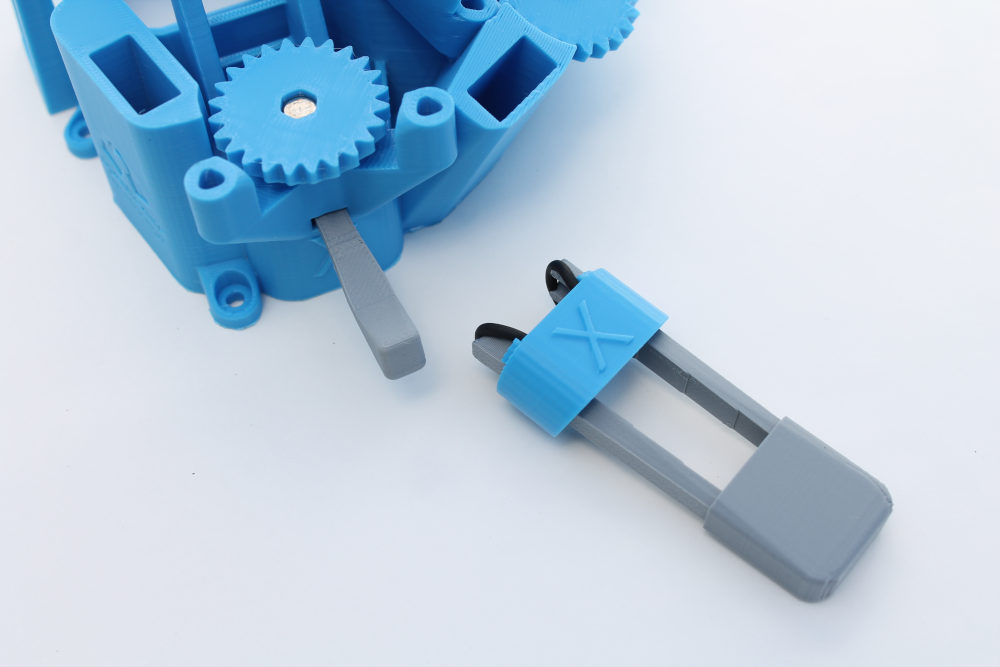
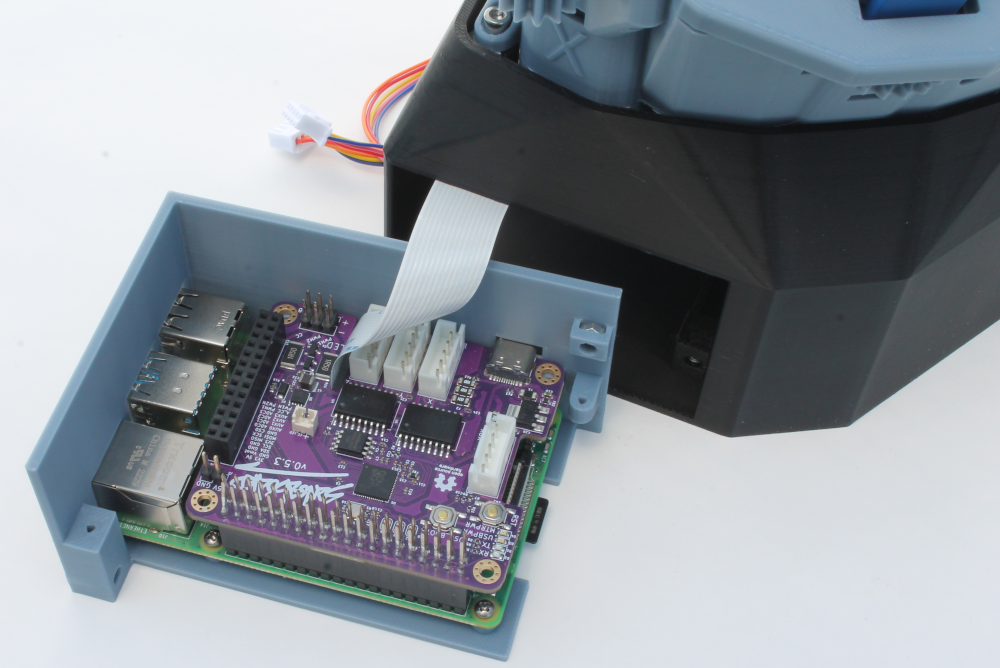
Supplemental Assembly Photos
🪛The supplemental assembly images in this section are included for additional guidance for the IO Rodeo kits and are not a substitute for the official build instructions. Prepare the Main Body Assemble the Actuators Assemble the optics Assemble and mount the illumination Assemble the motors Complete the wiring
Next Steps
Once you have a completed the kit assembly following the official OpenFlexure build instructions linked above, you can start using your microscope! Head over the the main OpenFlexure website to get started.