Spotlight: Building an OpenFlexure Microscope
Spotlight on the OpenFlexure project as well as notes on building and using the open hardware microscopes
We have been long-time fans of the OpenFlexure Microscope project and recently had the opportunity to get to know the OpenFlexure team, particularly Richard Bowman and Julian Stirling, through the Open Science Shop project. For those of you unfamiliar with OpenFlexure, it is an open hardware, 3D-printed, lab-grade automated microscope. This open hardware science tool is highly customizable and can be used in a number of different applications. Since it was first introduced, the open hardware design files for the OpenFlexure microscope have been downloaded thousands of times.
Robotic Microscopy for Everyone
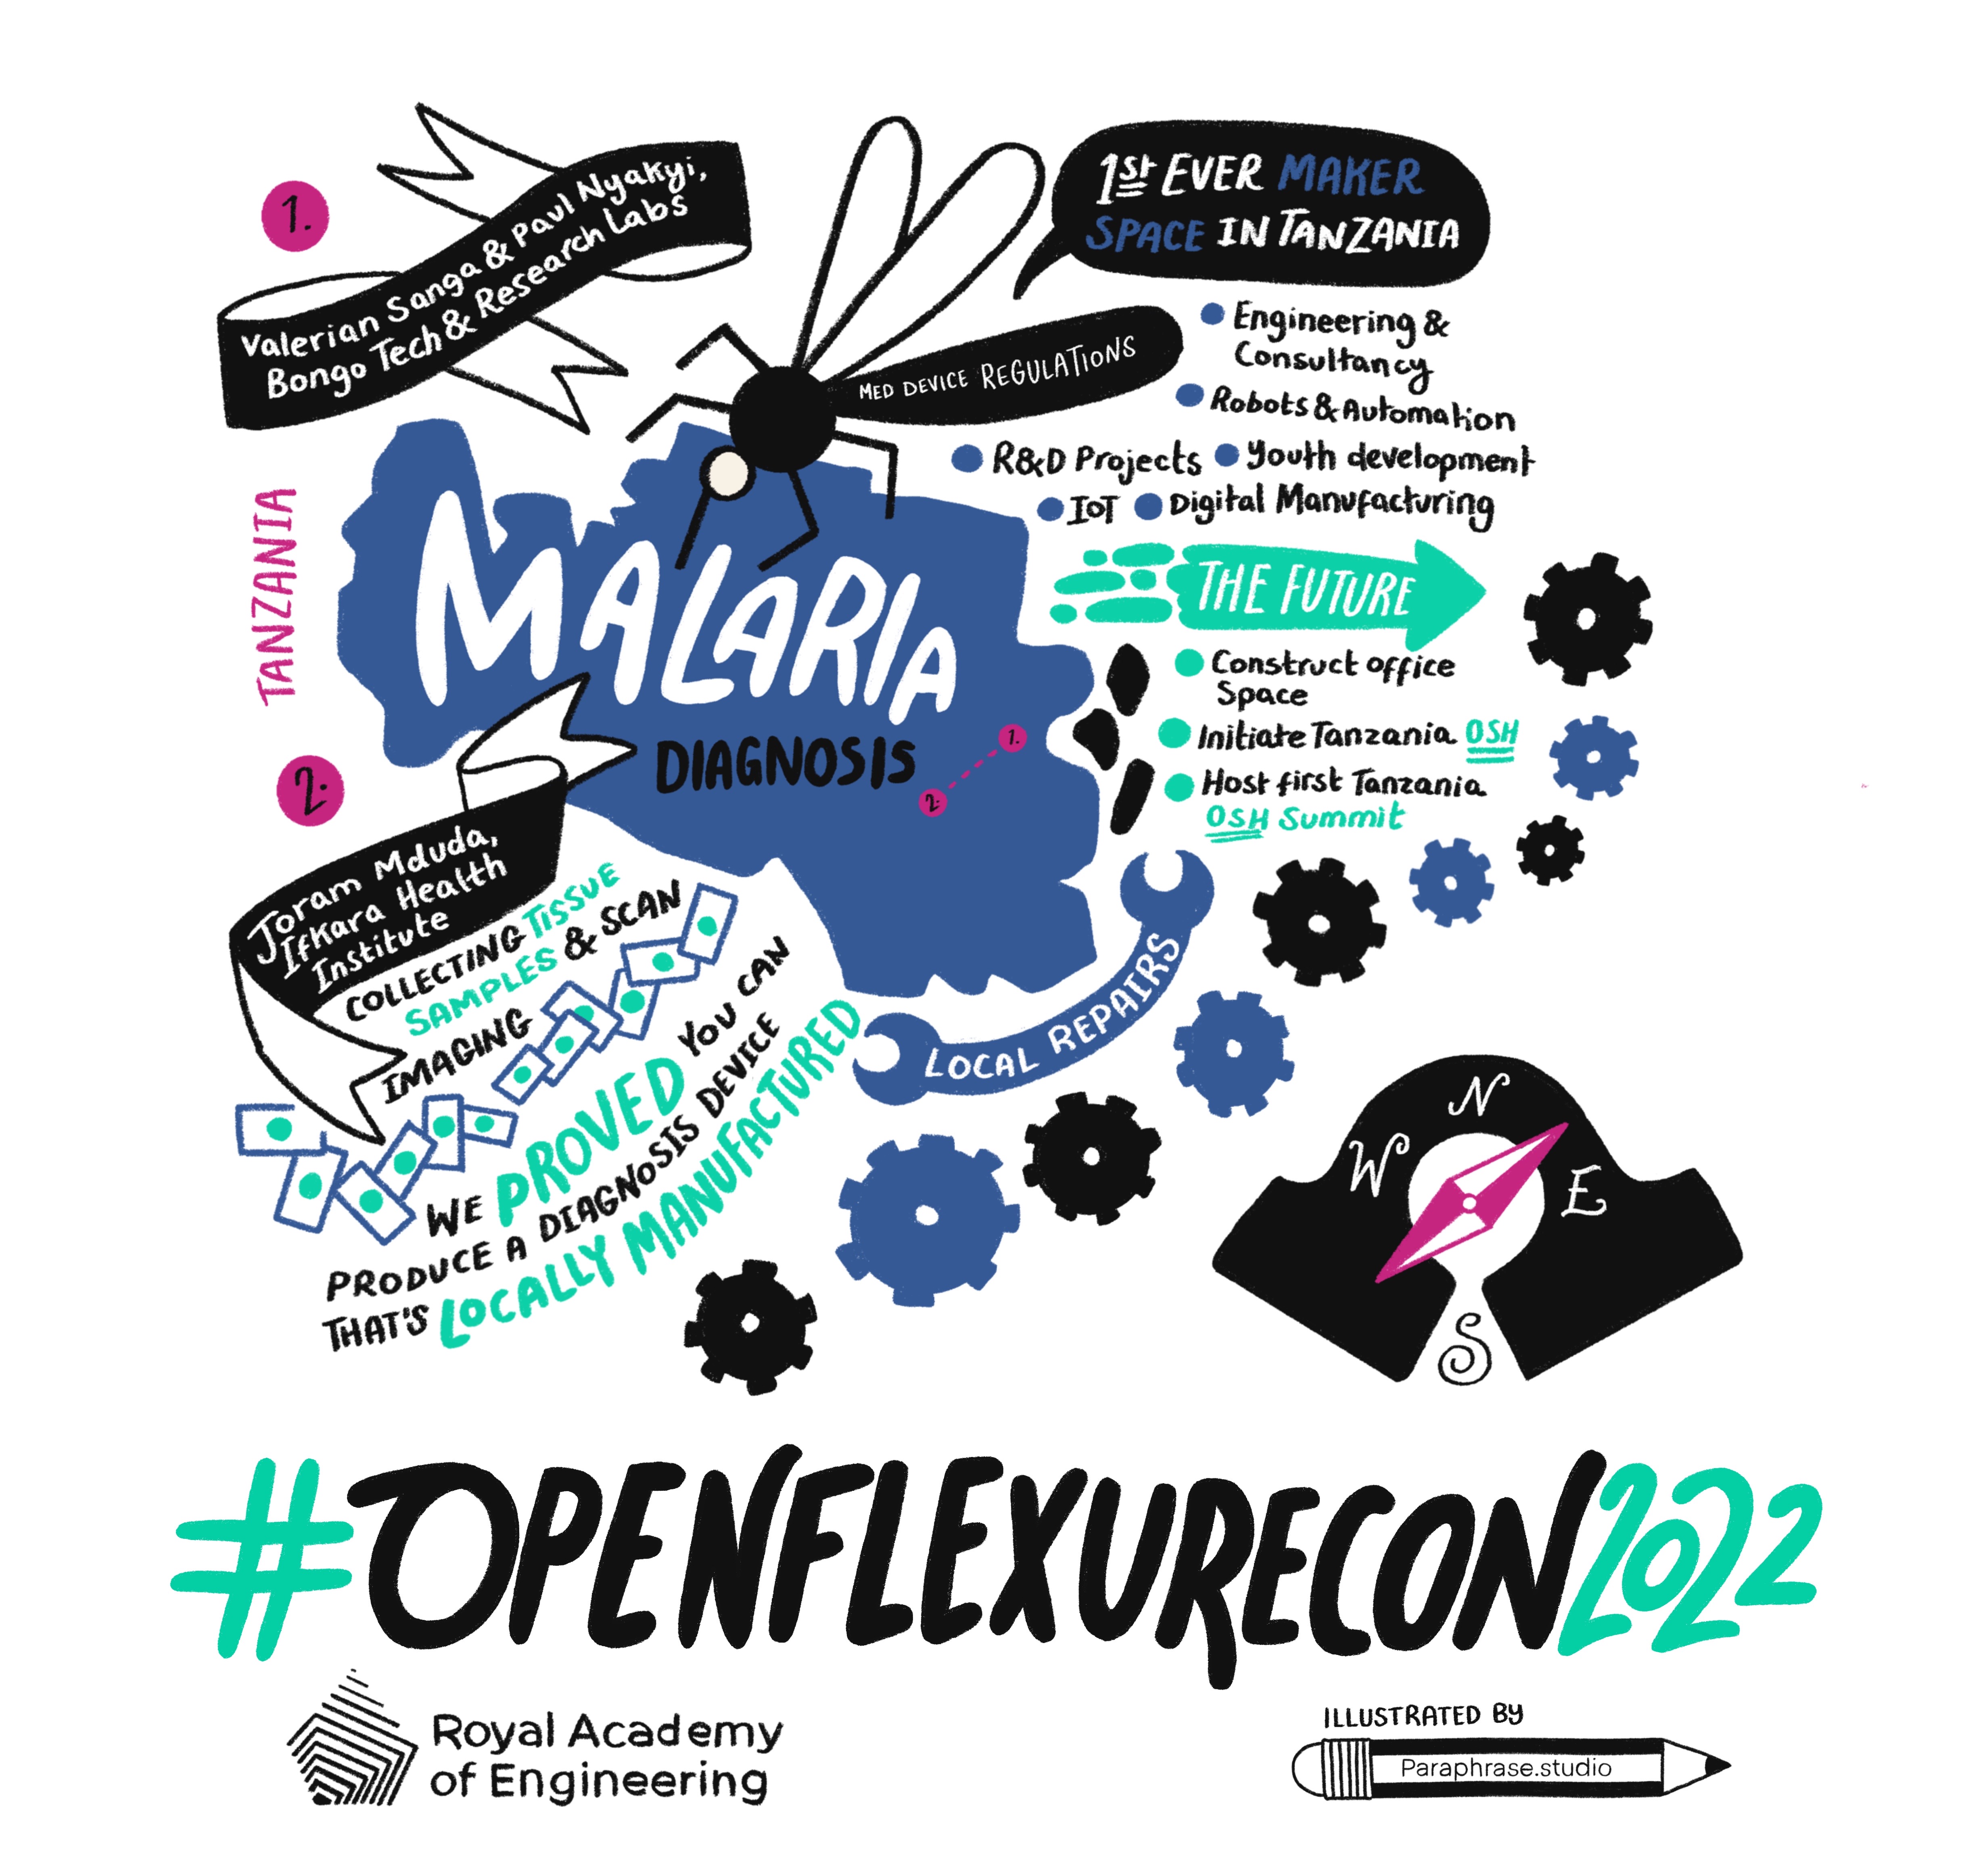
3D-printed microscopes are a great tool in science education allowing students to print, build and customize an affordable microscope. Access to a fully-automated, research-grade microscope is also important in clinical and research lab settings. This is especially true in locations where there are sometimes significant barriers to accessing affordable scientific instruments. This is highlighted by the collaborative work in Tanzania where the OpenFlexure microscope is currently undergoing trials for malaria diagnosis.

OpenFlexure Community
The OpenFlexure team have been really successful at building an active community of users. Anyone interested in using and/or contributing to the OpenFlexure project is encouraged to join and make an introduction through the forum. Along with the community they are actively working on new documentation, software tools and collaborations.
Building an OpenFlexure Microscope
After our introduction to OpenFlexure, we of course wanted to get hands-on experience building and using the microscope. OpenFlexure have developed several different microscope options. For our microscope build we chose to make the high-resolution microscope which they state on the website is "the standard research version of the OpenFlexure Microscope".
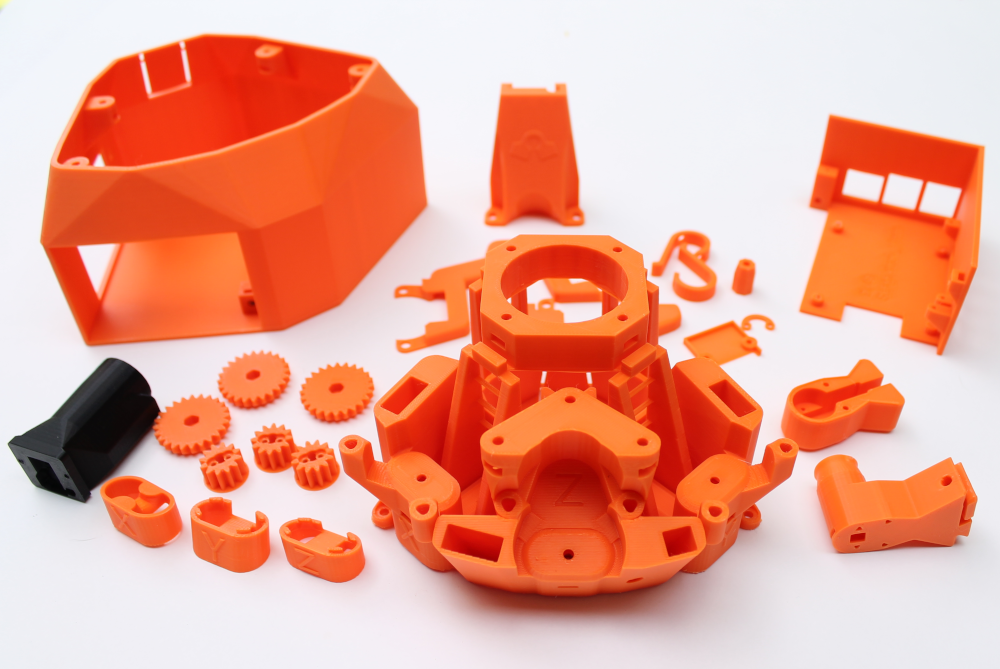
Parts
We used our Bambu Lab X1 Carbon 3D printer for all of the 3D printed parts. We used orange PLA basic filament (which we had in stock) for all of the microscope parts except for the Optics Module which must be printed in black. In total we used 360g of orange PLA filament and 11g of black PLA filament. Total print time was around 12 hours.
We sourced all of the hardware, optical components and electronics using the provided Bill Of Materials pages. Total cost of parts for the high-resolution microscope build was $305. For US-base customers, we have included a file below with links to the parts we purchased.
Assembly
The online documentation - linked below - is really thorough and we just followed these instructions to complete the build. We also used the forum a couple of times and this was an additional great resource.
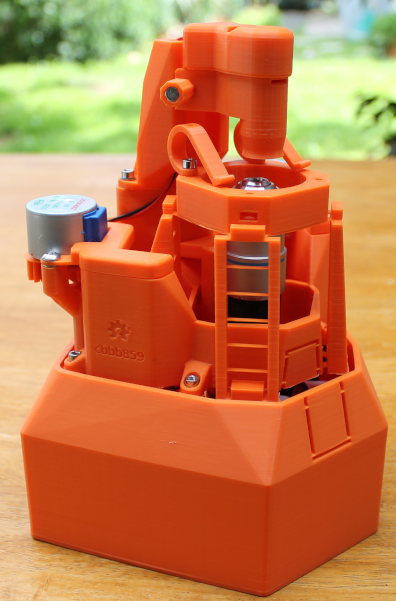
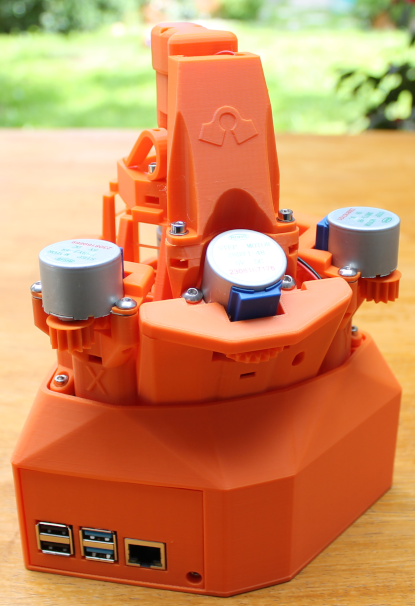
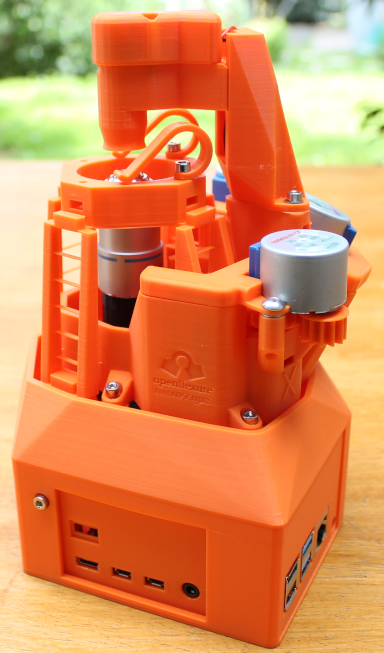
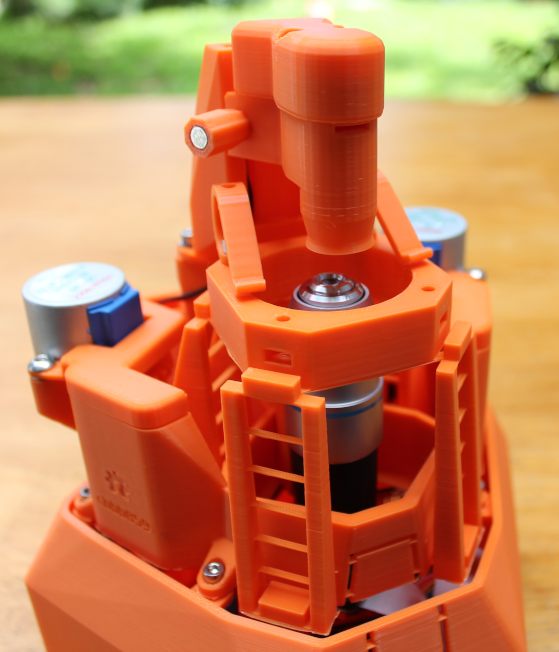
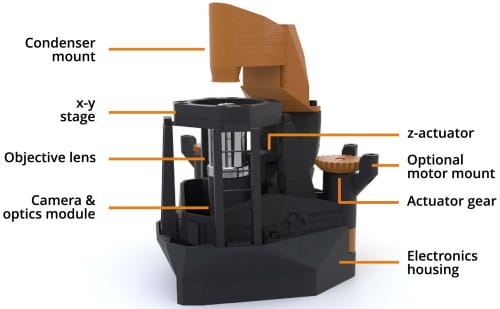
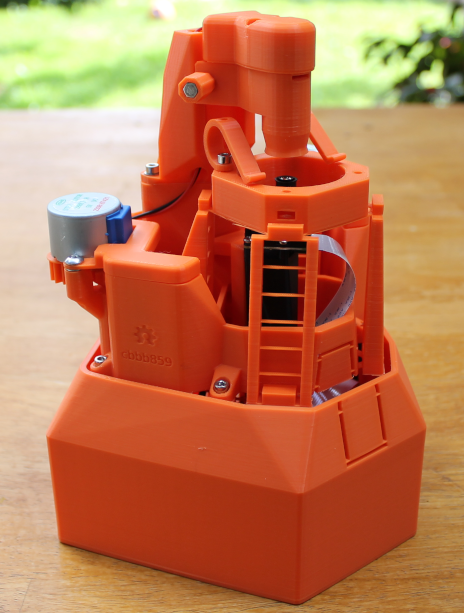
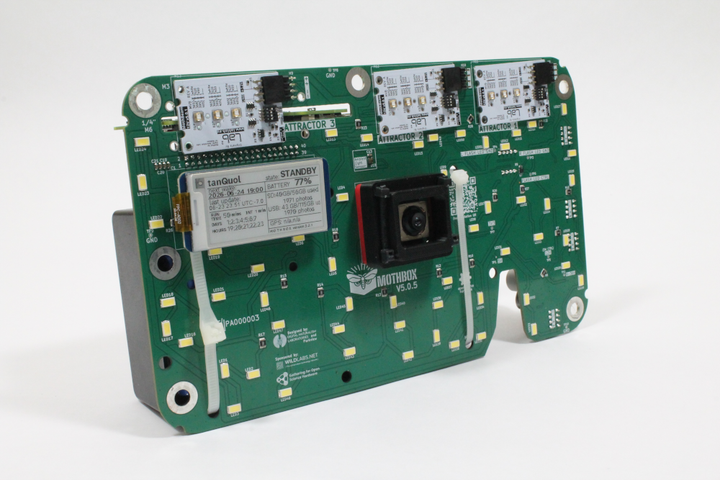
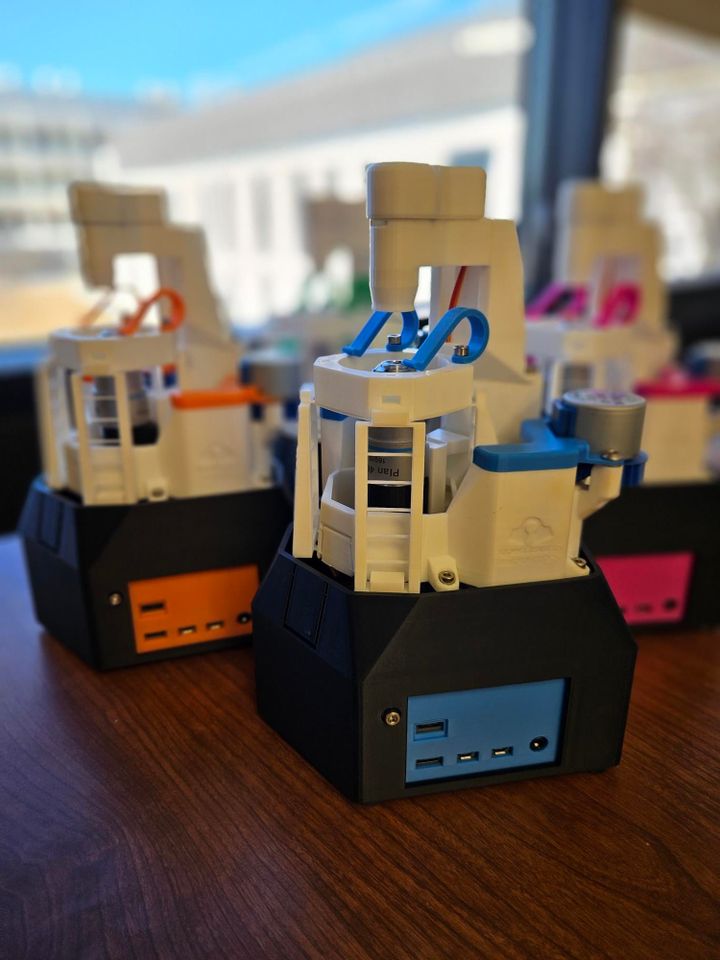
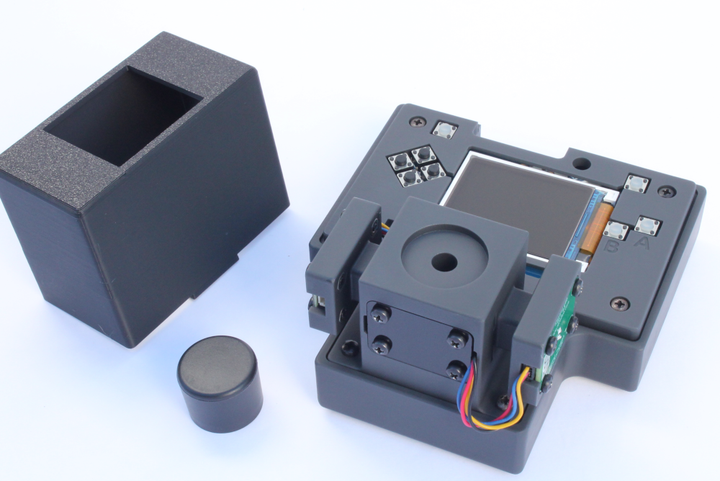
Images of the completed OpenFlexure high-resolution microscope build
Firmware and software
The next steps before using the OpenFlexure microscope were i) installing the firmware on the Sangaboard and ii) downloading the pre-built SD card image for the Raspberry Pi.
Sangaboard firmware: For the Sangaboard the exact version of the firmware required will depend upon which model of the Sangaboard you are using. We used the Sangaboard v5 which sold by Taulab and based on the RP2040. The firmware and installation instructions for this board can be found on Gitlab here.
Download Raspbian-OpenFlexure: The pre-built SD card image for the Raspberry Pi contains a full operating system with all the necessary software. You can find the pre-built SD card image for the Raspberry PI containing the operating system and software here. The OpenFlexure server and OpenFlexure connect software come pre-installed and ready to use.
Using the OpenFlexure microscope
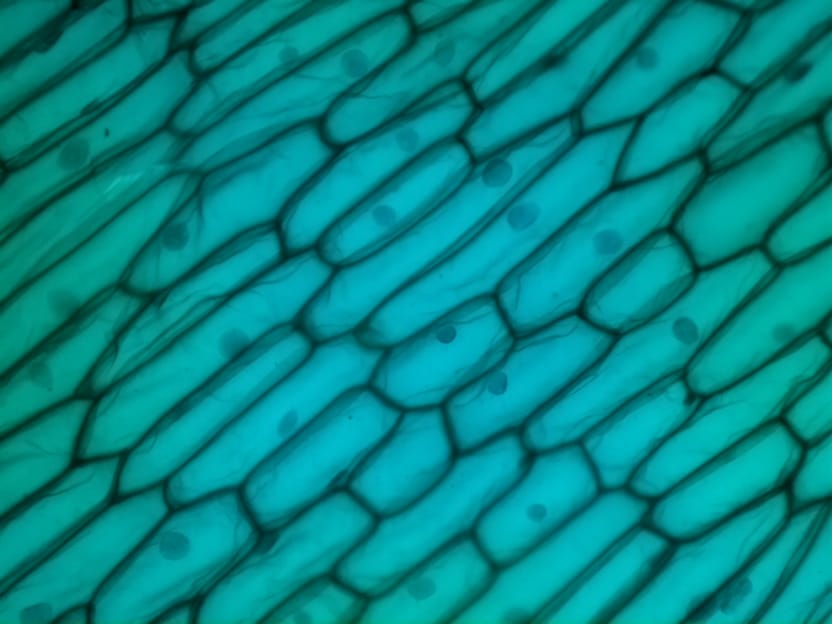
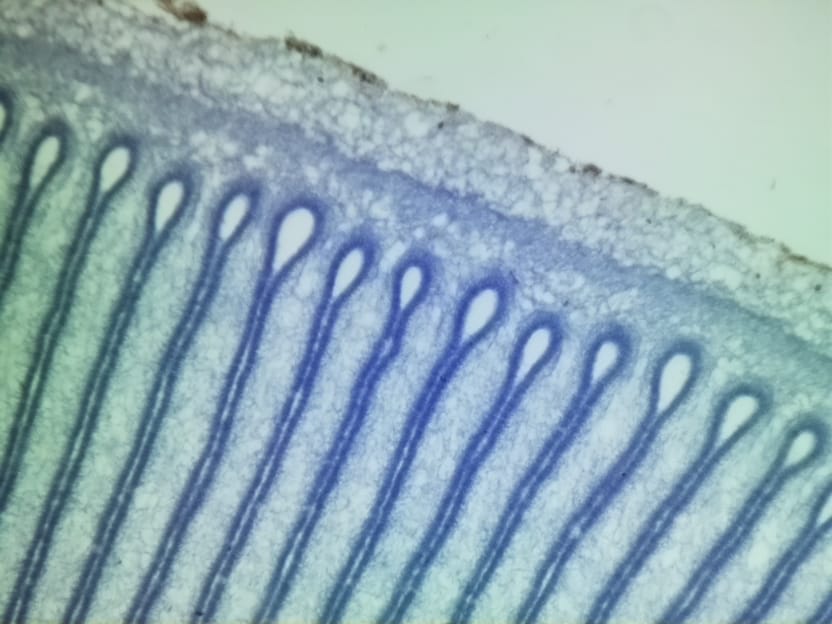
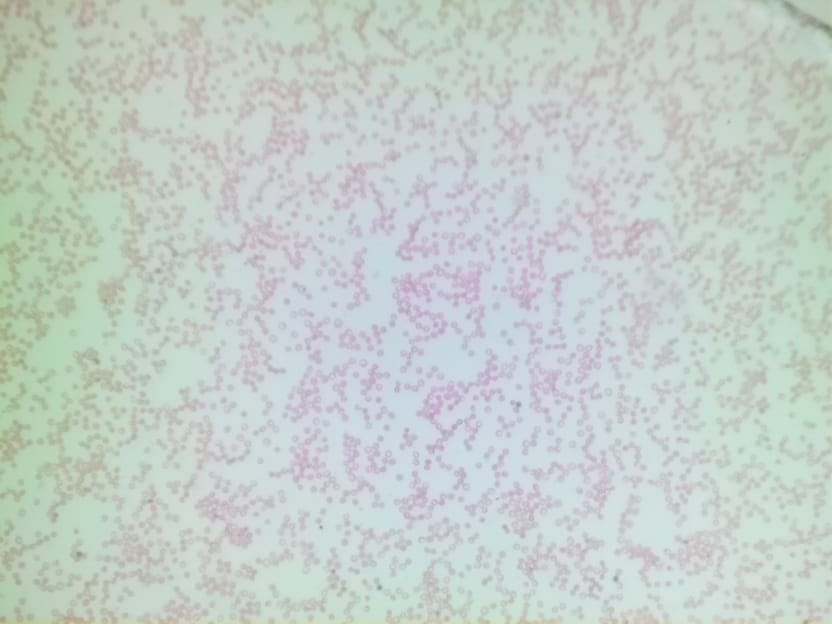
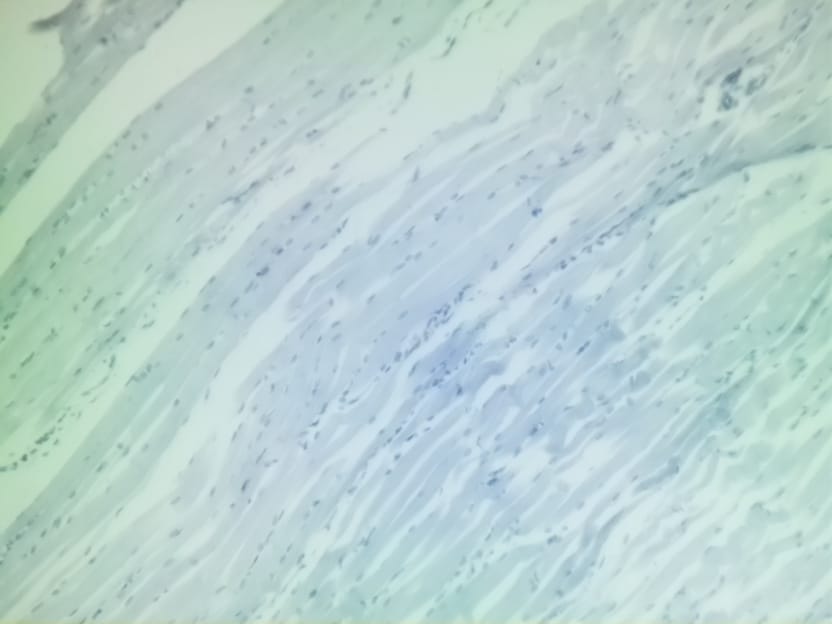
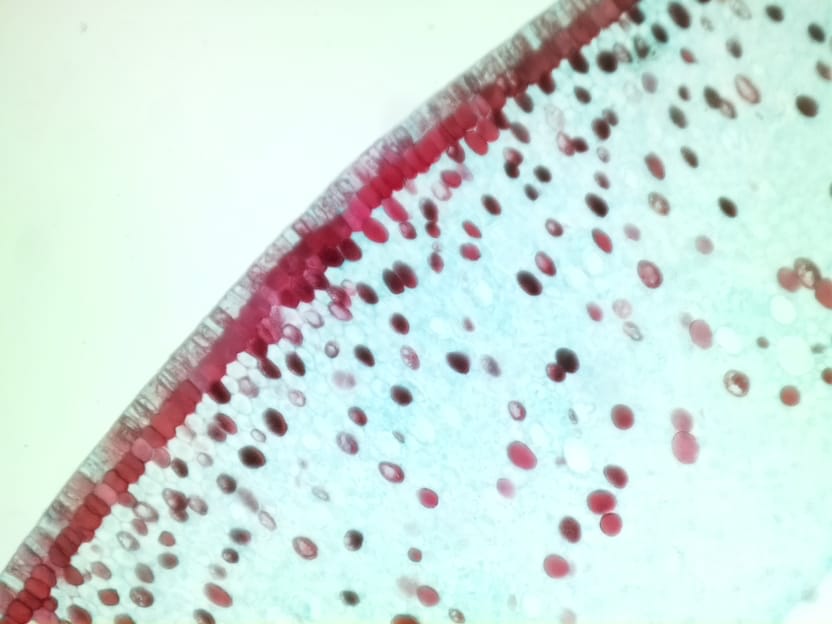
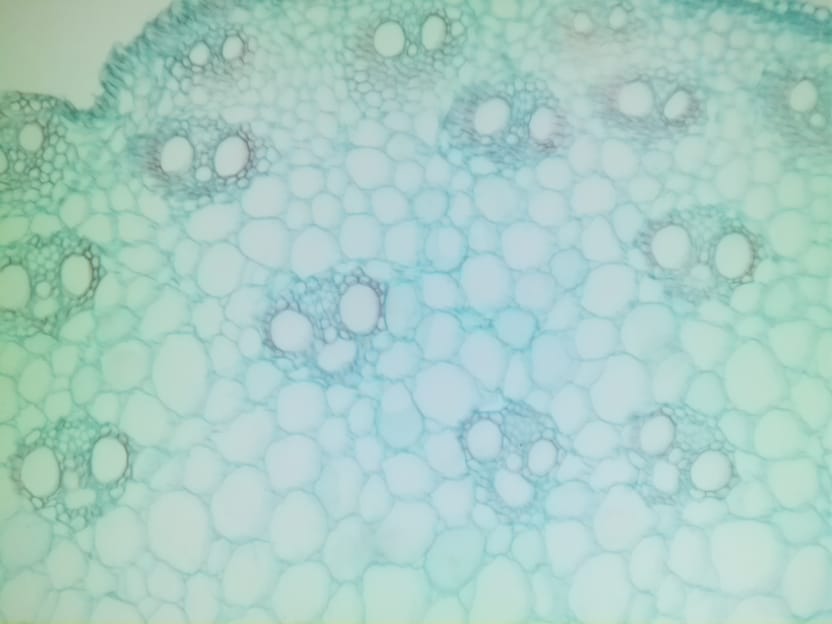
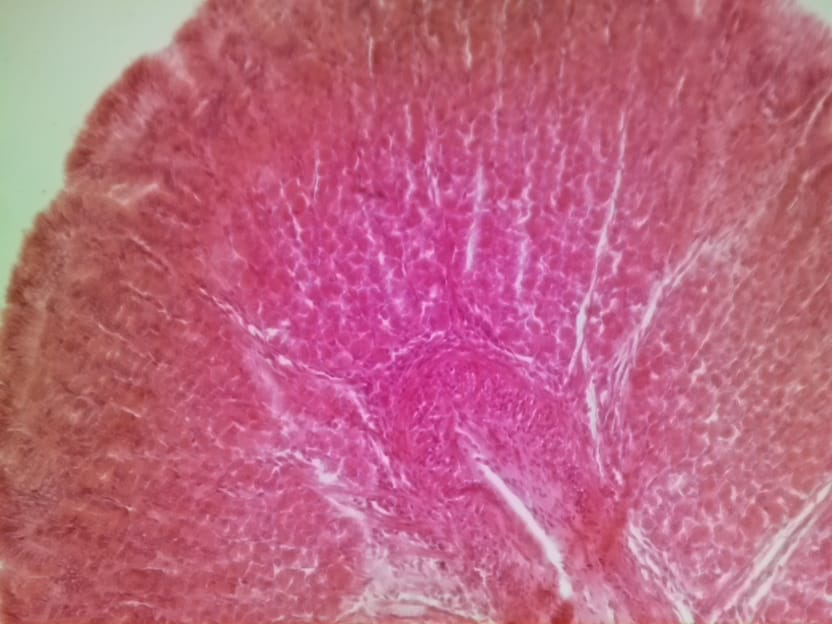
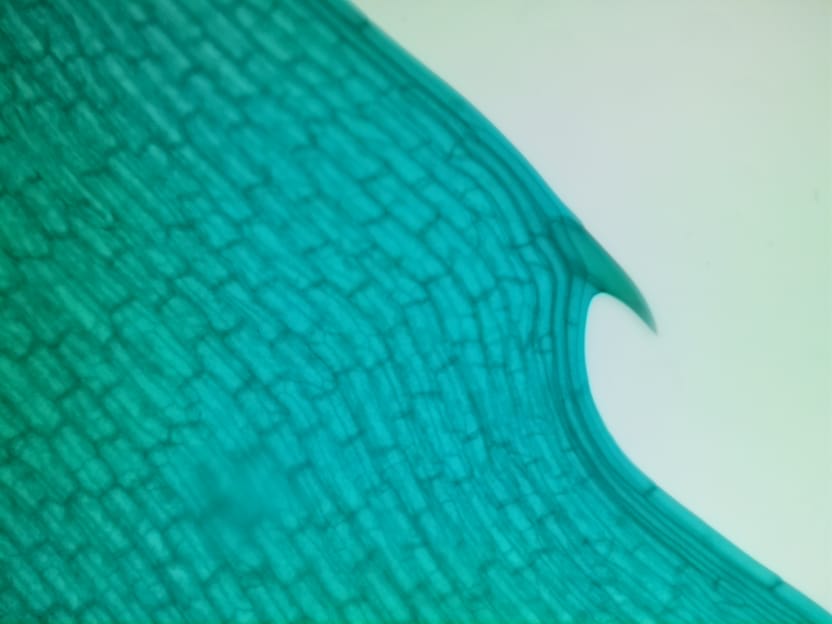
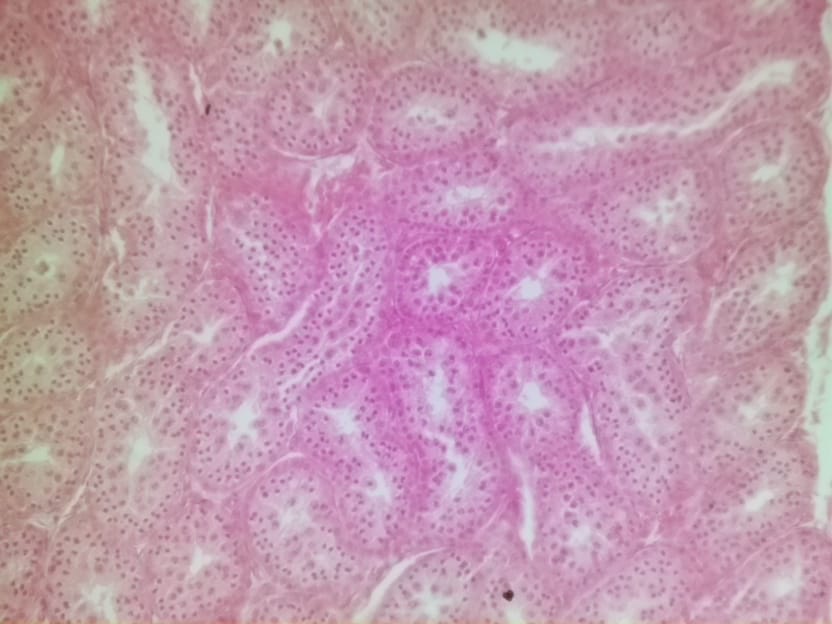
Once you have your microscope build finished, the next step is starting to image your slides using the web application interface. We found the web application interface intuitive to use. In addition to the stage navigation tools, there are automatic focusing tools, image capture tools, gallery tools and settings e.g. for adjusting exposure times. At this time we haven't explored all of the web interface functions yet. To get started we used Amscope prepared microscope slides. Below are some of the micrographs we collected from our first time using the microscope.
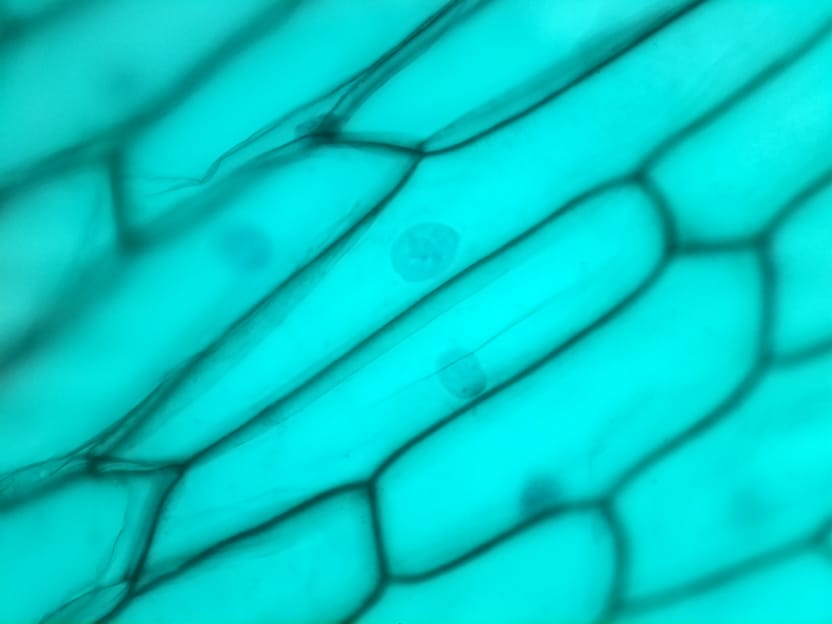
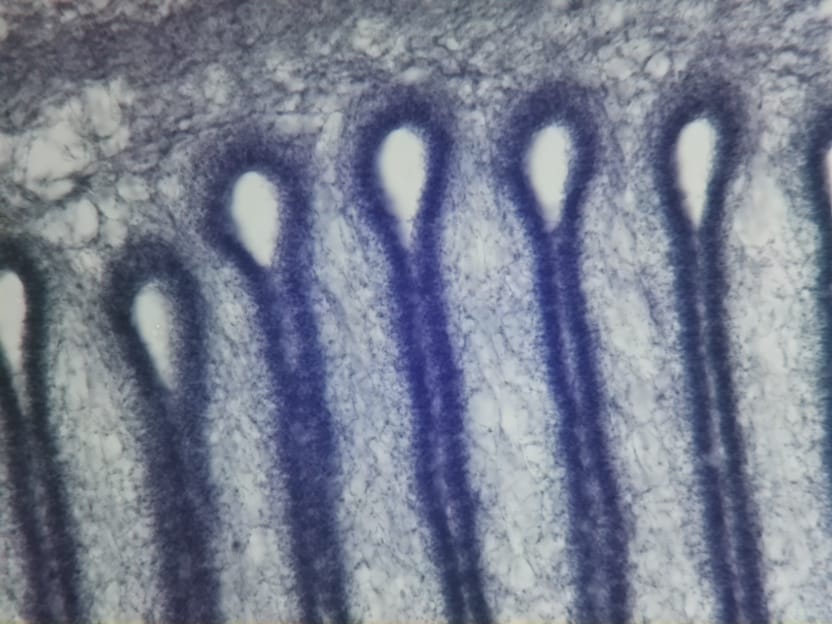
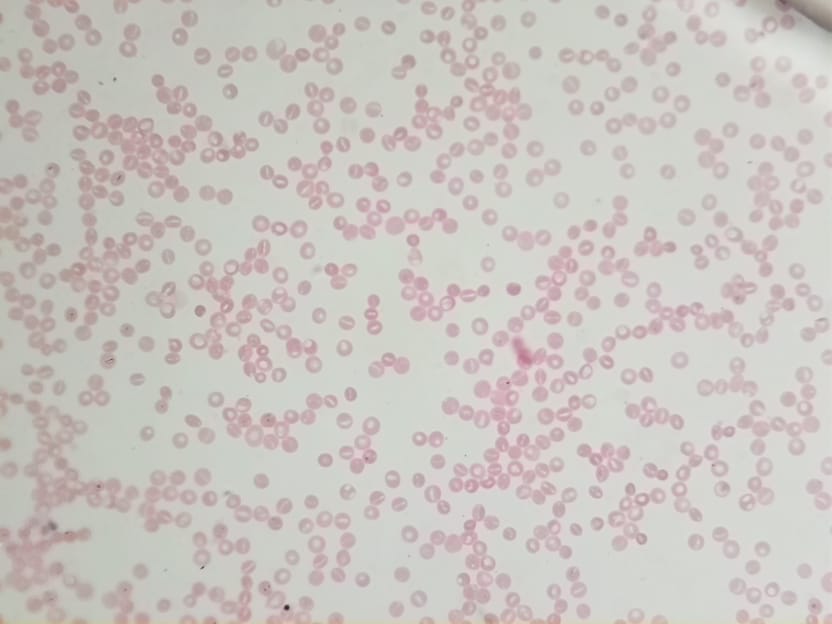
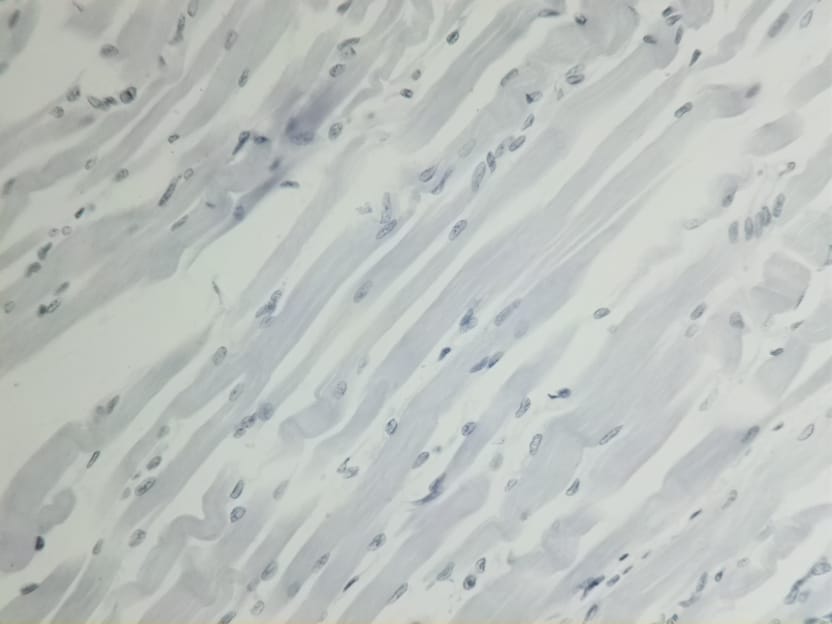
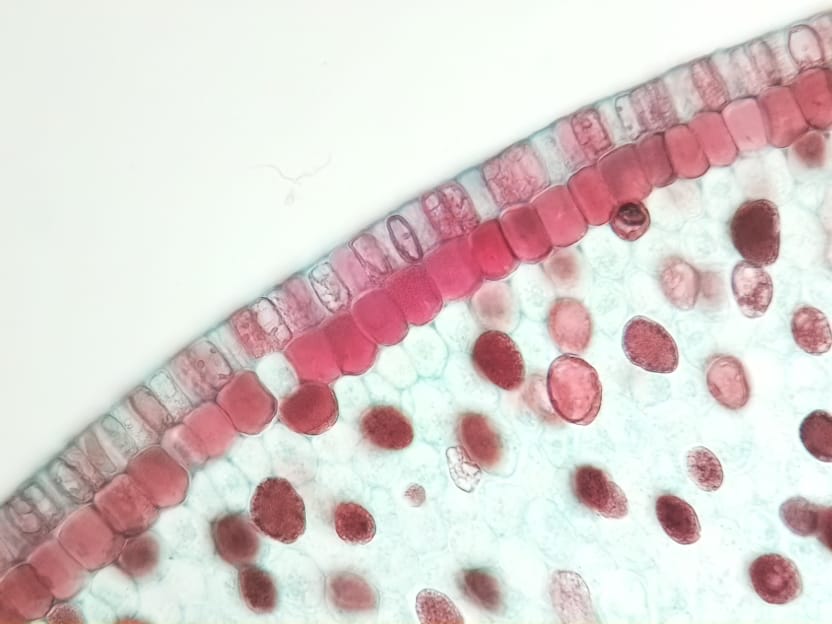
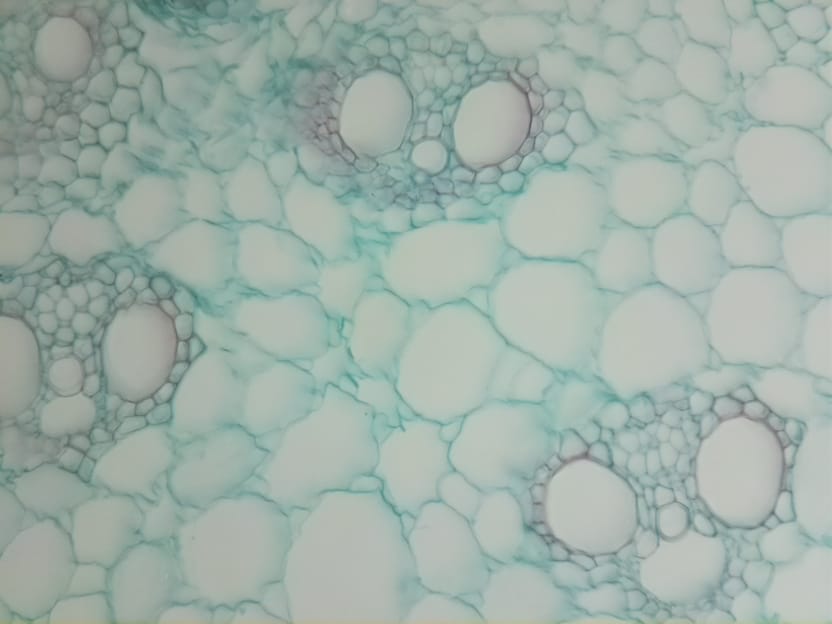
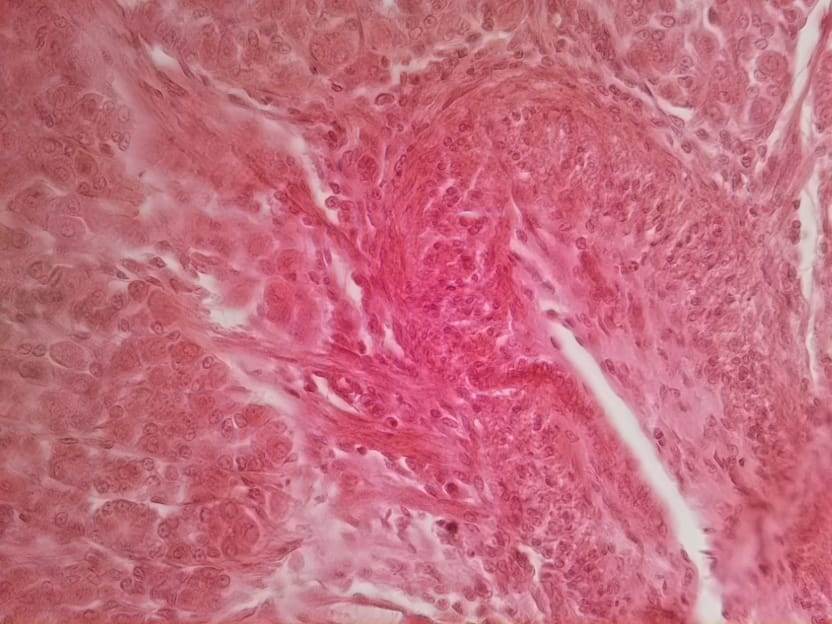
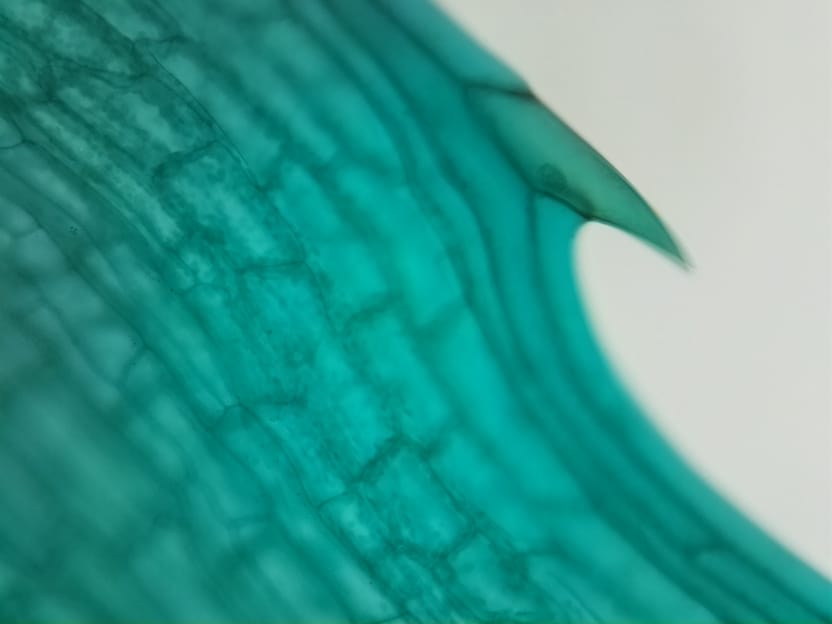
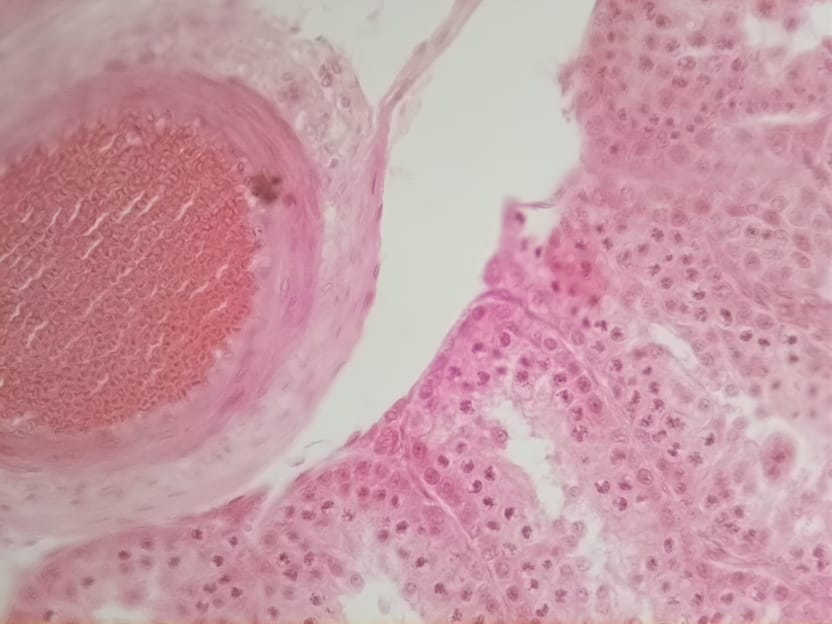
Micrographs from the OpenFlexure High-Resolution Microscope. Slides shown are: Top Row L-R: Onion epidermis, Coprimus mushroom, Human blood; Middle Row L-R: Cardiac muscle, Water Lily, Zea stem; Bottom Row L-R: Stomach, Hydrilla verticillata leaf, Rabbit testes
Low Cost OpenFlexure Microscope Build
The OpenFlexure team have also designed a low-cost version of the microscope which has almost all of the same 3D-printed parts and electronics. The main difference is the optical components. The low-cost version uses the lens from the Raspberry Pi Camera and is comparable to using a 20x objective. This build does not use the 40x objective or the 12.7mm achromatic lens – both components that cost around $60 each. The total parts cost of the low-cost version is approximately $185. As we already had all of the components, we were able to easily convert our high resolution version to the low-cost version by 3D-printing two additional parts and swapping out the optics. Instructions for the low-cost optics assembly are described on this page.
Once assembled, we used the same prepared slides for imaging. As you can see, the low cost version also produces really great micrographs. This might be a good introductory microscope option to get started using the OpenFlexure tools. It can be easily upgraded to the high-resolution version later.
Selection of images using the OpenFlexure Microscope low-cost version. Same slides as above.
OpenFlexure Microscope Kits
The total cost of the BOM for the high-resolution microscope build was around $305. This is a great price for a fully-automated, high-powered & customizable lab-grade microscope. However, it does require access to a good 3D-printer and sourcing parts from multiple vendors. We are considering developing an OpenFlexure microscope kit in collaboration with the OpenFlexure team and Open Science Shop. A portion of the profits from sales would go directly back to the project creators, so purchases would also support continued work on OpenFlexure development.
Get Involved: To learn more check out the OpenFlexure website. The website includes links to all the design files, software, build instructions and list of publications. If you are interested in using and/or contributing to the OpenFlexure project we would encourage you to join the forum where you can make an introduction and meet the team!
Comments ()