Customizing configuration and calibration files

One of the main advantages of using open science instruments is the ability to customize the instrument and software. This page describes how to modify the Open Colorimeter firmware default settings. Customizing the Open Colorimeter can make it more convenient to use, reduce setup time, help prevent user errors and ensure consistent results.
You might want to consider customizing your device if either/both of these situations apply:
- You are routinely changing the Open Colorimeter default settings on start-up
- You want to customize the list of tests in the Menu such as adding your own custom calibrations or those of other community members
These customizations can be done by editing two files, configuration.json and calibration.json, which are located on the device.
Accessing the configuration.json and calibration.json files
- Plug your Open Colorimeter into a PC using a USB cable (included with the instrument) and turn it on.
- The device should show up as a flash drive named CIRCUITPY on your computer. If you open this drive you should the two files, configuration.json and calibration.json

Editing files with a plain text editor
Both of these files use the JSON (JavaScript Object Notation) file format which is a human-readable open standard for data interchange. CircuitPython comes with a built-in JSON parser making this file format easy to use with our firmware.
You don't really need to know much about JSON in order to edit the configuration and calibration files as they are very simple.
Both files can be edited with a plain text editor e.g. notepad, vscode, vim, emacs, etc. Any plain text editor will work, but it should only be a plain text editor. A rich text editor or word processor will not work as it will not save the file in the correct format and may add additional information to the file.
You can edit directly on the device drive or make a copy to your computer and edit there. Simply replace the file on the device with the new edited version!
The configuration.json file
This file contains the default values for the light sensor's gain and integration time. You can only use the allowed set of values for both the gain and the integration time depending on the light sensor used. For example, with the TSL2591, these are:
- gain: low, med, high, max
- integration time: 100ms, 200ms, 300ms, 400ms, 500ms and 600ms
In addition, the configuration.json file can be used to set the startup option. This is the the measurement displayed after device start up. Allowed values include Absorbance, Transmittance, Raw Sensor, or any test name in the calibrations file. For example, use "Ammonia API" if you want your device to always start-up in the Ammonia-API measurement mode.
An example of the contents of this file is shown below.
{
  "gain" : "med",
  "integration_time" : "500ms",
  "startup" : "Absorbance"
}
Example of configuration.json
The calibrations.json file
This file contains calibration data for measurements and the individual entries in this file become the tests which are displayed in the Open Colorimeter's menu. They are displayed after the default entries (Absorbance, Transmittance and Raw Sensor) in the menu. An example of the contents of this files is shown below.
{
  "Ammonia API": {
    "units": "ppm",
    "led": "630",
    "fit_type": "polynomial",
    "fit_coef": [
      1.0128521350438369,
      1.890930808804952,
      0.0
    ],
    "range": {
      "min": 0.0,
      "max": 2.0
    }
  },
  "FD&C Blue 1": {
    "units": "mg/L",
    "led": "630",
    "fit_type": "polynomial",
    "fit_coef": [
      9.657673193787982,
      0.0
    ],
    "range": {
      "min": 0.0,
      "max": 0.81
    }
  },
  "Nitrate API": {
    "units": "ppm",
    "led": "520",
    "fit_type": "polynomial",
    "fit_coef": [
      0.32039213453320625,
      34.032597696304,
      0.0
    ],
    "range": {
      "min": 0.0,
      "max": 1.47
    }
  },
  "Nitrite API": {
    "units": "ppm",
    "led": "520",
    "fit_type": "polynomial",
    "fit_coef": [
      0.13111937060865314,
      1.2591439203550079,
      0.0
    ],
    "range": {
      "min": 0.0,
      "max": 1.4
    }
  }
}
These are example data for demonstrating the structure of the calibrations file
The calibrations.json file is covered in more detail on the Overview of Open Colorimeter calibration files page.
 William Dickson
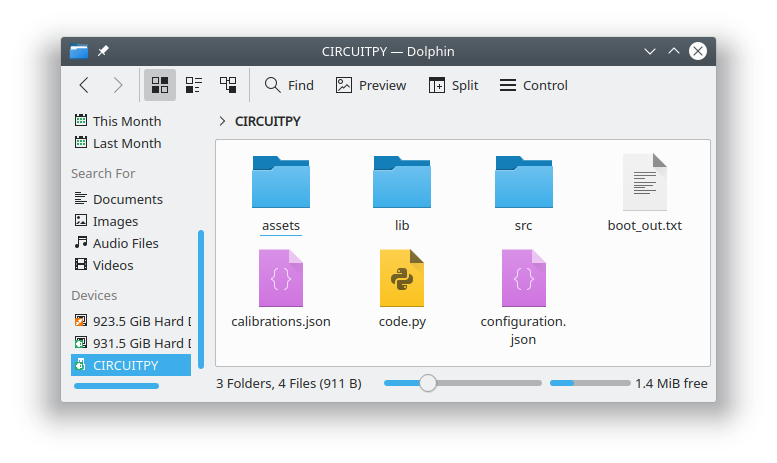

Open Colorimeter Product Guide
Documentation site for the Open Colorimeter, Multi-Channel Colorimeter, UV Open Colorimeter & Open Colorimeter Plus
Product Guide Home Page