New tutorials for customizing the Open Colorimeter
Highlighting new tutorials for customizing the Open Colorimeter

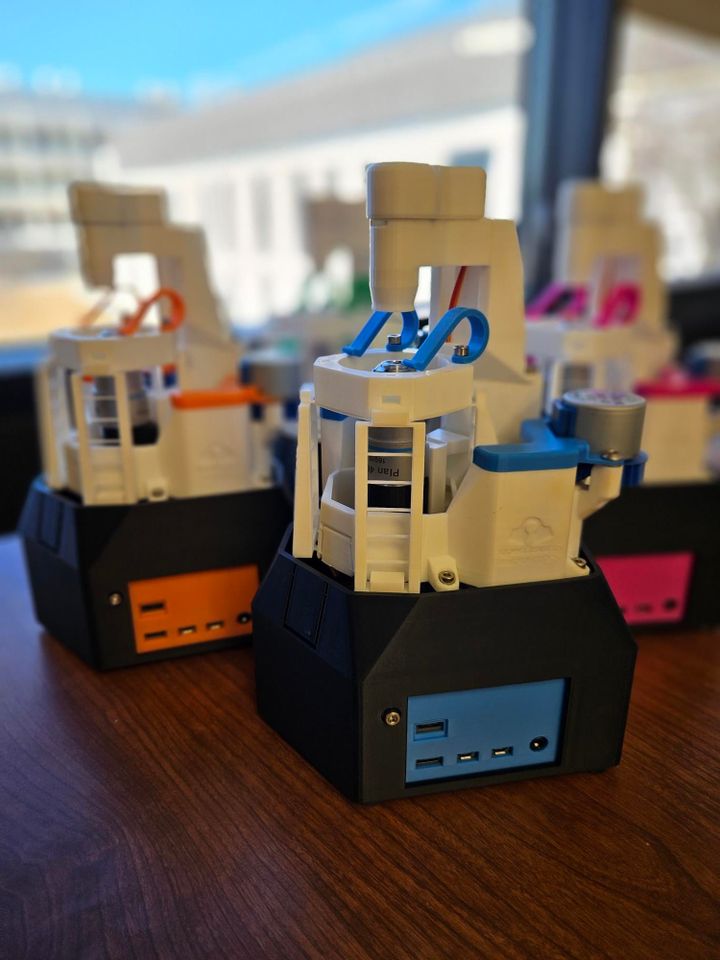
We have been shipping Open Colorimeter instruments for a few weeks now and are excited to see them out in the wild! One of the features we most love about this design is how easy it is to customize. We have been adding to the documentation over the last few weeks, and in this Newsletter we are highlighting some of the recent new tutorials we have added specifically around customizing the instrument.
Customizing the LED measurement wavelength
The Open Colorimeter uses a single-wavelength LED. When choosing a measurement LED wavelength it is recommended to use a wavelength close to the absorbance max. of the solution being measured. Currently the Open Colorimeter ships with a default white LED but a range of additional LED wavelengths are available from the online store: 470nm (blue), 520nm and 570nm (green), 595nm (yellow), 630nm (red). We will be expanding this list but if you are interested in a wavelength not currently in the store, let us know in the comments below or via the Contact Form.
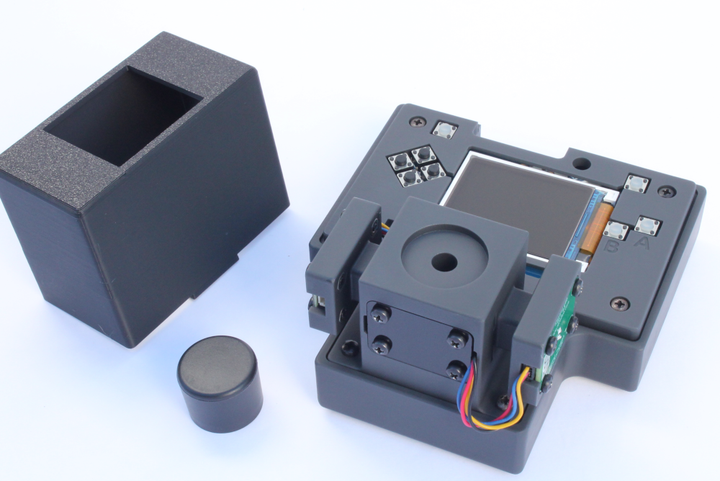
We designed the Open Colorimeter to make changing between different LED boards as easy as possible. The short video below shows a user swapping out a 520nm LED board for a white LED board.
See more user videos and learn more about changing LED wavelengths in the Getting Started Guide.
Customizing the light sensor
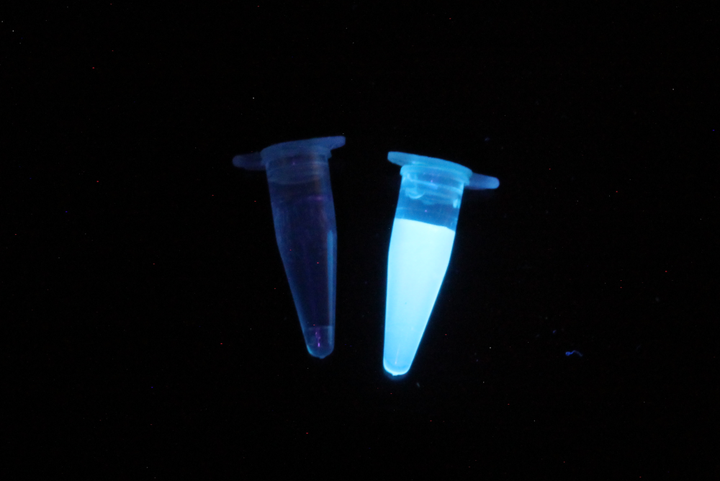
In addition to customizing the LED wavelength, you can also easily customize the TSL2591 light sensor settings. The sensor has two settings, a gain and an integration time, which can be adjusted manually on the device using the 'A' and 'B' buttons. The short video below shows an example of optimizing the gain and integration time manually.
The goal is to adjust the gain and integration time to achieve the highest possible count from the sensor without getting an overflow error message. To get the best measurements with your Open Colorimeter, we recommend adjusting the light sensor gain and integration time settings to values which are appropriate for the LED that you are using.
Learn more about optimizing the light sensor in the tutorial link below.
Customizing the startup settings and calibrations
The Open colorimetes startup settings and calibration can be customized by editing two files, configuration.json and calibration.json, which are located on the device.
- configuration.json sets the device's default/startup configuration
- calibration.json contains the calibration data for measurements
Both of these files use the JSON (JavaScript Object Notation) file format which is a human-readable open standard for data interchange. You don't really need to know much about JSON in order to edit the configuration and calibration files as they are very simple. To access the files, plug your Open Colorimeter in with the provided USB cable and turn it on. The device should show up as a flash drive named CIRCUITPY on your computer. If you open this drive you should see the two files, configuration.json and calibration.json

Learn more about about what these files do, example of the contents, and how/why you would want to customize them in the new tutorial linked below.
Next Steps
We are continuing to add more documentation to the Open Colorimeter. In a future post we will describe several tools we have developed which help automate the process of generating calibrations from sample data.
Have questions or comments about the Open Colorimeter? Drop a comment below or reach out to us via our Contact Form.
Comments ()